Installing the FaxPress Xerox Interface
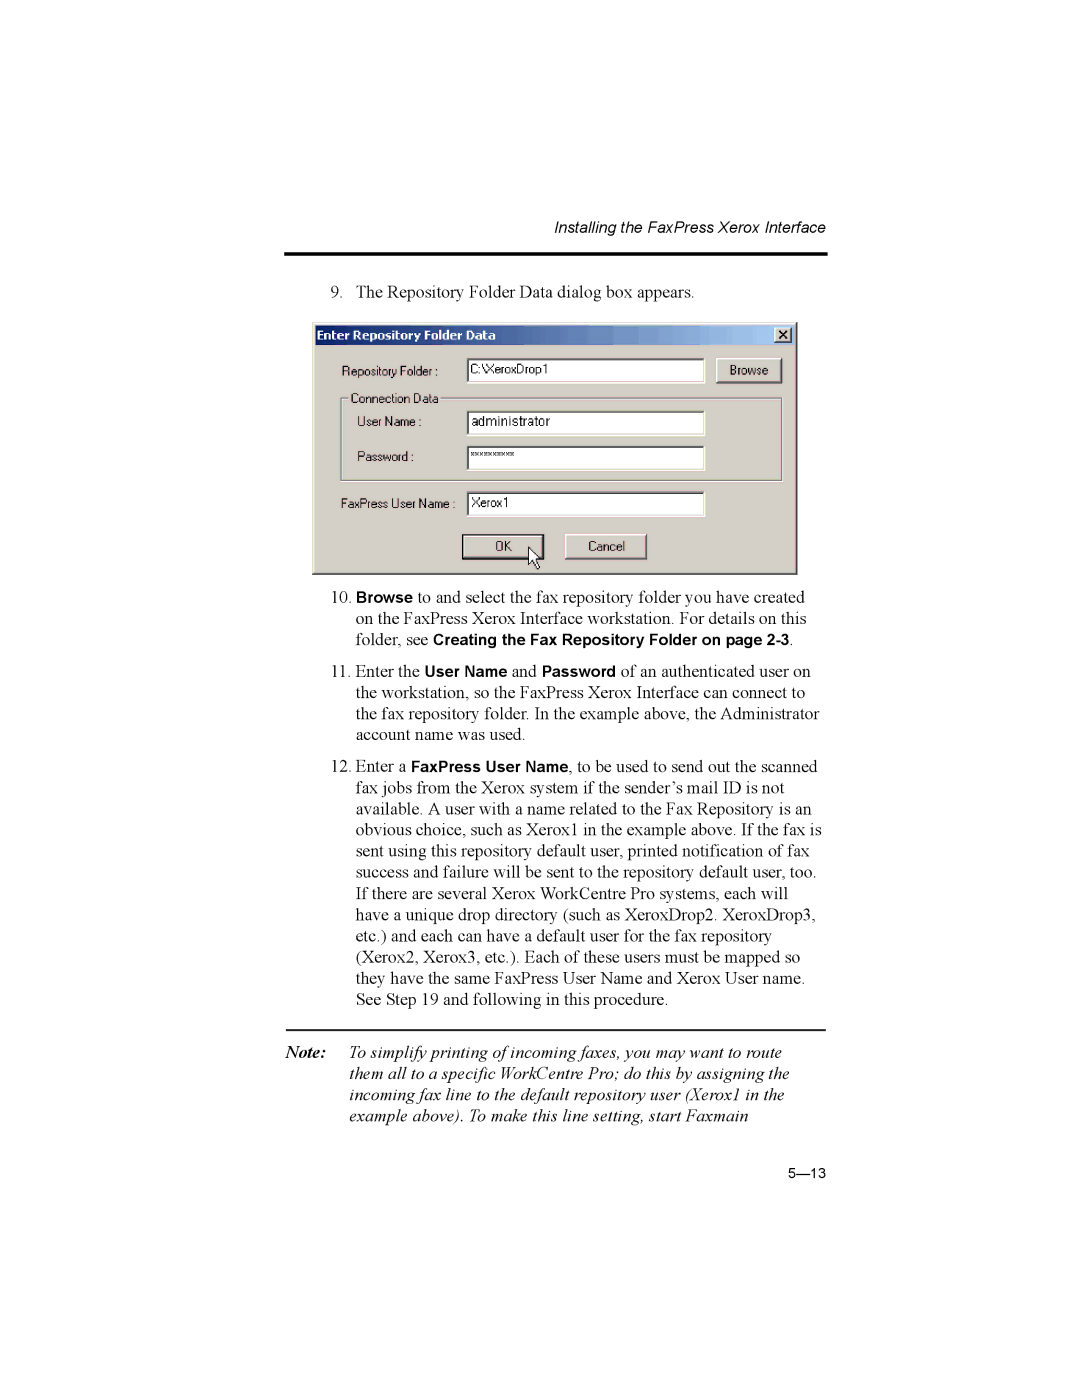
9. The Repository Folder Data dialog box appears.
10.Browse to and select the fax repository folder you have created on the FaxPress Xerox Interface workstation. For details on this folder, see Creating the Fax Repository Folder on page
11.Enter the User Name and Password of an authenticated user on the workstation, so the FaxPress Xerox Interface can connect to the fax repository folder. In the example above, the Administrator account name was used.
12.Enter a FaxPress User Name, to be used to send out the scanned fax jobs from the Xerox system if the sender’s mail ID is not available. A user with a name related to the Fax Repository is an obvious choice, such as Xerox1 in the example above. If the fax is sent using this repository default user, printed notification of fax success and failure will be sent to the repository default user, too. If there are several Xerox WorkCentre Pro systems, each will have a unique drop directory (such as XeroxDrop2. XeroxDrop3, etc.) and each can have a default user for the fax repository (Xerox2, Xerox3, etc.). Each of these users must be mapped so they have the same FaxPress User Name and Xerox User name. See Step 19 and following in this procedure.
Note: To simplify printing of incoming faxes, you may want to route them all to a specific WorkCentre Pro; do this by assigning the incoming fax line to the default repository user (Xerox1 in the example above). To make this line setting, start Faxmain