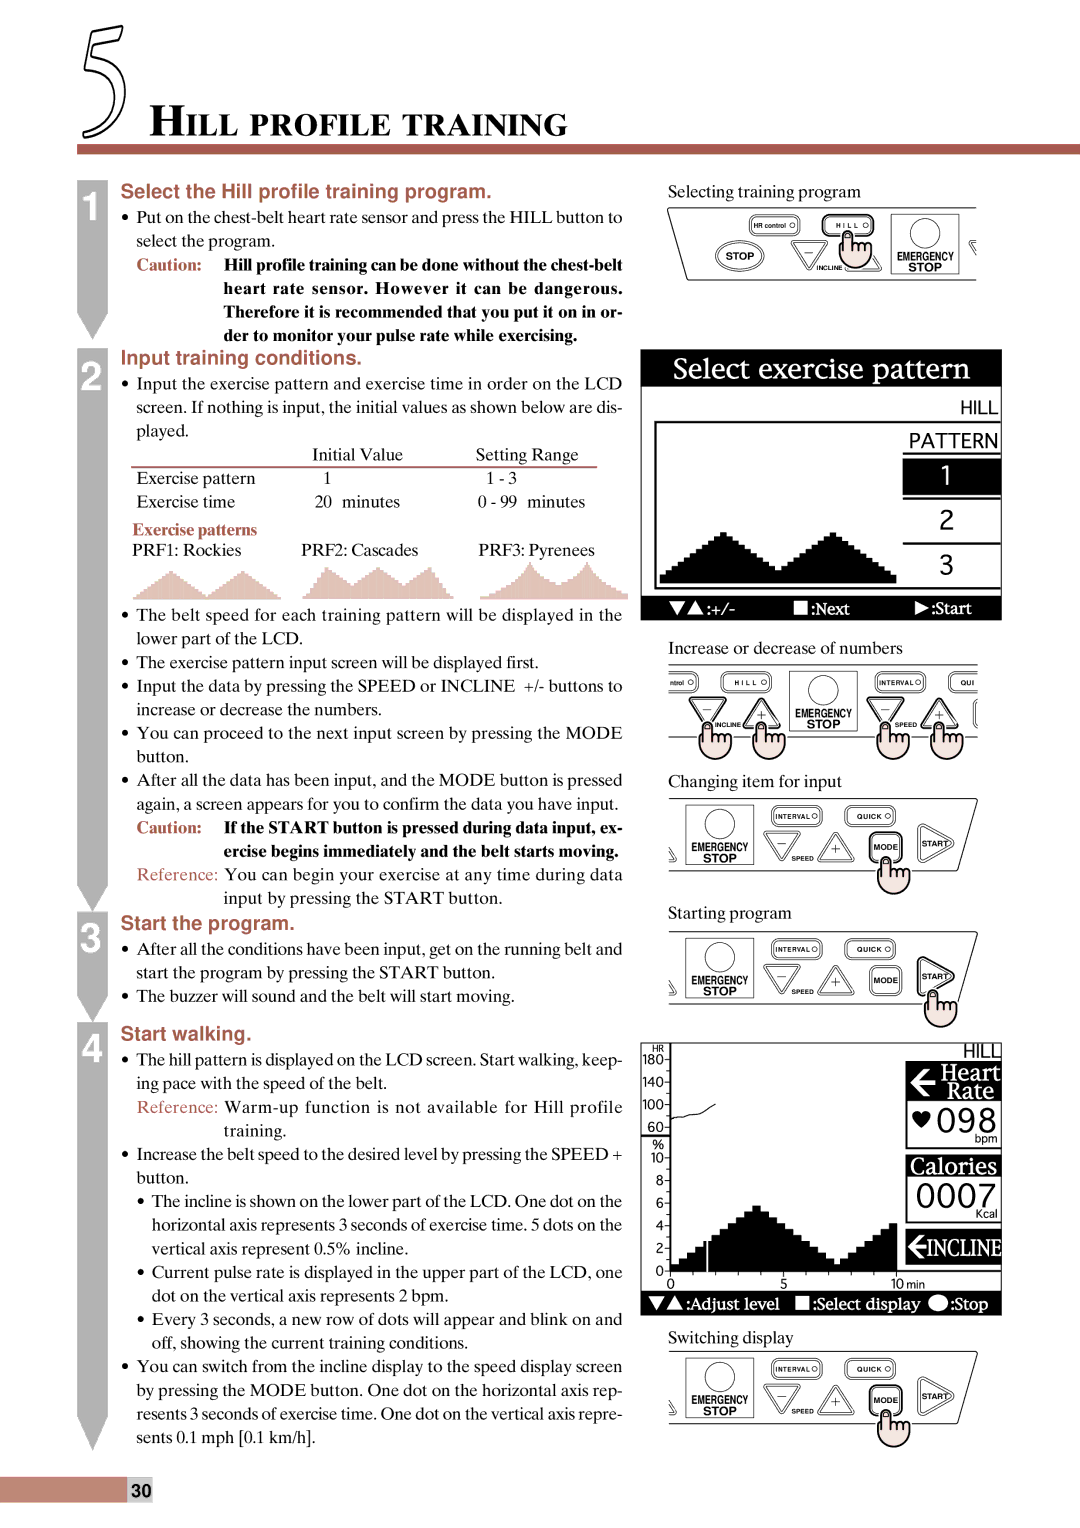
EC-T220 specifications
The Cateye EC-T220 is a sophisticated cycling computer designed for avid cyclists who seek to enhance their riding experience with advanced technological features. Known for its precision and reliability, the EC-T220 is packed with functions that make it an essential companion on the road or trail.One of the standout features of the EC-T220 is its large, easy-to-read display. The device boasts a clear LCD screen that presents information in various formats, allowing cyclists to quickly glance at their performance metrics during rides. The adjustable screen provides valuable data, including current speed, average speed, distance traveled, ride time, and total distance, making it easy to track and assess individual performance goals.
The EC-T220 utilizes a wireless transmission system, which means no cumbersome wires are needed for setup. This not only simplifies installation but also enhances the overall aesthetic of the bike. The wireless capabilities also extend to features like a heart rate monitor and cadence sensor, allowing riders to keep track of their physical effort and pedaling efficiency for a comprehensive analysis of their cycling performance.
In terms of durability, the Cateye EC-T220 is built to withstand the rigors of cycling. It is designed with an IPX8 water resistance rating, ensuring that the device can endure a variety of weather conditions without compromising its functionality. This reliability makes it a favorite among cyclists who often ride in unpredictable environments.
Another noteworthy technology in the EC-T220 is its compatibility with GPS devices and smartphone applications. This feature allows cyclists to sync their data for further analysis and to track routes. The ability to connect with external apps means users can share their achievements with friends, dive into detailed performance analytics, and enjoy a more connected cycling experience.
The battery life of the EC-T220 is impressive as well. The device is equipped with a long-lasting battery that can endure extensive cycling sessions without the need for frequent recharging. This is a critical advantage for long-distance riders who need their device to be reliable throughout their adventures.
In conclusion, the Cateye EC-T220 is an excellent choice for cyclists who demand accuracy, convenience, and cutting-edge technology in their cycling computers. With features that cater to both casual and competitive riders, it stands as a key tool for those looking to elevate their cycling experience. The combination of its user-friendly design, advanced metrics, and robust construction makes the EC-T220 a standout product in the world of cycling accessories.

