ASA 5505, ASA5505K8RF, ASA5505BUNK9, ASA 5505BUNK9 specifications
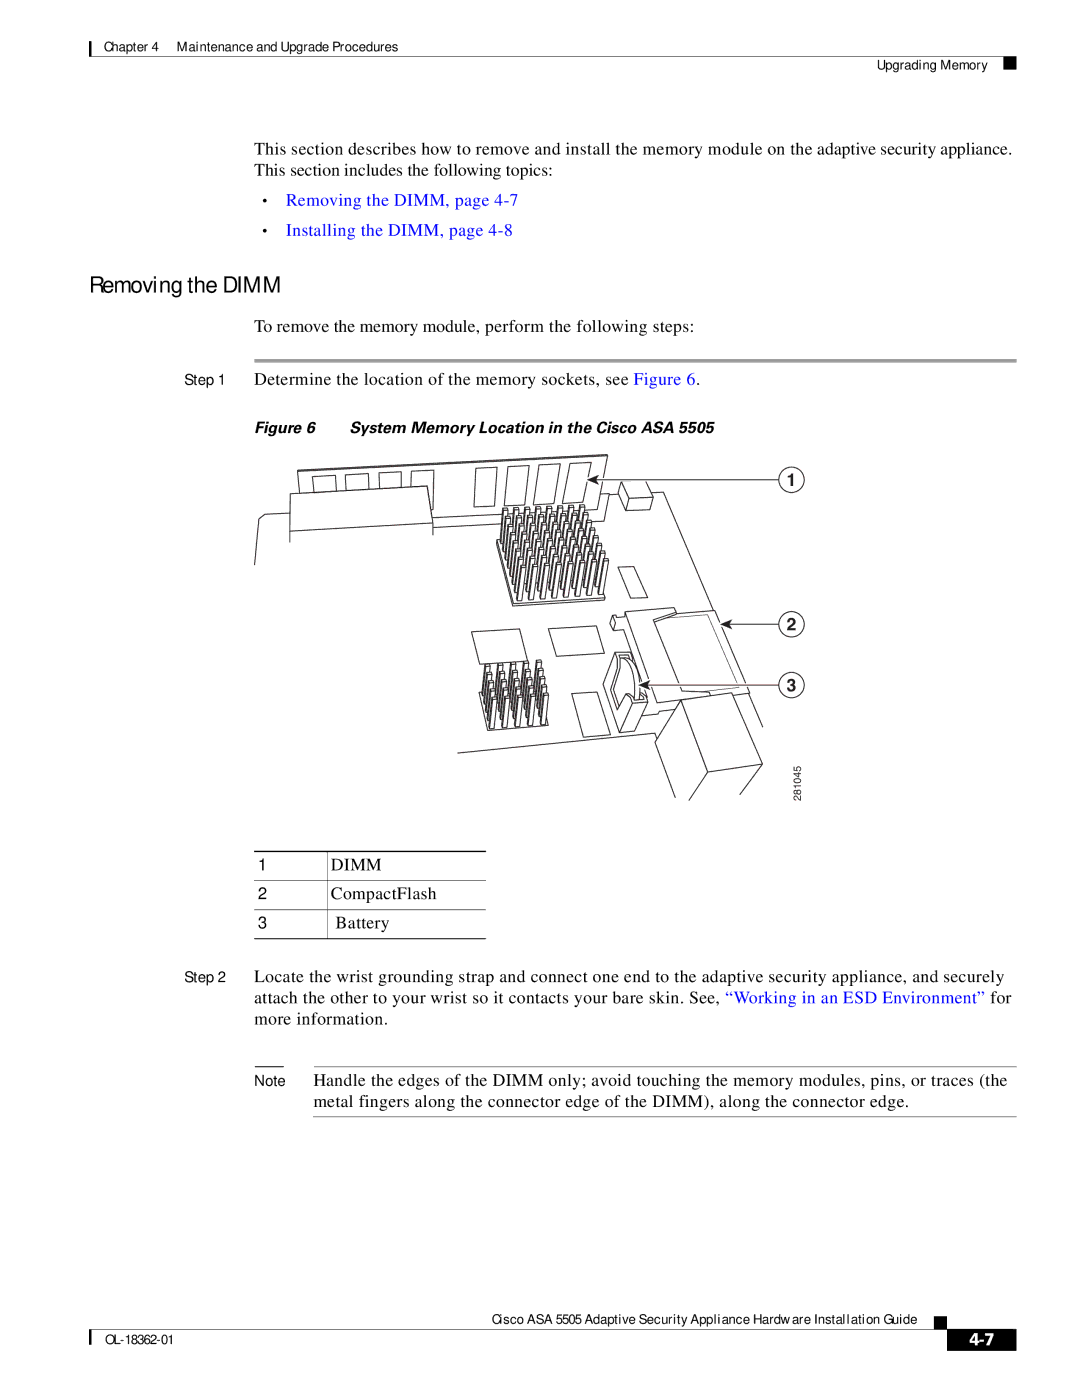
Cisco Systems has long been a leader in the field of network security, and its Adaptive Security Appliance (ASA) series is a testament to this expertise. Within the ASA lineup, models such as the ASA 5505, ASA 5580, ASA 5585-X, ASA 5545-X, and ASA 5555-X stand out for their unique features, capabilities, and technological advancements.The Cisco ASA 5505 is designed for small businesses or branch offices. It provides essential security features such as firewall protection, flexible VPN capabilities, and intrusion prevention. The ASA 5505 supports a user-friendly interface, allowing for straightforward management. Its built-in threat detection and prevention tools provide a layered defense, and with scalability in mind, it can accommodate various expansion options as organizational needs grow.
Moving up the line, the ASA 5580 delivers greater throughput and advanced security features. This model is suited for medium to large enterprises that require robust protection against increasingly sophisticated threats. Its multi-core architecture allows it to manage high volumes of traffic seamlessly while maintaining excellent performance levels. The ASA 5580 also supports application-layer security and customizable access policies, making it highly adaptable to diverse security environments.
The ASA 5585-X further enhances Cisco's security offerings with advanced malware protection and extensive security intelligence capabilities. It incorporates next-generation firewall features, including context-aware security, and supports advanced threat detection technologies. This model is ideal for large enterprises or data centers that prioritize security while ensuring uninterrupted network performance and availability.
For enterprises requiring a balance of performance and security, the ASA 5545-X presents a compelling option. This model features scalable performance metrics, high availability, and integrated advanced threat protection. Coupled with advanced endpoint protection and detailed monitoring capabilities, the ASA 5545-X enables organizations to manage their security posture effectively.
Lastly, the ASA 5555-X blends cutting-edge technologies with strong security infrastructures. It boasts high throughput and the ability to execute deep packet inspections. Its sophisticated architecture supports threat intelligence feeds that provide real-time security updates, making it a powerful tool against modern threats.
Each of these Cisco ASA models brings specific advantages to varied environments. Their integrative capabilities enable businesses to enhance their security postures while benefiting from seamless scalability and management. As cybersecurity threats evolve, these advanced appliances play a vital role in protecting valuable digital assets.

