Telephone Operations
The P300 phone is designed to help you communicate easily. There are many convenient, easy-
A. Photo Directory Set Up
You can program up to nine photo- dial memory buttons with the num- bers you dial most frequently.As these numbers change, it is easy to change the photos and numbers in the phone’s memory. If you prefer, you can write the names and/or tele- phone numbers into the directory’s nine spaces.
1.Select the photos you wish to use. Use the photo template as a guide to cut your photos to fit the photo frames.
2.Insert photos or written names into memory button frames.
3.Place the clear plastic overlay over your photos and insert the tabs into the slots.
1 |
| P300™ |
A | D | |
B | E | |
2C | 3F | |
G | J | M |
H | K | N |
4I | 5L | 6O |
Fig. 7B – Photo directory template
B. Programming The
Photo Directory
1.Lift the handset and press the PROG button.
2.Enter a phone number as you would dial it.
3.Press PROG again and then press the corresponding memory button to store this number. Hang up immediately.
4.The number is now stored into memory.The memory button in the lower right corner of the frame can be programmed for emergencies.
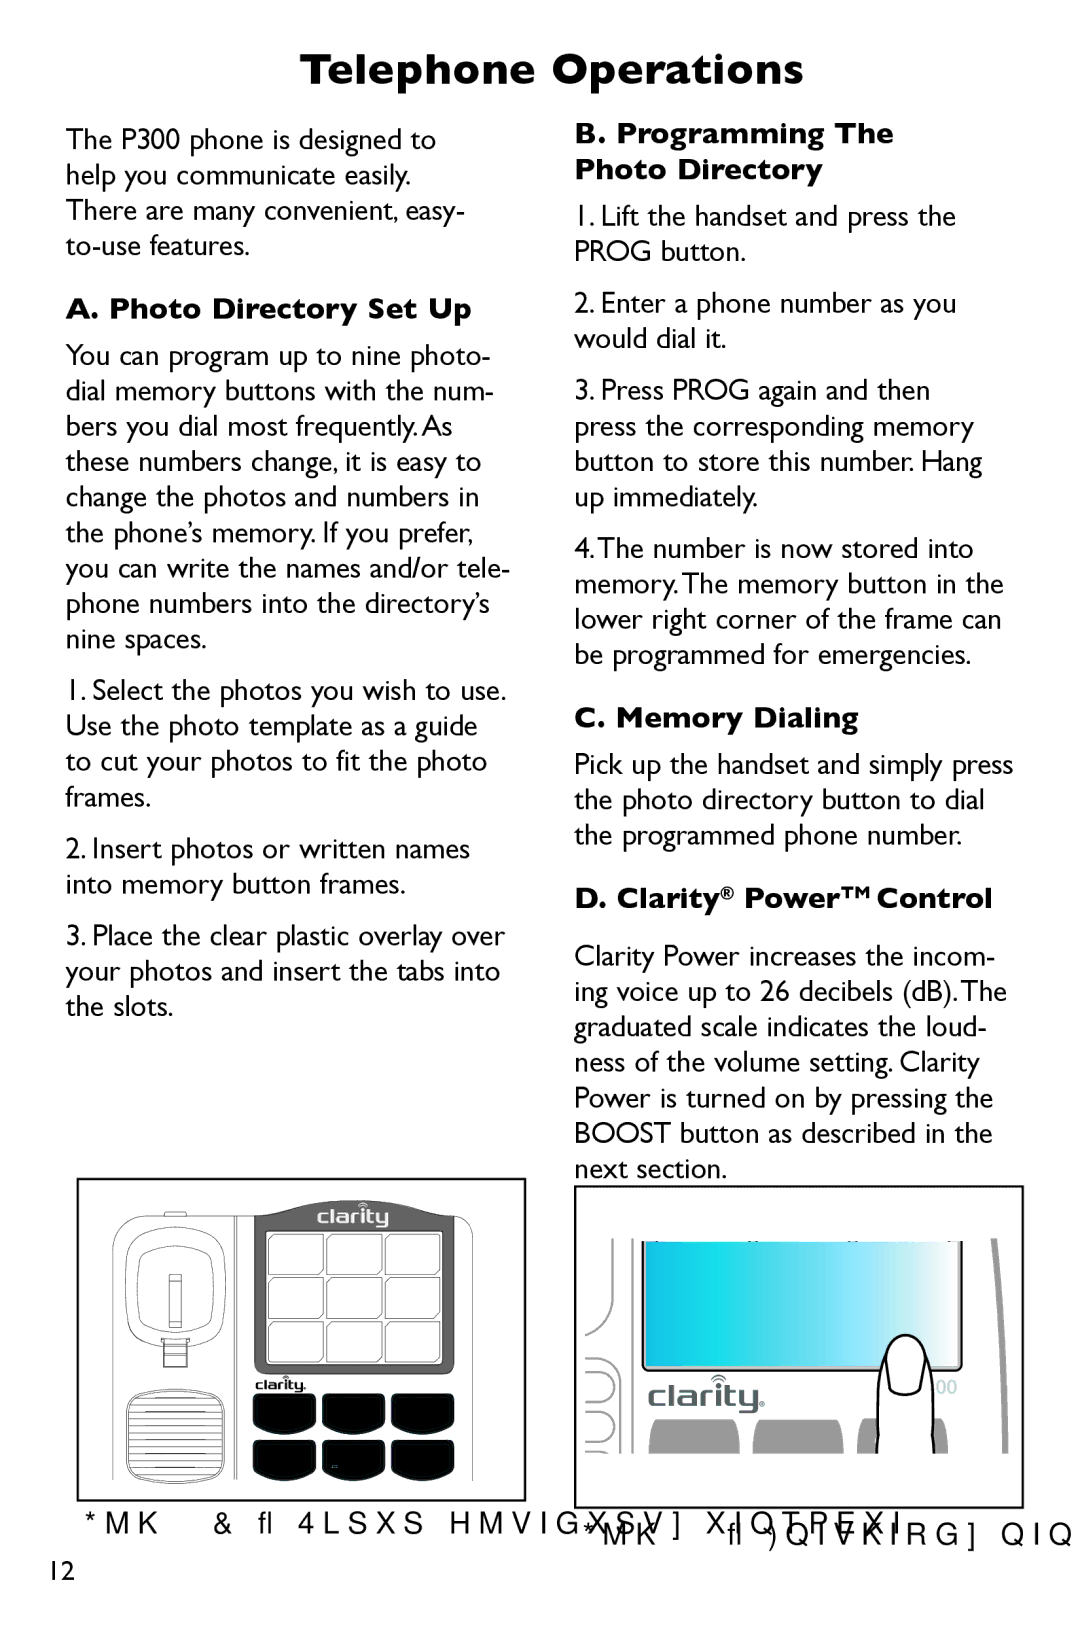
C. Memory Dialing
Pick up the handset and simply press the photo directory button to dial the programmed phone number.
D. Clarity® PowerTM Control
Clarity Power increases the incom- ing voice up to 26 decibels (dB).The graduated scale indicates the loud- ness of the volume setting. Clarity Power is turned on by pressing the BOOST button as described in the next section.
Bank
Fig. 8 – Emergency memory button
12