1 ![]()
2
Figure 1
GETTING STARTED
There are five initial steps involved in setting up your XL50
1.Insert four AA alkaline batteries for
2.Decide if you want the phone to sit on a desk or hang on the wall.
3.Connect the telephone components. Pages
4.Program up to eleven (11) telephone numbers to call with the press of a memory button. See Page 18.
5.Set up Notification Options. See Page 20.
Installing the Backup Batteries
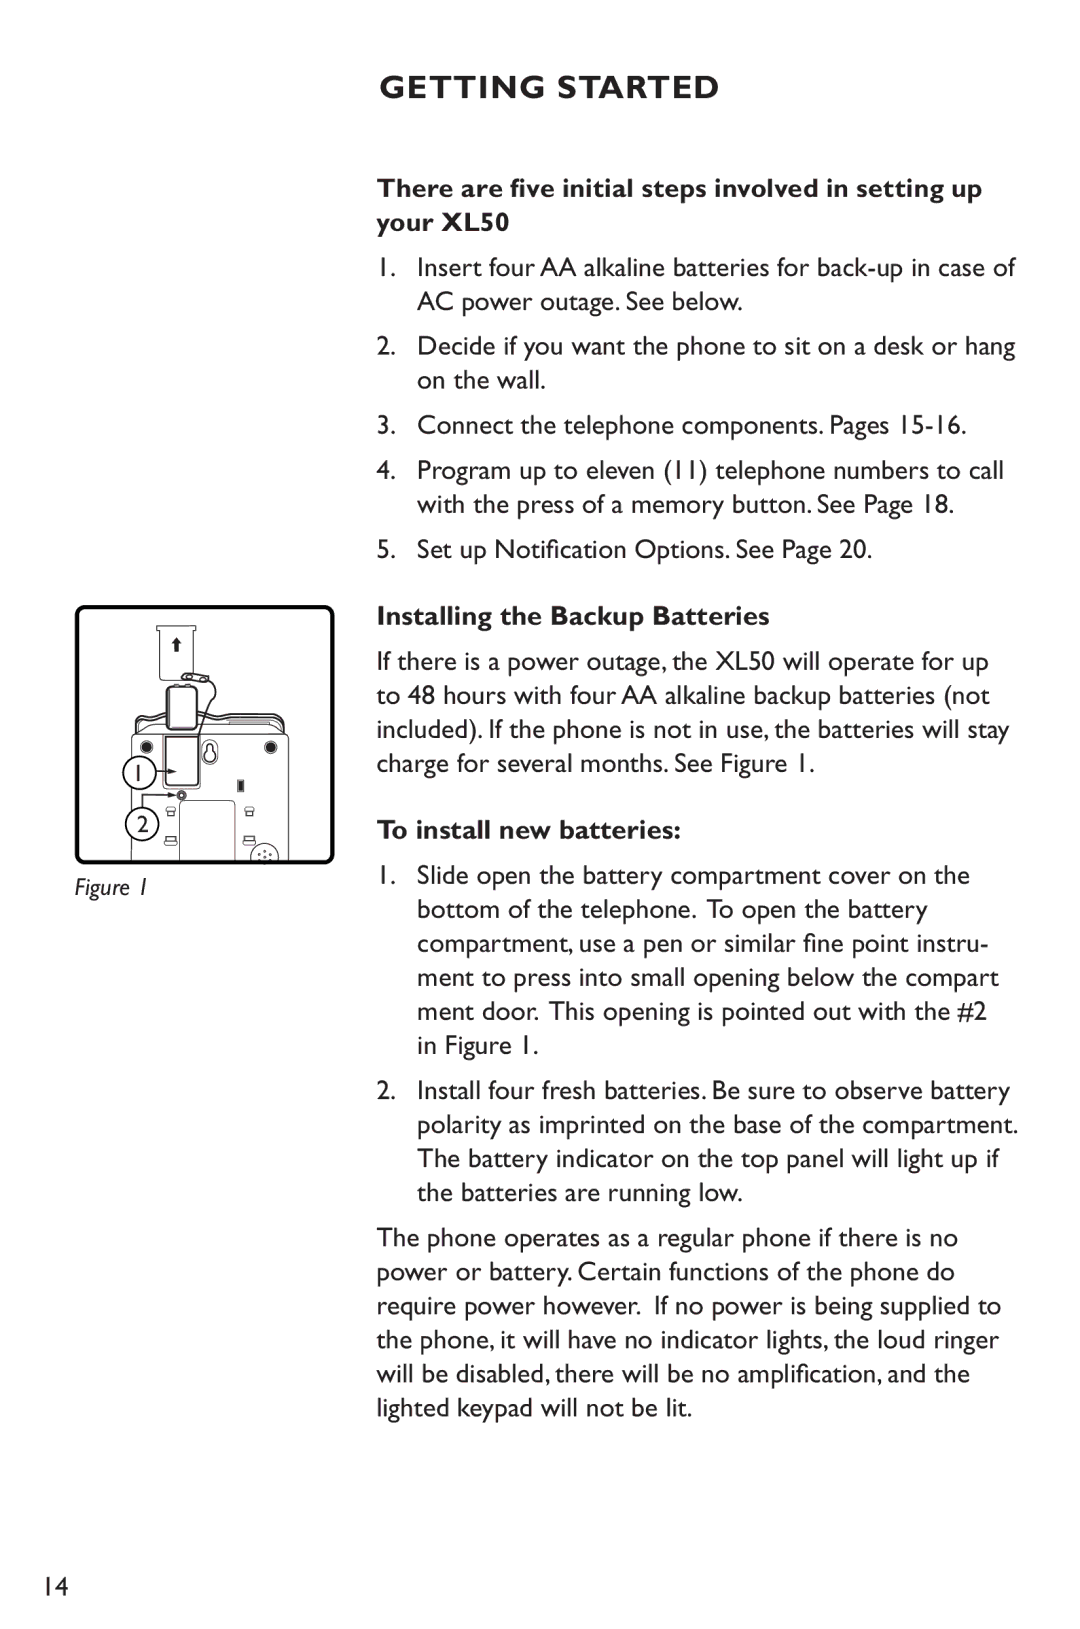
If there is a power outage, the XL50 will operate for up to 48 hours with four AA alkaline backup batteries (not included). If the phone is not in use, the batteries will stay charge for several months. See Figure 1.
To install new batteries:
1.Slide open the battery compartment cover on the bottom of the telephone. To open the battery compartment, use a pen or similar fine point instru- ment to press into small opening below the compart ment door. This opening is pointed out with the #2 in Figure 1.
2.Install four fresh batteries. Be sure to observe battery polarity as imprinted on the base of the compartment. The battery indicator on the top panel will light up if the batteries are running low.
The phone operates as a regular phone if there is no power or battery. Certain functions of the phone do require power however. If no power is being supplied to the phone, it will have no indicator lights, the loud ringer will be disabled, there will be no amplification, and the lighted keypad will not be lit.
14
