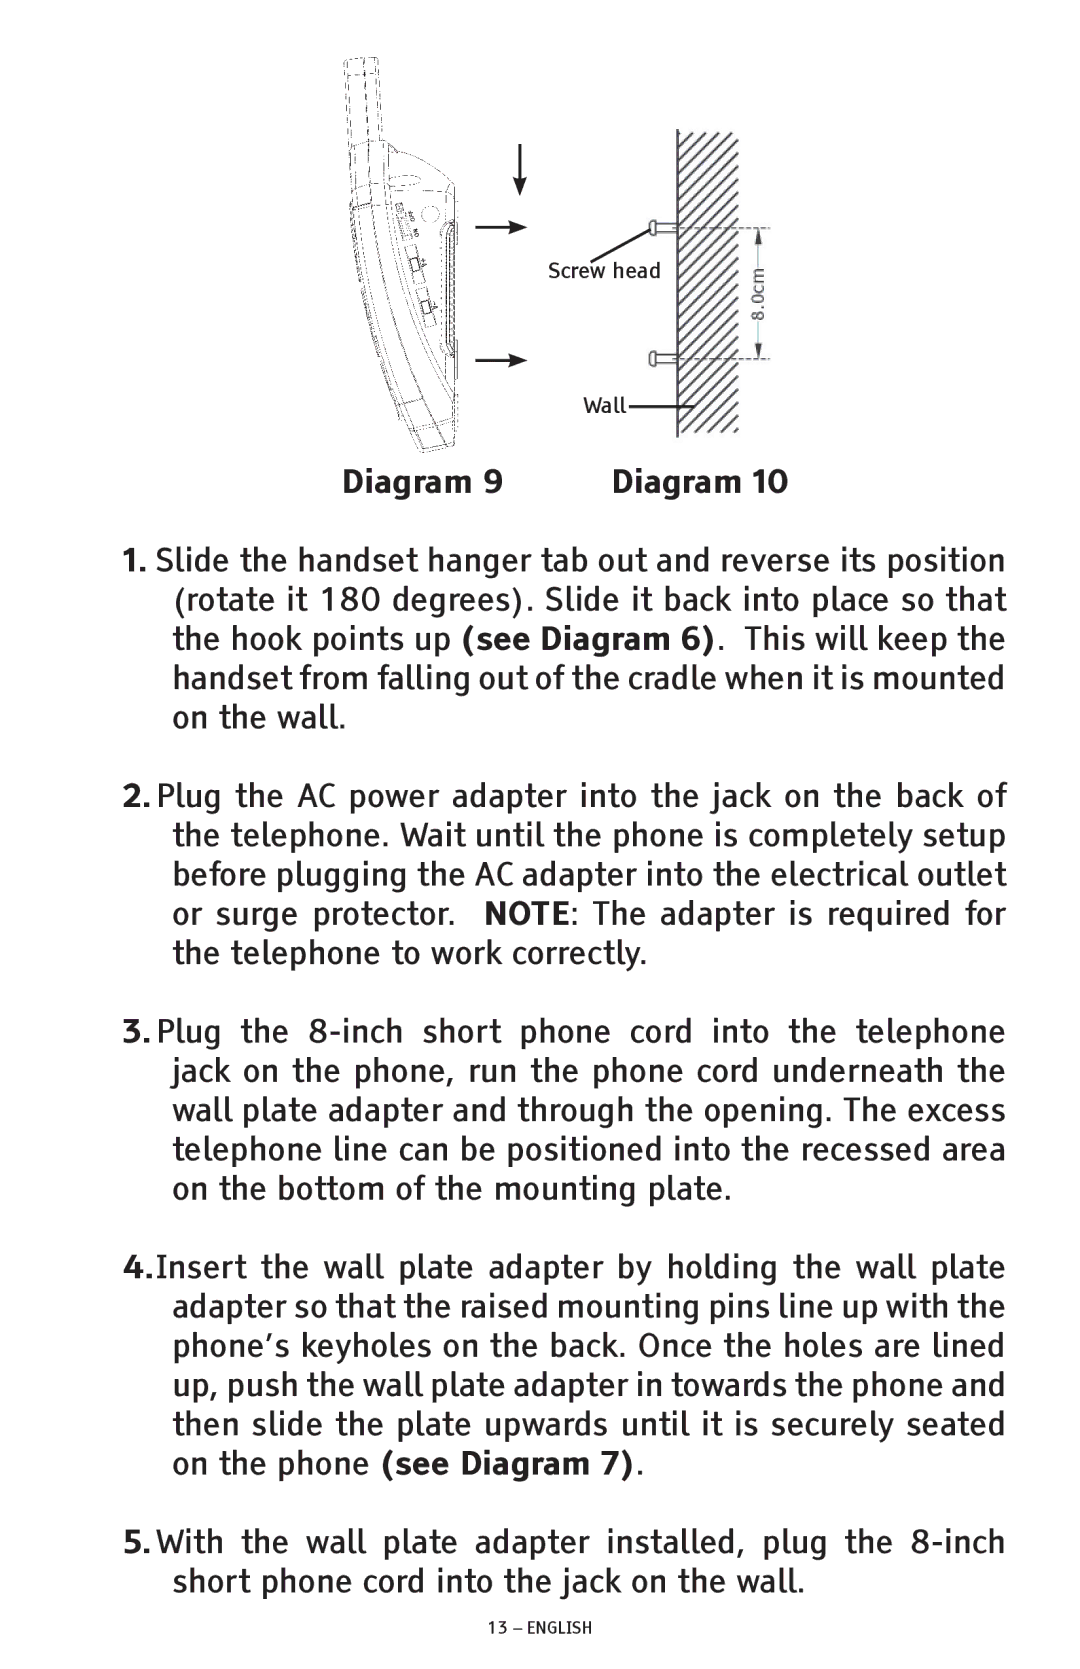
Screw head
Wall
Diagram 9 | Diagram 10 |
1.Slide the handset hanger tab out and reverse its position (rotate it 180 degrees). Slide it back into place so that the hook points up (see Diagram 6). This will keep the handset from falling out of the cradle when it is mounted on the wall.
2.Plug the AC power adapter into the jack on the back of the telephone. Wait until the phone is completely setup before plugging the AC adapter into the electrical outlet or surge protector. NOTE: The adapter is required for the telephone to work correctly.
3.Plug the
4.Insert the wall plate adapter by holding the wall plate adapter so that the raised mounting pins line up with the phone’s keyholes on the back. Once the holes are lined up, push the wall plate adapter in towards the phone and then slide the plate upwards until it is securely seated on the phone (see Diagram 7).
5.With the wall plate adapter installed, plug the
