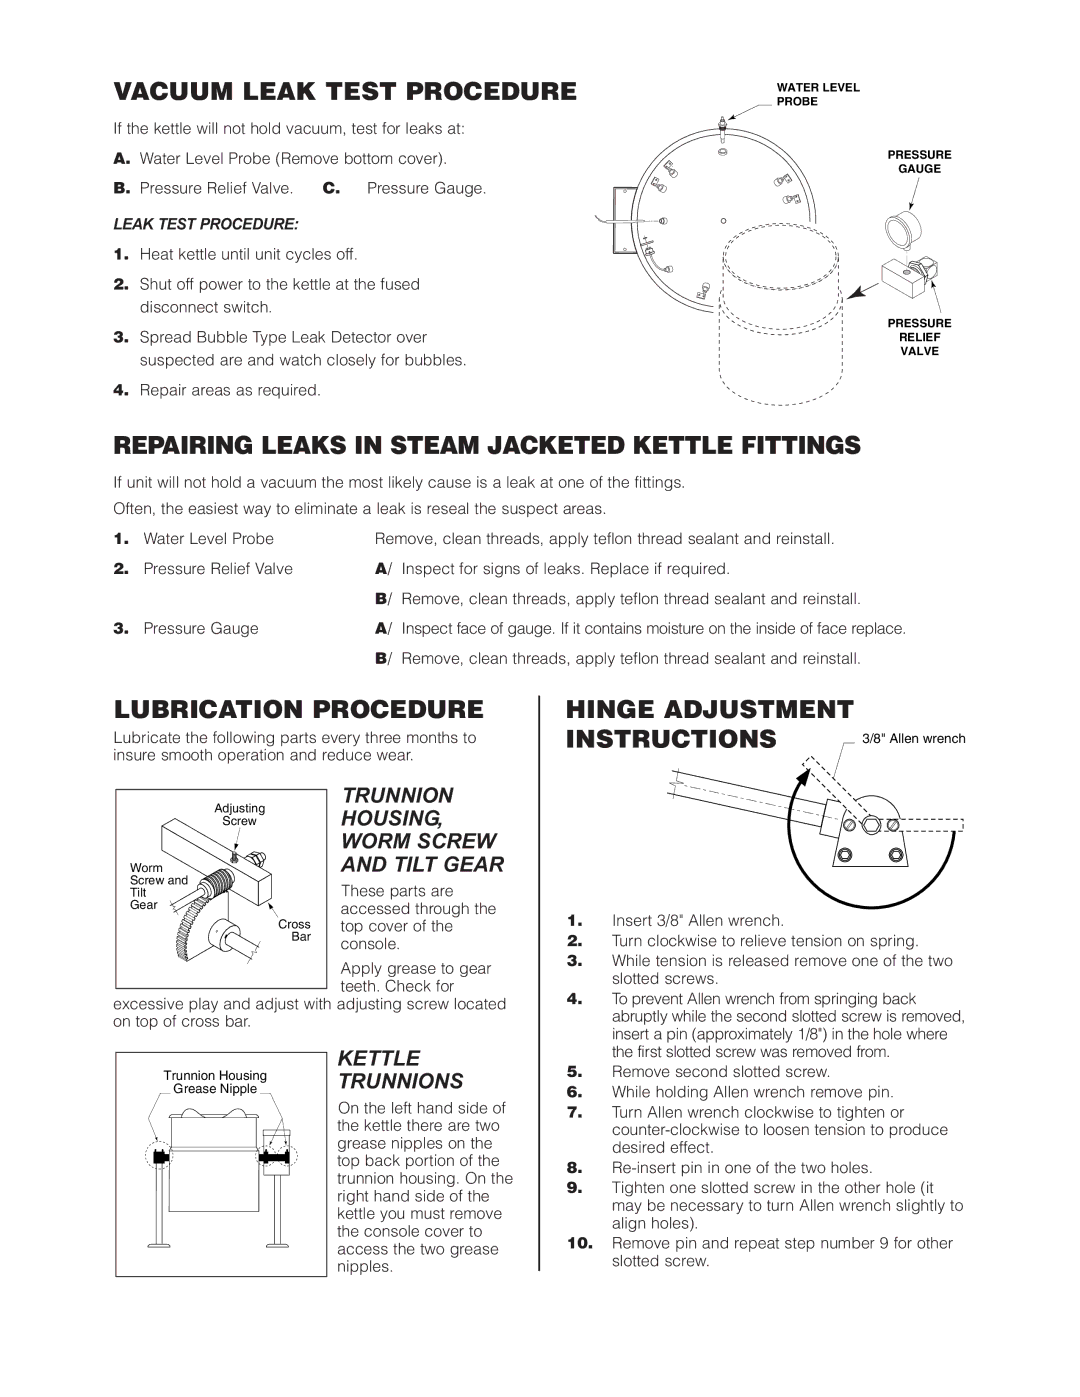
KEL-60, KEL-60-TSH, KEL-60-T, KEL-25, KEL-25-T specifications
Cleveland Range is renowned for its high-quality cooking equipment, particularly its lineup of electric kettles designed for commercial kitchens. Among its impressive array, the KEL-30, KEL-60-SH, KEL-100-T, KEL-80-T, and KEL-40-T models stand out for their unique features and innovative technologies.The KEL-30 is a compact yet powerful kettle, ideal for operations that have limited space but still require efficiency. With a 30-gallon capacity, it is perfect for cooking soups, sauces, and stews. Its advanced heating technology ensures rapid boil times, reducing wait times and increasing productivity. The kettle's low-profile design allows for easy access, making it user-friendly.
Next in line is the KEL-60-SH, which boasts a 60-gallon capacity. This model is equipped with a steam jacket, enhancing heat distribution and minimizing the risk of scorching. The KEL-60-SH is especially equipped to handle larger quantities, making it suitable for institutions like schools or large restaurants. Its precise temperature controls enable chefs to maintain consistent cooking results.
The KEL-100-T represents the top end of Cleveland's kettle range with an impressive 100-gallon capacity. Designed for high-volume operations, this kettle integrates cutting-edge technology to optimize cooking performance. Its tilting feature simplifies the pouring process, while the robust stainless steel construction ensures durability and easy cleaning.
The KEL-80-T offers a balance in size and functionality, featuring an 80-gallon capacity. With similar tilting mechanisms as its larger counterpart, it is designed for versatility, allowing chefs to prepare a variety of dishes efficiently.
Lastly, the KEL-40-T, with a 40-gallon capacity, caters to kitchens that require flexibility without sacrificing volume. This model is particularly popular in mid-sized establishments that aim to serve a diverse menu.
Across the range, each kettle features a user-friendly control panel, enabling chefs to set precise cooking temperatures and timers. Safety is also a priority, with features like pressure relief valves and cool-touch handles to prevent burns.
In conclusion, Cleveland Range's KEL-30, KEL-60-SH, KEL-100-T, KEL-80-T, and KEL-40-T models collectively represent the pinnacle of commercial kettle technology. Each unit is tailored to meet different operational needs while ensuring consistent performance, making them invaluable assets in any bustling kitchen.

