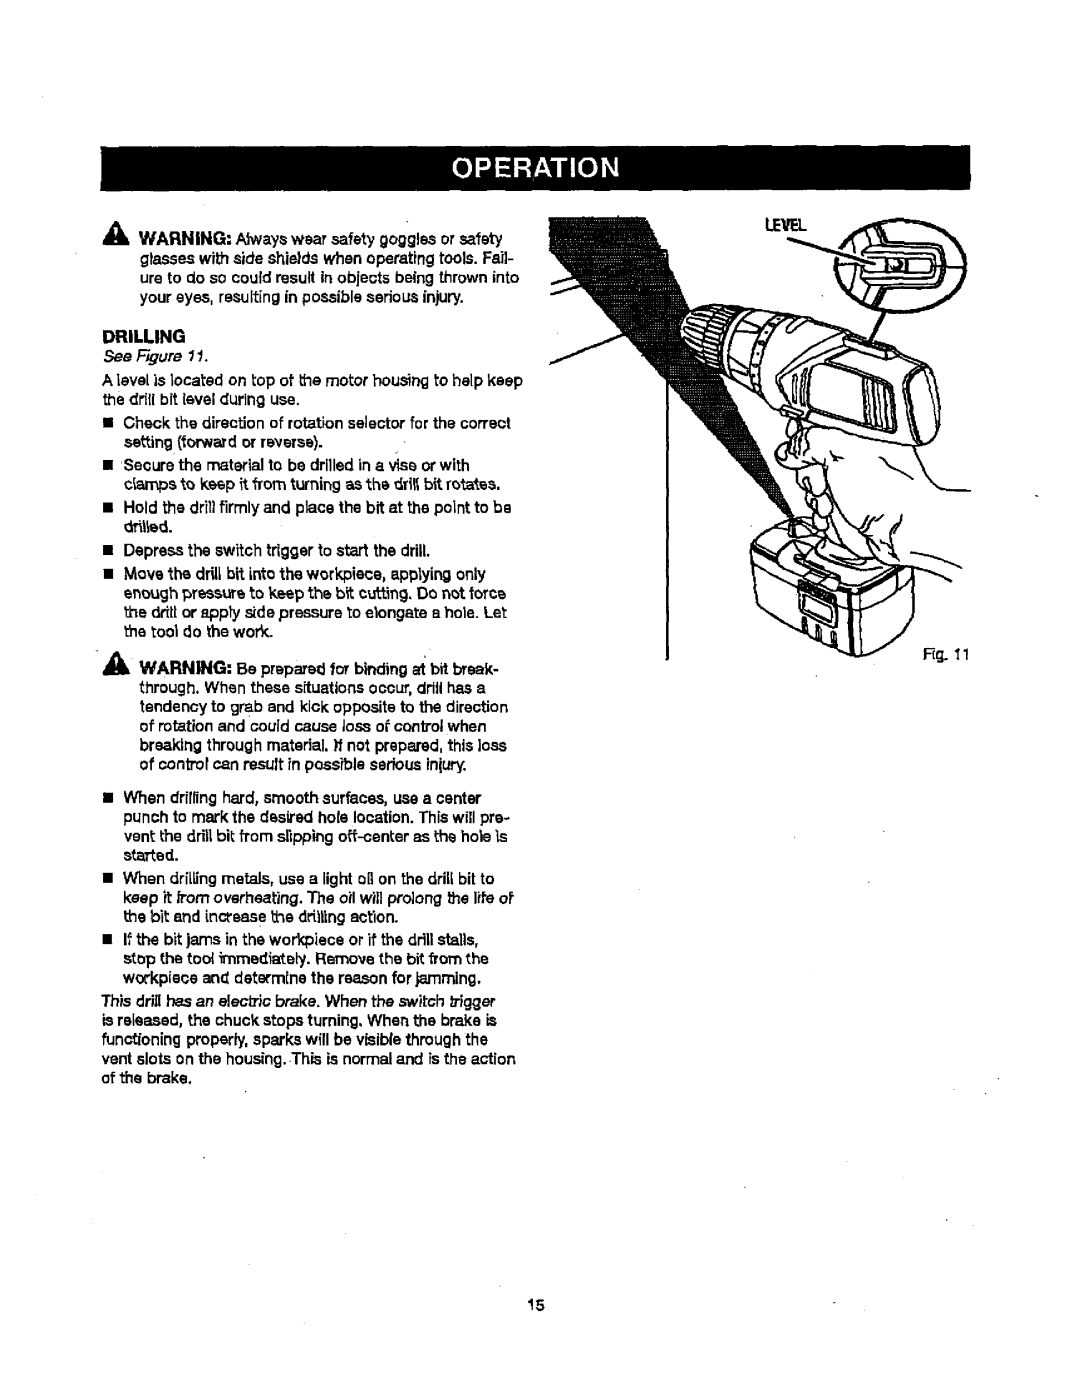
LEWL
'_ WARNING: Alwayswsar safety goggles or safety glasseswith aide shields when operating tools. Fail- ure to do so could resultin objects being throwninto your eyes, resultingin possibleseriousinjury.
DRILLING
See Figure 11.
A level is located on top of the motor housing to help keep the drill bit level during use.
•Check the direction of rotation selector for the correct sathng (forward or raverae).
•Secure the material to be drilled in a vise or with clamps to keep _t'{Tomturning as the ddlt bit rc>_atas.
•Hold the drillfirmlyand place the bit at the point to be
•Depress the switch trigger to start the drill.
•Move the drillbit intothe work,piece, applying only enough _ress_e to keep the bit cuthng.Do not toms the driti or apphj side pressure 'coelongate a hole. Let the tool do the work.
F_g.tl
_lk WARNING: Be prepaxsd for binding a_ bit break- through. When these situationsoccur, drillhas a tendency to grab and kick oppositeto the direction of rotationand could cause loss ot control when breaking throughmaterial. )1'not prepared,this loss of controlcan result inpossible seriousin(ury:.
•When drilling hard, smooth surfaces, use a center punch to mark the desired hole location. Thiswill pre-
vent the dn'ilbit from
•When drillingmetals, use a light oil on the drill bit to keep it from overheating.The oil will prolong the life ot the bitand increase _e driltingaction.
•If the bit )aresin the workpieca or it the ddll stalls,
stop the tool irnmed_tel'/. Remove the bit from the workpiece and determinethe reasonfor jamming.
This drillhas an elecb'Jobrake. When the switch trigger isreleased, the chuck stops turning,When the brake is functioning properly,sparks will be visiblethroughthe vent slots on the housing.This is normal and is the action of the brake.
15