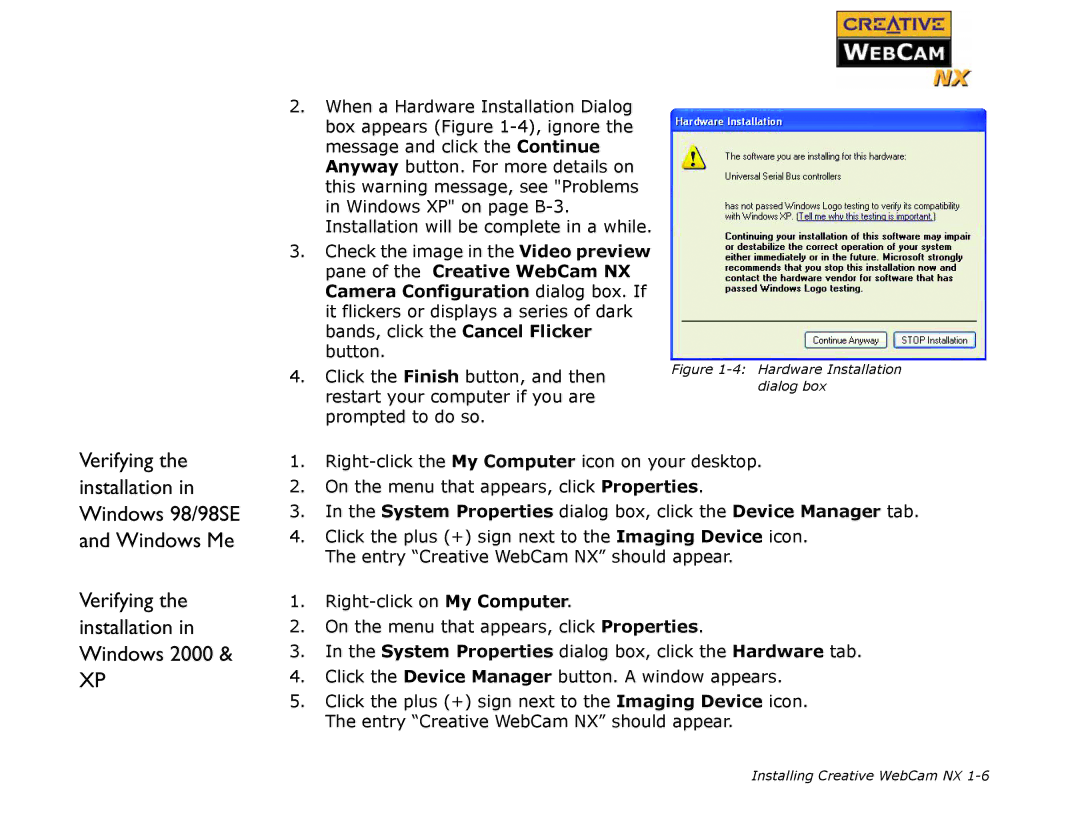
2.When a Hardware Installation Dialog box appears (Figure
3.Check the image in the Video preview pane of the Creative WebCam NX Camera Configuration dialog box. If it flickers or displays a series of dark bands, click the Cancel Flicker button.
4.Click the Finish button, and then restart your computer if you are prompted to do so.
Figure 1-4: Hardware Installation dialog box
Verifying the installation in Windows 98/98SE and Windows Me
Verifying the installation in Windows 2000 &
XP
1.
2.On the menu that appears, click Properties.
3.In the System Properties dialog box, click the Device Manager tab.
4.Click the plus (+) sign next to the Imaging Device icon. The entry “Creative WebCam NX” should appear.
1.
2.On the menu that appears, click Properties.
3.In the System Properties dialog box, click the Hardware tab.
4.Click the Device Manager button. A window appears.
5.Click the plus (+) sign next to the Imaging Device icon. The entry “Creative WebCam NX” should appear.
Installing Creative WebCam NX