Cyclone MKV 2 Multimedia Adapter
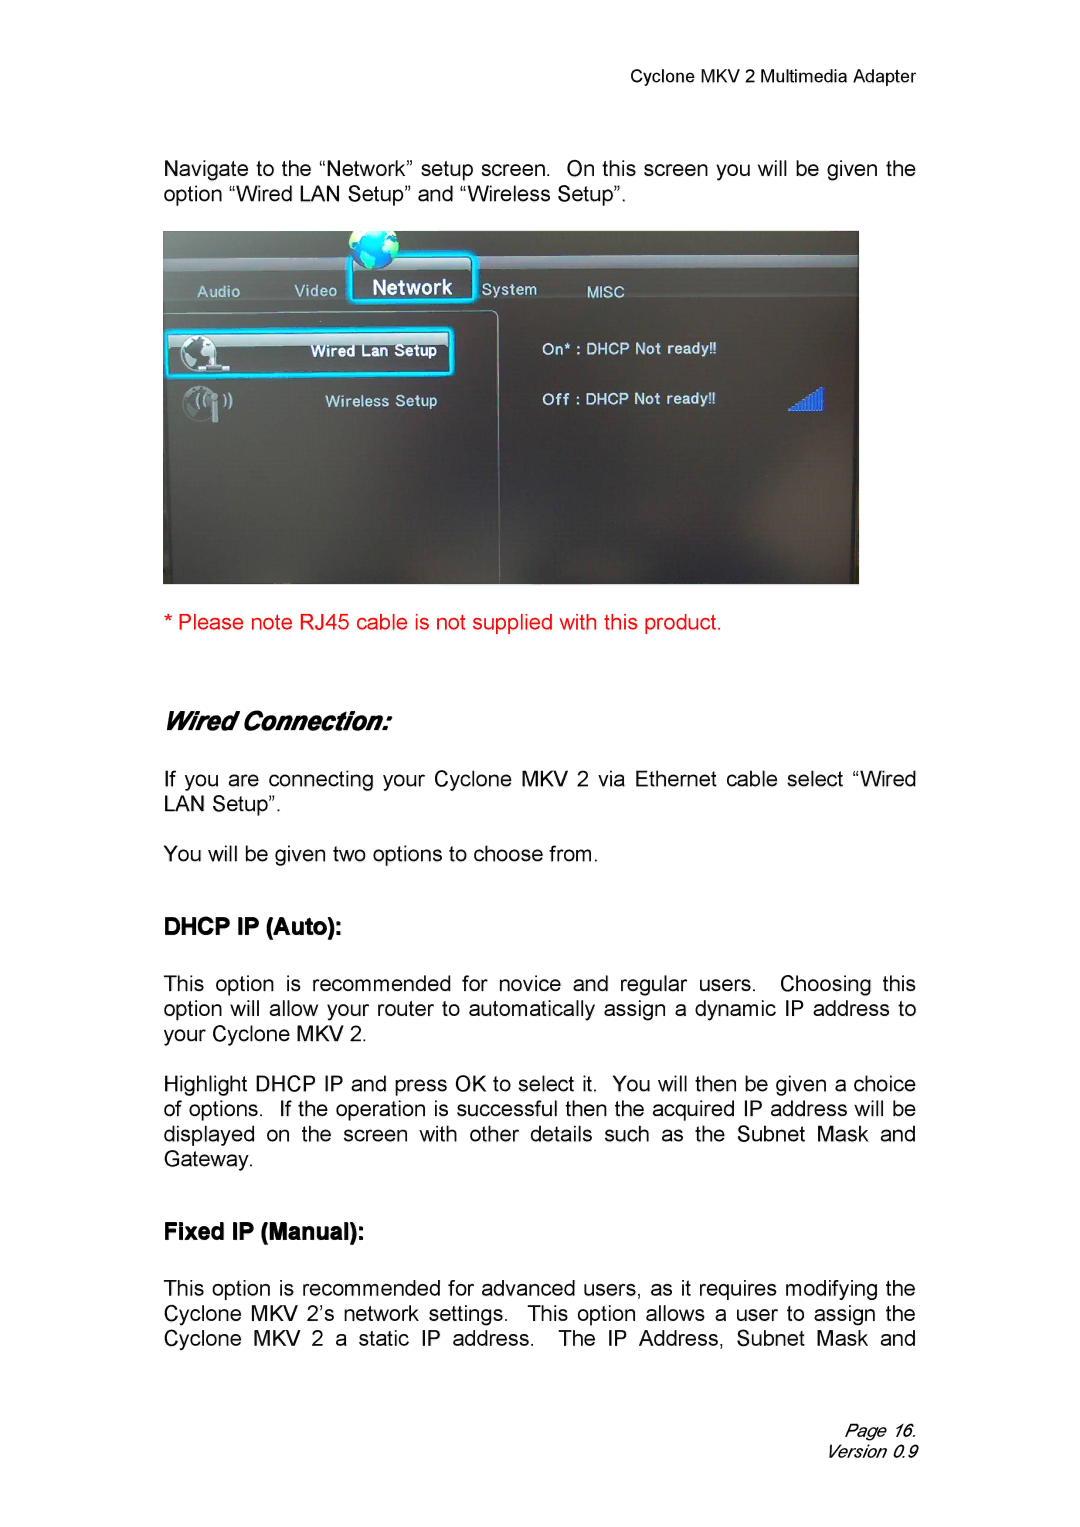
Navigate to the “Network” setup screen. On this screen you will be given the option “Wired LAN Setup” and “Wireless Setup”.
* Please note RJ45 cable is not supplied with this product.
Wired Connection:
If you are connecting your Cyclone MKV 2 via Ethernet cable select “Wired LAN Setup”.
You will be given two options to choose from.
DHCP IP (Auto):
This option is recommended for novice and regular users. Choosing this option will allow your router to automatically assign a dynamic IP address to your Cyclone MKV 2.
Highlight DHCP IP and press OK to select it. You will then be given a choice of options. If the operation is successful then the acquired IP address will be displayed on the screen with other details such as the Subnet Mask and Gateway.
Fixed IP (Manual):
This option is recommended for advanced users, as it requires modifying the Cyclone MKV 2’s network settings. This option allows a user to assign the Cyclone MKV 2 a static IP address. The IP Address, Subnet Mask and
Page 16. Version 0.9