Camera Configuration
Follow the instructions for setting up your wired or wireless camera. If the camera is for home use and is behind an Internet router, additional
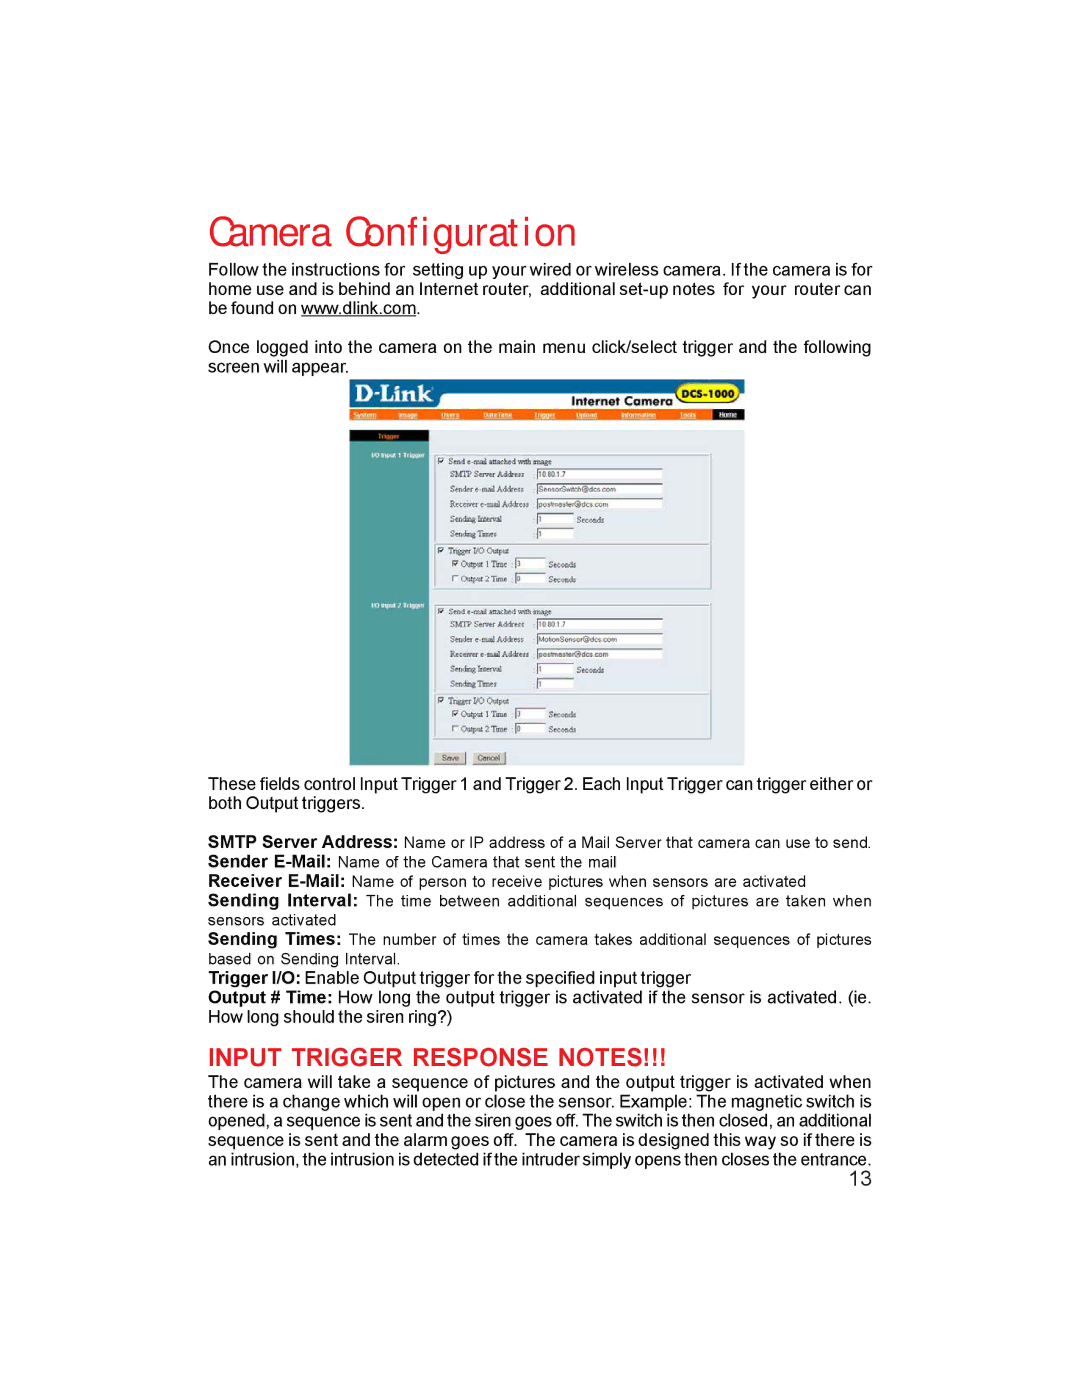
Once logged into the camera on the main menu click/select trigger and the following screen will appear.
These fields control Input Trigger 1 and Trigger 2. Each Input Trigger can trigger either or both Output triggers.
SMTP Server Address: Name or IP address of a Mail Server that camera can use to send.
Sender
Receiver
Sending Interval: The time between additional sequences of pictures are taken when sensors activated
Sending Times: The number of times the camera takes additional sequences of pictures based on Sending Interval.
Trigger I/O: Enable Output trigger for the specified input trigger
Output # Time: How long the output trigger is activated if the sensor is activated. (ie. How long should the siren ring?)
INPUT TRIGGER RESPONSE NOTES!!!
The camera will take a sequence of pictures and the output trigger is activated when there is a change which will open or close the sensor. Example: The magnetic switch is opened, a sequence is sent and the siren goes off. The switch is then closed, an additional sequence is sent and the alarm goes off. The camera is designed this way so if there is an intrusion, the intrusion is detected if the intruder simply opens then closes the entrance.
13