Preparation
Connecting DVI
1.Prepare the DVI cable and the PC audio cable(Sold separately).
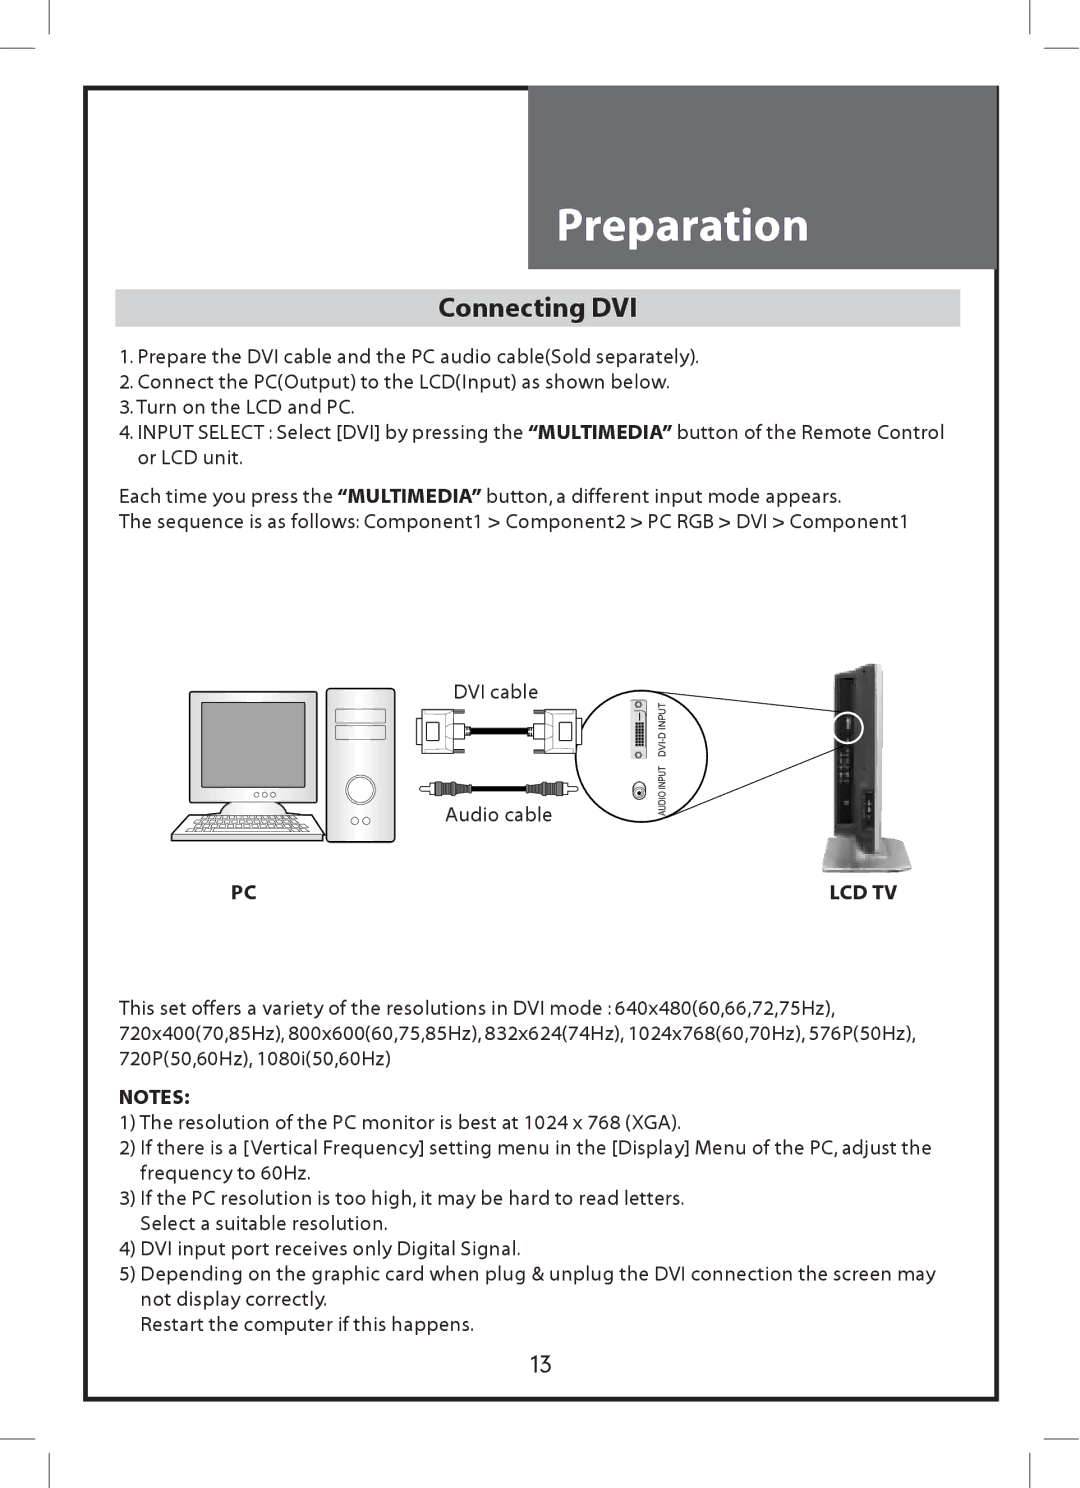
2.Connect the PC(Output) to the LCD(Input) as shown below.
3.Turn on the LCD and PC.
4.INPUT SELECT : Select [DVI] by pressing the “MULTIMEDIA” button of the Remote Control or LCD unit.
Each time you press the “MULTIMEDIA” button, a different input mode appears.
The sequence is as follows: Component1 > Component2 > PC RGB > DVI > Component1
DVI cable
Audio cable
AUDIO INPUT
PC | LCD TV |
This set offers a variety of the resolutions in DVI mode : 640x480(60,66,72,75Hz), 720x400(70,85Hz), 800x600(60,75,85Hz), 832x624(74Hz), 1024x768(60,70Hz), 576P(50Hz), 720P(50,60Hz), 1080i(50,60Hz)
NOTES:
1)The resolution of the PC monitor is best at 1024 x 768 (XGA).
2)If there is a [Vertical Frequency] setting menu in the [Display] Menu of the PC, adjust the frequency to 60Hz.
3)If the PC resolution is too high, it may be hard to read letters. Select a suitable resolution.
4)DVI input port receives only Digital Signal.
5)Depending on the graphic card when plug & unplug the DVI connection the screen may not display correctly.
Restart the computer if this happens.
13