Programming
Wand Emulation Connection — Connect the scanner to the appropriate port on the termi- nal/PC via a decoder1 using the correct cable for the interface type you ordered. Reference Figure 2.
IBM Connection — Connect the scanner to the IBM port on the terminal/PC using the cor- rect IBM cable. Reference Figure 2.
Keyboard Wedge Connection — Before connection, turn off power to the terminal/PC. The Keyboard Wedge cable has a ‘Y’ connection from the scanner. Connect the female to the male end from the keyboard and the remaining end at the keyboard port at the terminal/PC. Reference Figure 2.
Programming
The scanner is typically
Using the Programming Bar Codes
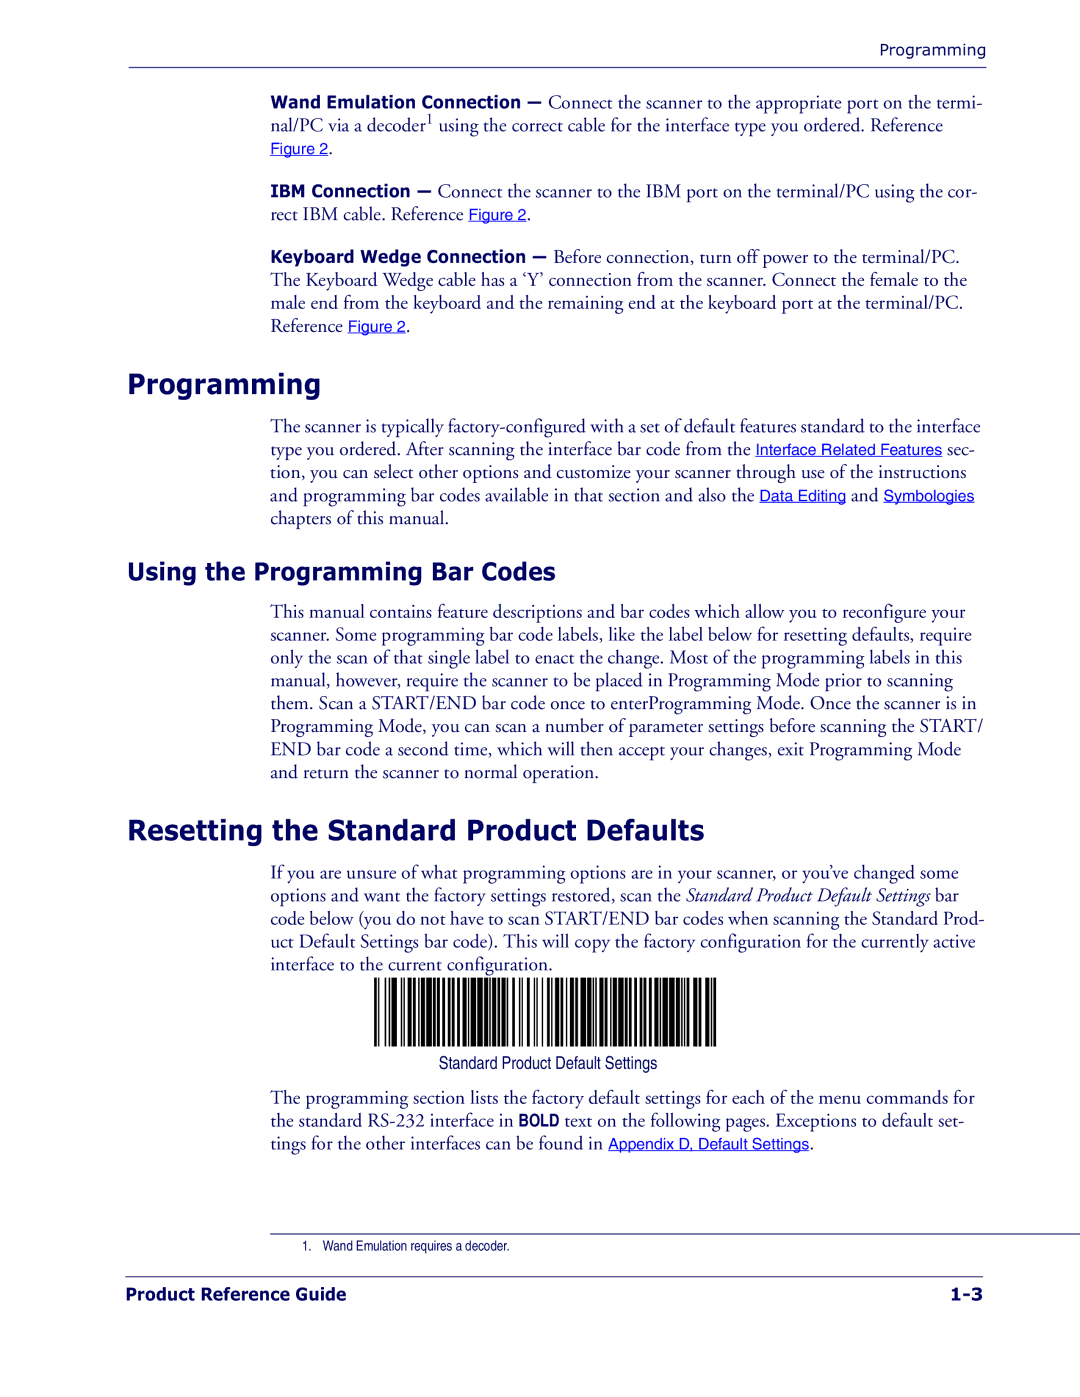
This manual contains feature descriptions and bar codes which allow you to reconfigure your scanner. Some programming bar code labels, like the label below for resetting defaults, require only the scan of that single label to enact the change. Most of the programming labels in this manual, however, require the scanner to be placed in Programming Mode prior to scanning them. Scan a START/END bar code once to enterProgramming Mode. Once the scanner is in Programming Mode, you can scan a number of parameter settings before scanning the START/ END bar code a second time, which will then accept your changes, exit Programming Mode and return the scanner to normal operation.
Resetting the Standard Product Defaults
If you are unsure of what programming options are in your scanner, or you’ve changed some options and want the factory settings restored, scan the Standard Product Default Settings bar code below (you do not have to scan START/END bar codes when scanning the Standard Prod- uct Default Settings bar code). This will copy the factory configuration for the currently active interface to the current configuration.
Standard Product Default Settings
The programming section lists the factory default settings for each of the menu commands for the standard
1. Wand Emulation requires a decoder.
Product Reference Guide |
