7000 specifications
The Dell 7000 series is a premium line of laptops that has garnered attention for its balance of performance, design, and advanced features. Designed primarily for professionals, the Dell 7000 series encompasses various models, most notably the XPS 15 and XPS 17, which have gained popularity for their cutting-edge technologies and stunning aesthetics.At the heart of the Dell 7000 series is the latest Intel Core processors, offering exceptional computing power that seamlessly handles demanding tasks such as video editing, programming, and gaming. With options for the latest 11th or 12th generation CPUs, users can expect improved performance and efficiency. The integrated Intel Iris Xe graphics provide enhanced visual experiences, making them suitable for stunning multimedia presentations and casual gaming.
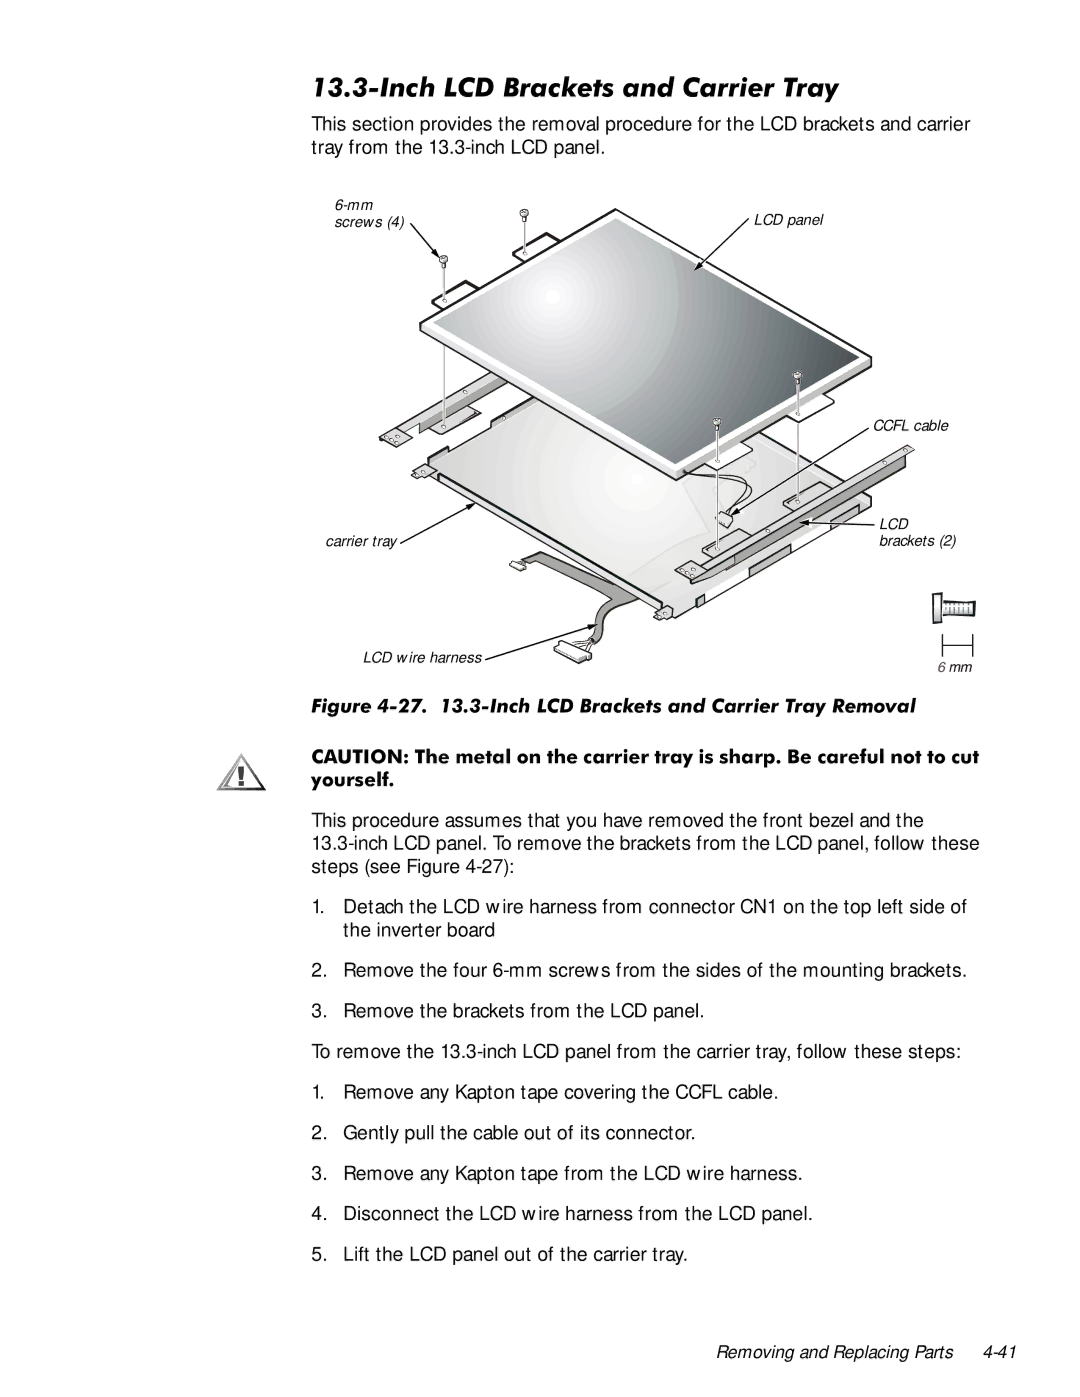
One of the standout features of the Dell 7000 series is its InfinityEdge display. With ultra-thin bezels, the screens offer an immersive viewing experience, available in options ranging from Full HD to 4K Ultra HD. The vibrant colors and high resolution make it ideal for creative professionals who rely on color accuracy for their work. Additionally, touch-screen options are available, providing an intuitive interface for users looking to enhance productivity.
The build quality of the Dell 7000 series is another characteristic that sets it apart. Crafted from premium materials such as aluminum and carbon fiber, these laptops are both sleek and durable. The design is lightweight, making it easy to transport for professionals on the go. The backlit keyboard offers a comfortable typing experience, while the precision touchpad ensures accurate navigation.
Another notable aspect of the Dell 7000 series is its range of connectivity options. Equipped with multiple Thunderbolt 4 ports, users can connect external devices and displays with ease. Wi-Fi 6 and Bluetooth 5.1 ensure fast and reliable wireless connections, essential for remote work and collaboration.
The Dell 7000 series also places a strong emphasis on security features. Options for fingerprint readers and Windows Hello facial recognition provide robust security for sensitive data. Additionally, Dell's software solutions, such as Dell SupportAssist, help maintain system performance and health.
With premium performance, a stunning display, and advanced features, the Dell 7000 series stands out as a formidable choice for professionals seeking a powerful and portable laptop. Whether for creative work, productivity, or entertainment, the Dell 7000 series delivers an exceptional experience that meets the diverse needs of modern users.

