760 specifications
The Dell OptiPlex 760 is a highly regarded desktop computer that caters primarily to business environments. Released as part of Dell’s OptiPlex series, the 760 is designed for efficiency, reliability, and performance, making it a suitable choice for organizations looking for a dependable workstation.One of the standout features of the Dell 760 is its versatility in form factor. It is available in mini-tower, desktop, and ultra-small form factor configurations, offering options that can fit various workspace requirements. This adaptability ensures that businesses can tailor their desktop setup based on space constraints or specific usage scenarios.
Powering the Dell 760 is an Intel Core 2 Duo processor, which provides a competent level of performance for typical office applications, multitasking, and data processing tasks. The system supports a wide range of processors, with options available for both dual-core and quad-core configurations, delivering the necessary horsepower for demanding applications.
In terms of memory, the OptiPlex 760 supports up to 8GB of DDR2 RAM, allowing for adequate multitasking capabilities. The inclusion of ample RAM helps improve the overall responsiveness of the system, making it perfect for business applications that require quick access to data and smooth operation.
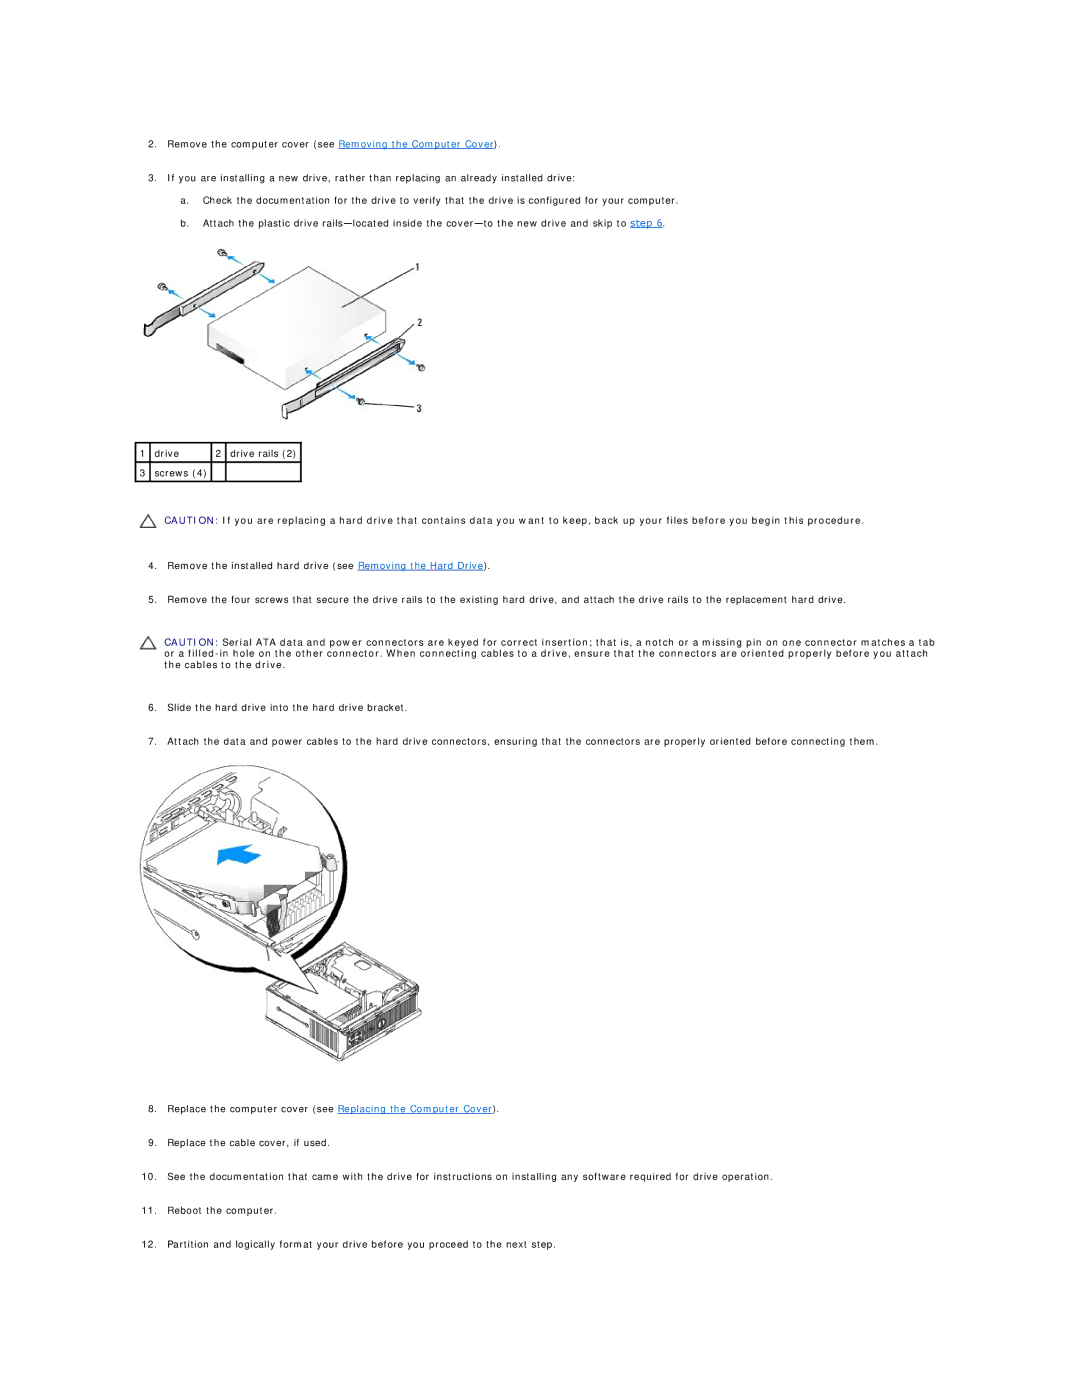
Storage options on the Dell 760 include various hard drive capacities, ranging from 160GB to 500GB SATA HDDs. Additionally, the system can accommodate SSD upgrades for those seeking faster boot times and enhanced data access speeds, further improving efficiency in work environments.
Connectivity is another area where the Dell 760 excels. The desktop features a range of ports, including USB 2.0, VGA, and optional DisplayPort outputs, enabling users to connect multiple peripherals and displays easily. Integrated Ethernet allows for seamless network connections, which is crucial for businesses that rely on online connectivity and network sharing.
Another important characteristic of the Dell 760 is its energy efficiency. The system is designed to meet ENERGY STAR certification, making it a responsible choice for businesses looking to reduce their environmental impact and operating costs. This focus on sustainability aligns with modern corporate values, making the Dell 760 a forward-thinking solution.
In summary, the Dell OptiPlex 760 stands out as a reliable and efficient desktop solution for business use. With its range of form factors, powerful Intel processors, ample memory and storage options, extensive connectivity, and energy-efficient design, it remains a solid choice for organizations aiming to enhance their productivity while maintaining cost-effectiveness.

