System Information Guide
Page
System Information Guide
Abbreviations and Acronyms
Contents
Contents
General
System Information Guide
Power
Battery
Air Travel
Electromagnetic Compatibility EMC Instructions
When Using Your Computer
When Working Inside Your Computer
Ergonomic Computing Habits
Battery Disposal
Protecting Against Electrostatic Discharge
Finding Information for Your Computer
L l S y s t e m I n f o r m a t i o n G u i d e
C r o s o f t W i n d o w s 2 0 0
O d u c t Ke y
L l S u p p o r t We b s i t e
N d o w s H e l p a n d S u p p o r t C e n t e r
E r a t i n g S y s t e m C D
Setting Up Your Computer
Power button System Information Guide
Connecting the Dell D/Bay
About Your Computer
Front View
Display latch Mute button
Headphones connector Infrared sensor
Left View
Right View
Security cable slot Hard drive Smart card slot Fan exhaust
Air intake Video connector
USB connector
Serial connector Network connector System Information Guide
Back View
Removing a Battery
Battery-bay latch release Battery charge gauge Bluetooth
Module slot Air intake Service Tag Docking connector slot
Bottom View
Installing a Battery
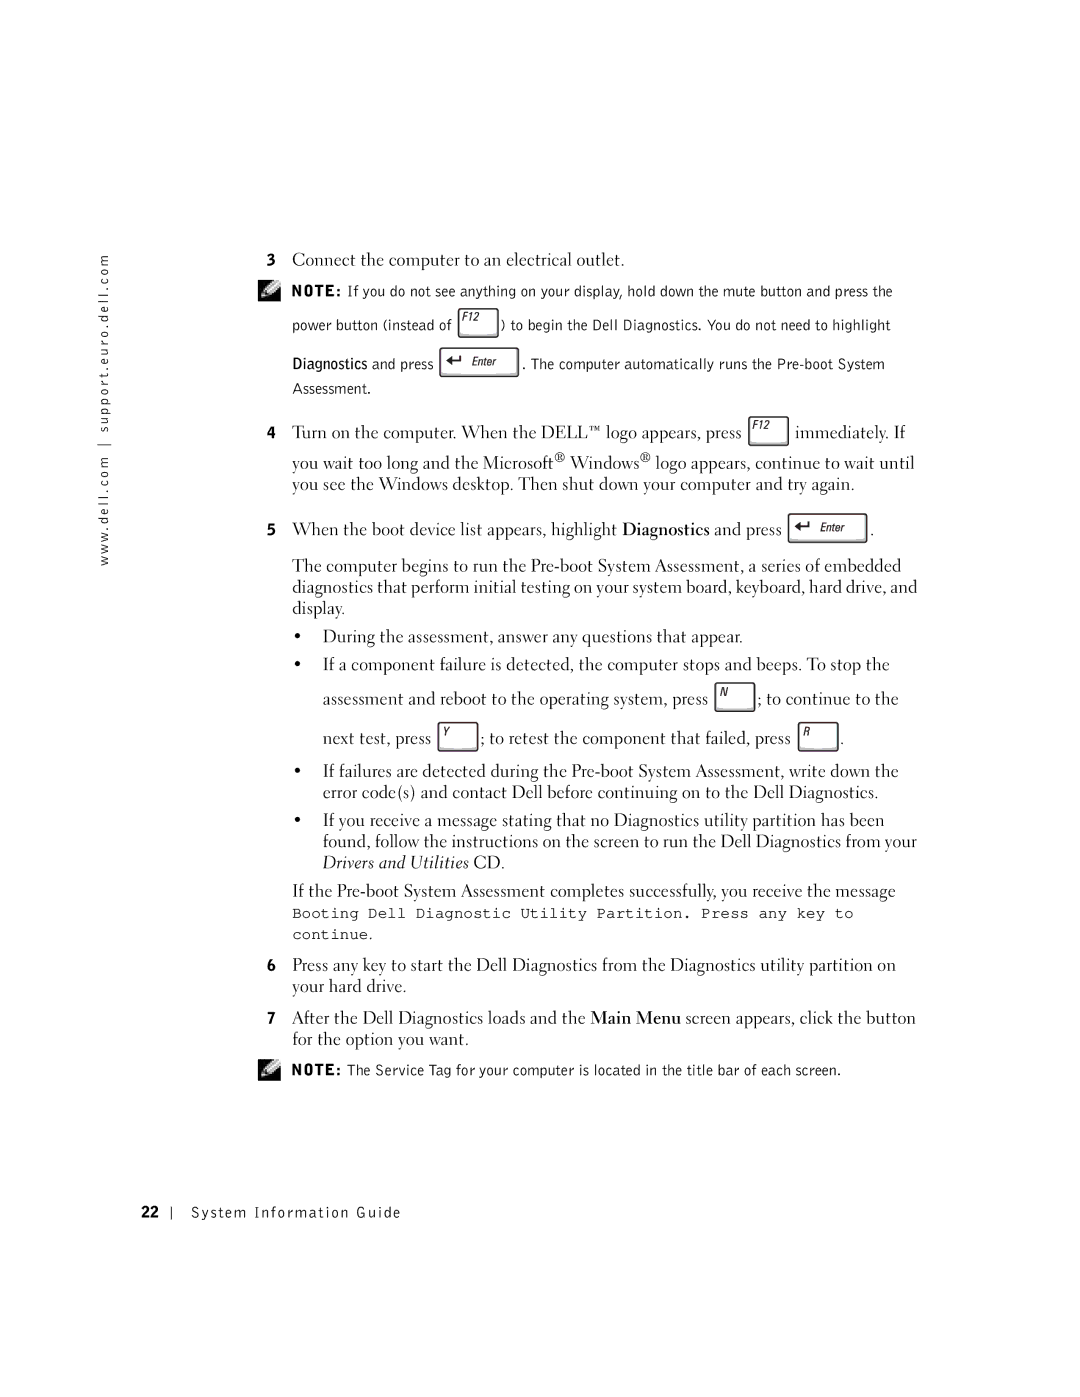
Running the Dell Diagnostics
Connect the computer to an electrical outlet
Problem quickly
Symptom Tree
Symptoms
Errors
Regulatory Notices
Systeeminformatiehandleiding
Opmerkingen, kennisgevingen en waarschuwingen
Afkortingen en acroniemen
Waarschuwing Veiligheidsinstructies
EMC-instructies elektromagnetische compatibiliteit
Informatie over uw computer vinden
Dell-diagnoseprogramma uitvoeren
Inhoud
Waarschuwing Veiligheidsinstructies
Algemeen
Systeeminfor matiehandleiding
Waarschuwing Veiligheidsinstructies Vervolg
Voeding
Systeeminformatiehandleiding
Batterij
Luchtverkeer
EMC-instructies elektromagnetische compatibiliteit
Bij gebruik van de computer
Bij gebruik van de computer vervolg
Ergonomische overwegingen bij het werken met de computer
De computer openen voor onderhoud
Bescherming tegen elektrostatische ontlading
Informatie over uw computer vinden
De batterij verwijderen
N W i n d o w s
P r e s s S e r v i c e code e n p r o d u c t code
L l S u p p o r t w e b s i t e
L p e n o n d e r s t e u n i n g v a n W i n d o w s
De computer instellen
Page
De Dell D/Bay aansluiten
Over de computer
Voorkant
Zijaanzicht, links
Aan/uit-knop Luidspreker Toetsenbord Touchpad
USB-connector
Zijaanzicht, rechts
Achterkant
Netadapter
Een batterij verwijderen
Onderkant
Een batterij installeren
Dell-diagnoseprogramma uitvoeren
Steek de stekker van de computer in het stopcontact
Systeeminformatiehandleiding
Tabblad Functie
Internationale kennisgevingen
Guide dinformations du système
Remarques, avis et précautions
Abréviations et acronymes
Précaution Consignes de sécurité
Sommaire
Sommaire
Précaution Consignes de sécurité
Généralités
Guide dinformations du système
Précaution Consignes de sécurité suite
Alimentation
Batterie
Voyage en avion
Lors de lutilisation de votre ordinateur
Lors de lutilisation de votre ordinateur suite
Précautions ergonomiques
Intervention à lintérieur de votre ordinateur
Protection contre les décharges électrostatiques
Recherche dinformations sur votre ordinateur
Mise au rebut de la batterie
Que recherchez-vous ? Consultez les sections suivantes
Ordinateur
S y s t è m e D e l l
N t r e d a i d e e t d e s u p p o r t
W i n d o w s
T e We b d e s u p p o r t t e c h n i q u e d e D e l l
Configuration de votre ordinateur
N t r e d a i d e e t d e s u p p o r t d e W i n d o w s
R O M d u s y s t è m e d ex p l o i t a t i o n
Bouton dalimentation
Connexion de la baie Dell D/Bay
Propos de votre ordinateur
Vue avant
Vue du côté gauche
Vue du côté droit
Vue arrière
Carte intelligente
Ventilation
Retrait dune batterie
Vue du dessous
Loquet de verrouillage
De la baie de batterie
Installation dune batterie
Exécution des Diagnostics Dell
Connectez lordinateur à une prise électrique
Problème rapidement
Test complet
Que vous répondiez régulièrement à des questions
Périphériques reliés à celui-ci
Réglementations
Systeminformationshandbuch
Hinweise, Vorsichtshinweise und Warnungen
Abkürzungen und Akronyme
Verwenden des Programms „Dell Diagnostics
Anweisungen zur Elektromagnetischen
Suchen nach Informationen über den Computer
Anschließen des Dell D/Bay-Schachts
Inhalt
Warnung Sicherheitshinweise
Allgemein
Systeminfor mationshandbuch
Power Stromversorgung
Warnung Sicherheitshinweise Fortsetzung
Akku
Reisen mit dem Flugzeug
Anweisungen zur Elektromagnetischen Verträglichkeit EMV
Arbeiten mit dem Computer
Arbeiten mit dem Computer Fortsetzung
Ergonomische Haltung beim Arbeiten mit dem Computer
Bei der Arbeit an Komponenten im Inneren des Computers
Schutz vor elektrostatischen Entladungen
Entsorgen von Akkus
Suchen nach Informationen über den Computer
Re s o u r c e C D b e z e i c h n e t
L l S y s t e m i n f o r m a t i o n s h a n d b u c h
N u t z e r h a n d b u c h W i n d o w s H i l f e u n d
Downloads Treiber, Patches und Software-Updates
Installiert wird
Informationen zum technischen
Das Betriebssystem
Einrichten des Computers
Anschließen des Dell D/Bay-Schachts
Netzschalter
Systeminfor mationshandbuch
Wissenswertes über den Computer
Vorderseite
Taste zum Deaktivieren der Lautsprecher
Linke Seitenansicht
Rechte Seitenansicht
Laufwerk Smart Card Systeminfor mationshandbuch
Rückseite
USB-Anschluss
Serieller Anschluss
Unterseite
Speichermodul-/Modemabdeckung Systeminfor mationshandbuch
Entfernen eines Akkus
Einsetzen eines Akkus
Verwenden des Programms „Dell Diagnostics
Fahren Sie den Computer herunter
Schnelltest
Erweiterter
Test
Eingeben
Ergebnisse Probleme angezeigt Errors
Setup-Programm, den Speicher und verschiedene interne
Namen von Geräten angezeigt, die im Computer installiert
Konfiguration Angezeigt
Betriebsbestimmungen
Informazioni di sistema
Abbreviazioni ed acronimi
Esecuzione del programma Dell Diagnostics 121
Attenzione Istruzioni di sicurezza 103
104
105
102 Sommario
Attenzione Istruzioni di sicurezza
Informazioni generali
Informazioni di sistema 103
Alimentazione
104 Informazioni di sistema
Batteria
Informazioni di sistema 105
Uso in aereo
Istruzioni relative alla compatibilità elettromagnetica EMC
106 Informazioni di sistema
Uso del computer
Informazioni di sistema 107
Abitudini ergonomiche nell’uso del computer
Interventi sui componenti interni del computer
Protezione dalle scariche elettrostatiche
Informazioni di sistema 109
Ricerca di informazioni relative al computer
Smaltimento della batteria
D r i v e r s a n d U t i l i t i e s
Il computer
F o r m a z i o n i d i s i s t e m a D e l l
U p p o r t o
Di componenti
C n i c o d i W i n d o w s
D e l s i s t e m a o p e r a t i v o
Installazione del computer
Connessione dell’alloggiamento Dell D/Bay
114 Informazioni di sistema
Informazioni di sistema 115
Informazioni sul computer
Vista frontale
Vista sinistra
Vista destra
Connettore delle cuffie/altoparlante Sensore a infrarossi
Ventilazione
Retro del computer
Connettore USB
Modulo Bluetooth Vista Frontale
Vista inferiore
Fermo di chiusura Batteria
Informazioni di sistema 119
Rimozione della batteria
120 Informazioni di sistema
Installazione della batteria
Esecuzione del programma Dell Diagnostics
Informazioni di sistema 121
Questa prova richiede in genere da 10 a 20 minuti e non
Breve tempo possibile
122 Informazioni di sistema
Errore riscontrate
Scheda Funzione Results
Per l’esecuzione della prova
Delle periferiche disponibile nel riquadro sinistro dello
Avvisi sulle normative
124 Informazioni di sistema
Manual de informações do sistema
Notas, avisos e cuidados
Abreviaturas e acrónimos
Executar o programa Dell Diagnostics 144
Cuidado Instruções de segurança 129
130
131
128 Sumário
Cuidado Instruções de segurança
Geral
Manual de informações do sistema 129
Cuidado Instruções de segurança continuação
Alimentação
130 Manual de informações do sistema
Bateria
Manual de informações do sistema 131
Viagens de avião
Instruções de compatibilidade electromagnética EMC
132 Manual de informações do sistema
Utilização do computador
Manual de informações do sistema 133
Utilização do computador continuação
Hábitos computacionais ergonómicos
Manusear componentes internos do computador
134 Manual de informações do sistema
Protecção contra descargas electrostáticas
Eliminação da bateria
Manual de informações do sistema 135
Encontrar informações para o computador
We b s i t e d e s u p o r t e d a D e l l
N t r o d e a j u d a e s u p o r t e d o W i n d o w s
D o s i s t e m a o p e r a t i v o
Configurar o computador
138 Manual de informações do sistema
Manual de informações do sistema 139
Ligar o Dell D/Bay
140 Manual de informações do sistema
Sobre o computador
Vista frontal
Vista lateral esquerda
Fecho do ecrã Silenciar
Vista lateral direita
Vista posterior
Smart Card Da ventoinha
Conector USB
Remover uma bateria
Vista inferior
Patilha de libertação do
Compartimento da bateria
Executar o programa Dell Diagnostics
Instalar uma bateria
144 Manual de informações do sistema
Ligue o computador a uma tomada eléctrica
Manual de informações do sistema 145
De detectar o problema rapidamente
Symptom
Descrição dos problemas
Periodicamente
Avisos regulamentares
Manual de informações do sistema 147
Manual de informações do sistema
Guía de información del sistema
Notas, avisos y precauciones
Abreviaturas y acrónimos
Precaución Instrucciones de seguridad 153
154
155
156
152 Contenido
Precaución Instrucciones de seguridad
Guía de información del sistema 153
Precaución Instrucciones de seguridad continuación
Alimentación
154 Guía de información del sistema
Batería
Guía de información del sistema 155
Viajes en avión
Instrucciones de Compatibilidad electromagnética EMC
156 Guía de información del sistema
Cuando utilice el equipo
Guía de información del sistema 157
Cuando utilice el equipo continuación
Hábitos ergonómicos cuando utilice el equipo
Al trabajar en el interior de su equipo
158 Guía de información del sistema
Protección contra descargas electrostáticas
Cómo desechar las baterías
Guía de información del sistema 159
Búsqueda de información del equipo
D e r e c u r s o s
L l
P o r t e
N t r o d e a y u d a y s o p o r t e t é c n i c o
Configuración del equipo
162 Guía de información del sistema
Guía de información del sistema 163
Conexión de Dell D/Bay
164 Guía de información del sistema
Acerca del equipo
Vista anterior
Vista izquierda
Vista derecha
Conector Dell D/Bay Conector Ieee Conector de micrófono
Conector de auriculares Sensor de infrarrojos
Conector de
Extracción de la batería
Pestillo de liberación
Del compartimiento
168 Guía de información del sistema
Instalación de la batería
Ejecución de los Diagnósticos Dell
Guía de información del sistema 169
Conecte el equipo a un enchufe eléctrico
170 Guía de información del sistema
Problema rápidamente
Prueba
Rápida
Extendida Unas preguntas periódicamente Custom Test
Resultado Encontradas Errors Errores
De error y la descripción del problema
Ficha Función Results
No muestre los nombres de todos los componentes
Avisos sobre regulación
Guía de información del sistema 173
174 Guía de información del sistema
Page
03T769A00