Using the On-Screen Display
Your TV has an
Using Your Remote Control With the OSD
NOTE: You can access and make selections to the OSD using the volume and channel buttons on the side panel of the TV or the remote control. Except where noted, this section describes how to use the OSD with the remote control.
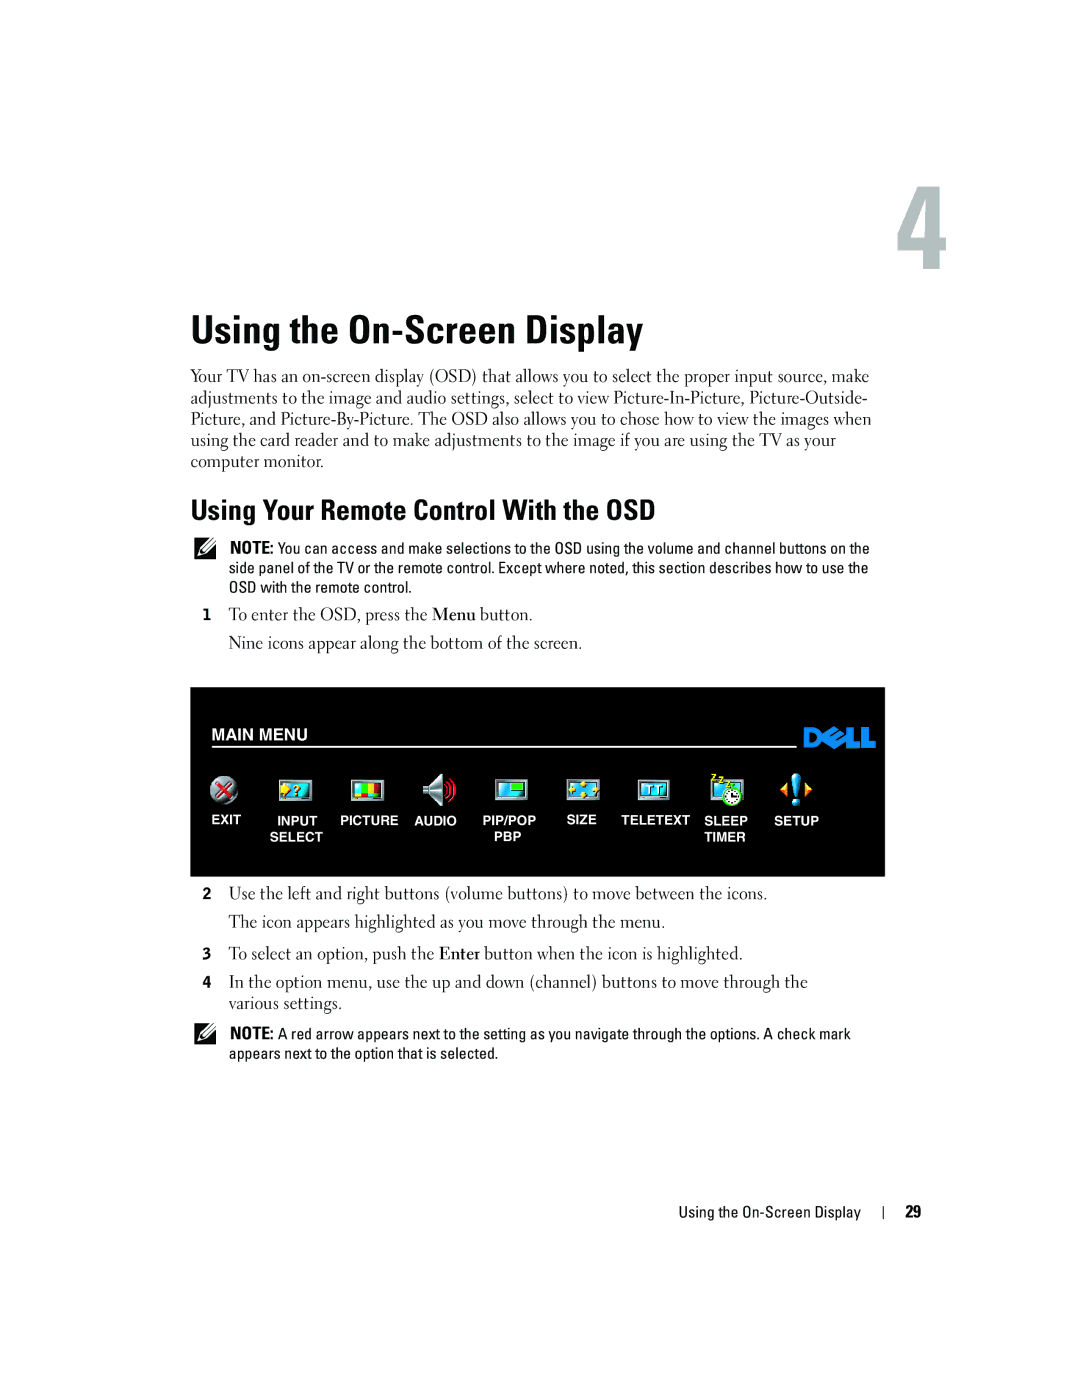
1To enter the OSD, press the Menu button.
Nine icons appear along the bottom of the screen.
MAIN MENU
EXIT | INPUT PICTURE AUDIO | PIP/POP | SIZE TELETEXT SLEEP SETUP |
| SELECT | PBP | TIMER |
2Use the left and right buttons (volume buttons) to move between the icons. The icon appears highlighted as you move through the menu.
3To select an option, push the Enter button when the icon is highlighted.
4In the option menu, use the up and down (channel) buttons to move through the various settings.
NOTE: A red arrow appears next to the setting as you navigate through the options. A check mark appears next to the option that is selected.
Using the On-Screen Display
29
