ASSEMBLY
ALIGN CUTTERHEAD TO OUTFEED TABLE (continued)
6.Loosen the four screws securing the clamp bar to the cutterhead. See Figure 8.
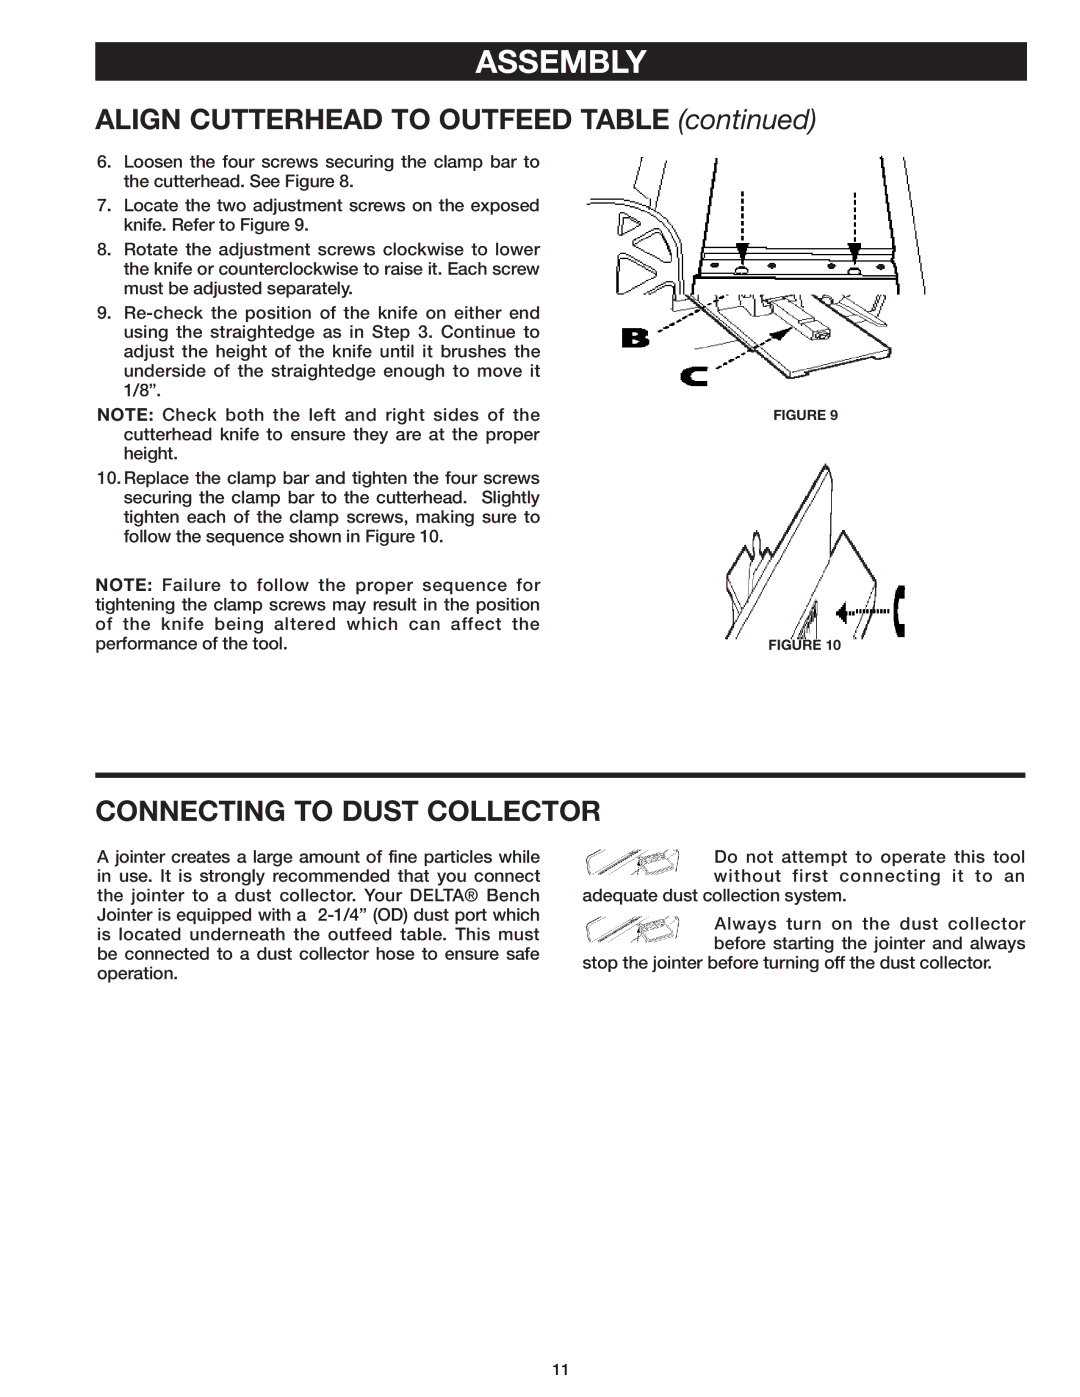
7.Locate the two adjustment screws on the exposed knife. Refer to Figure 9.
8.Rotate the adjustment screws clockwise to lower the knife or counterclockwise to raise it. Each screw must be adjusted separately.
9.
NOTE: Check both the left and right sides of the cutterhead knife to ensure they are at the proper height.
10.Replace the clamp bar and tighten the four screws securing the clamp bar to the cutterhead. Slightly tighten each of the clamp screws, making sure to follow the sequence shown in Figure 10.
NOTE: Failure to follow the proper sequence for tightening the clamp screws may result in the position of the knife being altered which can affect the performance of the tool.
FIGURE 9
FIGURE 10
CONNECTING TO DUST COLLECTOR
A jointer creates a large amount of fine particles while in use. It is strongly recommended that you connect the jointer to a dust collector. Your DELTA® Bench Jointer is equipped with a
Do not attempt to operate this tool without first connecting it to an
adequate dust collection system.
Always turn on the dust collector before starting the jointer and always
stop the jointer before turning off the dust collector.
11