OPERATION |
|
STARTING AND STOPPING THE JOINTER |
|
Make sure that the switch is in the |
|
"OFF" position before plugging cord |
|
into outlet. Do not touch the plug’s metal prongs when |
|
unplugging or plugging in the cord. |
|
In the event of a power outage (such |
|
as a breaker or fuse trip), always move |
|
the switch to the "OFF" position until the main power is |
|
restored. |
|
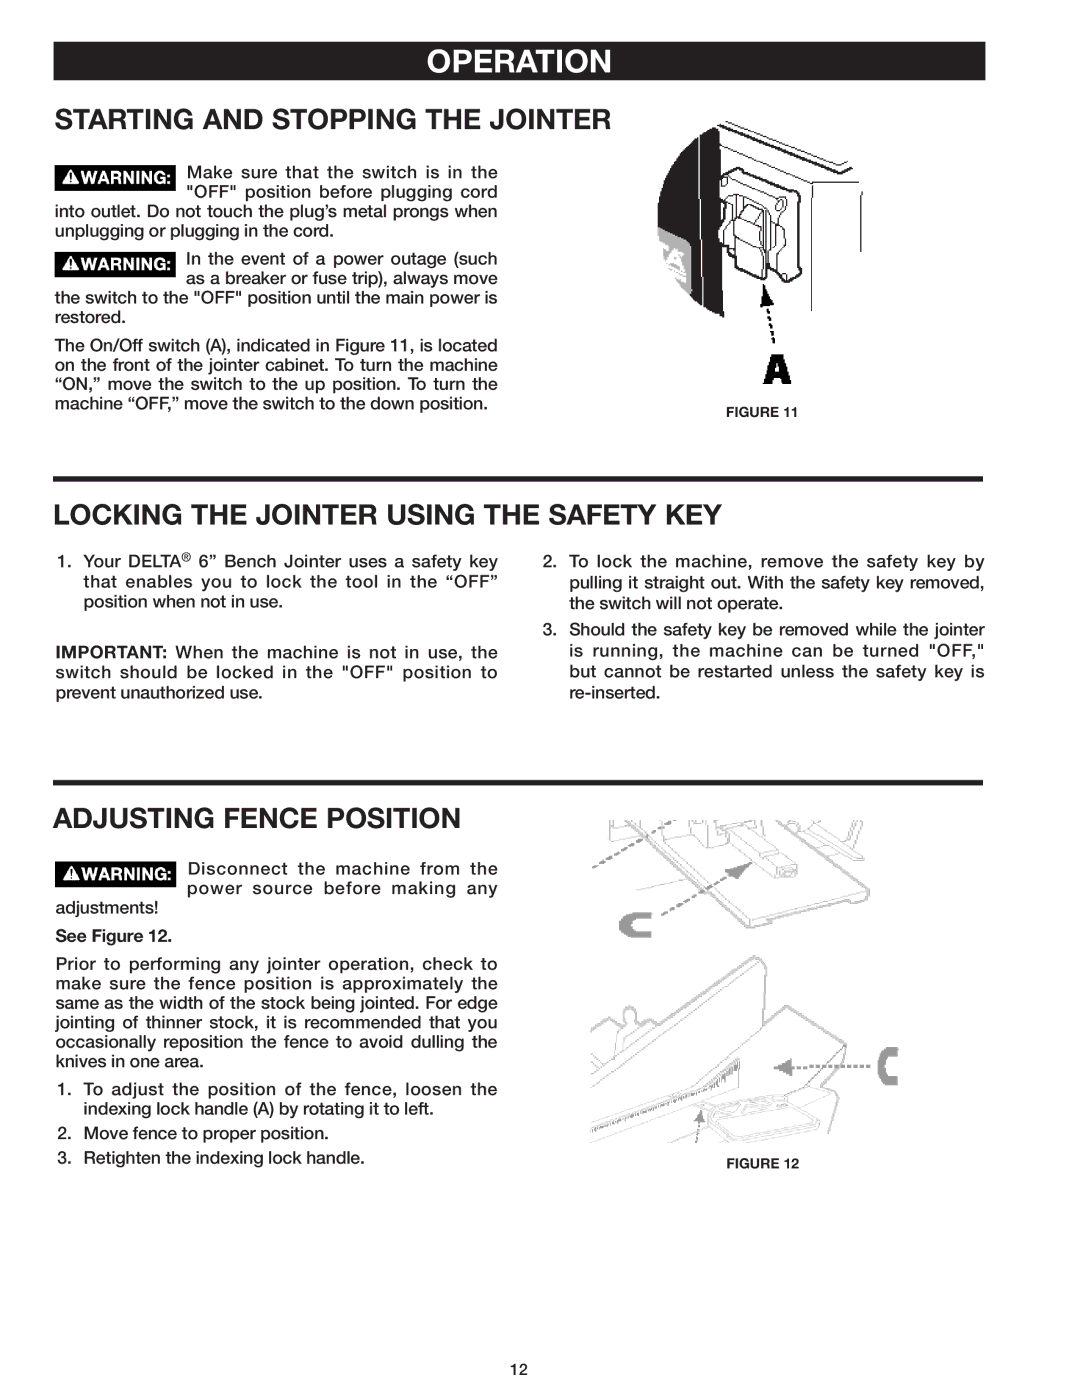
The On/Off switch (A), indicated in Figure 11, is located |
|
on the front of the jointer cabinet. To turn the machine |
|
“ON,” move the switch to the up position. To turn the |
|
machine “OFF,” move the switch to the down position. | FIGURE 11 |
|
LOCKING THE JOINTER USING THE SAFETY KEY
1.Your DELTA® 6” Bench Jointer uses a safety key that enables you to lock the tool in the “OFF” position when not in use.
IMPORTANT: When the machine is not in use, the switch should be locked in the "OFF" position to prevent unauthorized use.
2.To lock the machine, remove the safety key by pulling it straight out. With the safety key removed, the switch will not operate.
3.Should the safety key be removed while the jointer is running, the machine can be turned "OFF," but cannot be restarted unless the safety key is
ADJUSTING FENCE POSITION
Disconnect the machine from the power source before making any
adjustments!
See Figure 12.
Prior to performing any jointer operation, check to make sure the fence position is approximately the same as the width of the stock being jointed. For edge jointing of thinner stock, it is recommended that you occasionally reposition the fence to avoid dulling the knives in one area.
1.To adjust the position of the fence, loosen the indexing lock handle (A) by rotating it to left.
2.Move fence to proper position.
3. Retighten the indexing lock handle. | FIGURE 12 |
12