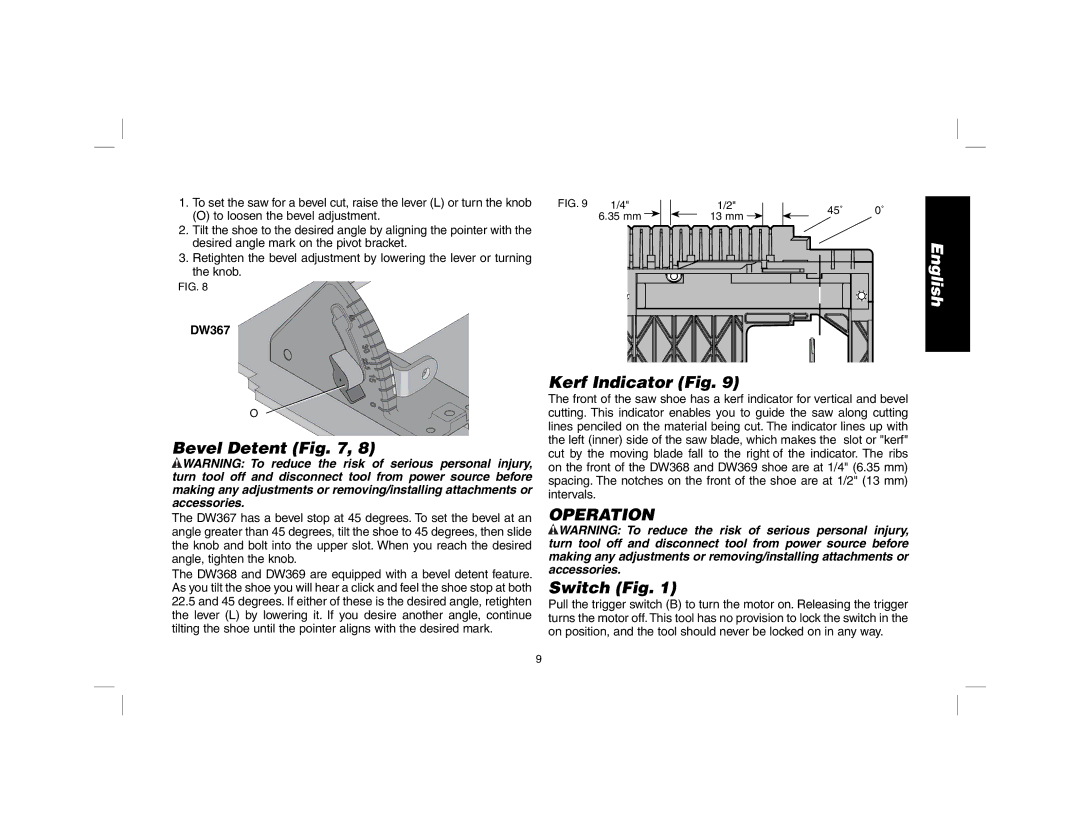
DW369, DW367 specifications
The DeWalt DW367 and DW369 are two powerful tools in the extensive lineup of DeWalt’s woodworking and construction equipment. Designed with durability and performance in mind, these models deliver impressive features and advanced technologies to cater to both professional contractors and DIY enthusiasts.The DeWalt DW367 is a lightweight, cordless saw designed for versatility and ease of use. One of its primary features is its high-performance 18V battery, which offers extended run time and rapid charging capabilities. This allows users to work longer without the interruption of frequent battery changes. The DW367 is equipped with a powerful motor that generates sufficient speed and torque, enabling it to cut through various materials, including wood, metal, and composites, with precision.
One of the standout technologies integrated into the DW367 is its ergonomic design. The saw comes with a comfortable grip that reduces fatigue during prolonged use, making it ideal for extensive projects. Additionally, the built-in LED light illuminates the cutting area, ensuring accuracy and visibility even in low-light conditions. The tool also features a tool-free blade change system, allowing users to switch blades quickly and efficiently without the need for additional tools.
On the other hand, the DeWalt DW369 is engineered for more demanding tasks. This model boasts advanced electronics that provide overload protection, preventing the motor from overheating and extending the tool's lifespan. It also offers a higher cutting capacity, making it suitable for thicker materials and more intricate cuts.
A notable characteristic of the DW369 is its adjustable bevel and depth cut features. These allow users to make precise bevel cuts and adjust the depth of the cut according to the material being worked with. This flexibility is essential for professionals who require accuracy and versatility in their work.
Both models leverage DeWalt's commitment to safety, incorporating an electric brake that instantly stops the blade upon disengaging the switch, minimizing the risk of accidents. Furthermore, each tool comes with a robust housing that enhances durability, ensuring they can withstand the rigors of job site conditions.
In summary, the DeWalt DW367 and DW369 are exemplary tools that combine power, versatility, and safety. With their advanced features and reliable technologies, both models can meet the diverse needs of users, making them invaluable additions to any workshop or job site. Their focus on user comfort and operational efficiency speaks to DeWalt's dedication to quality and innovation in the power tools industry.