Single port KVM over IP switch
When configuring with a serial terminal, reset the
“ESC ” key. You will see some device information, and a “ => ” prompt. Enter “ config ” , press
“Enter ” and wait for a few seconds for the configuration questions to appear.
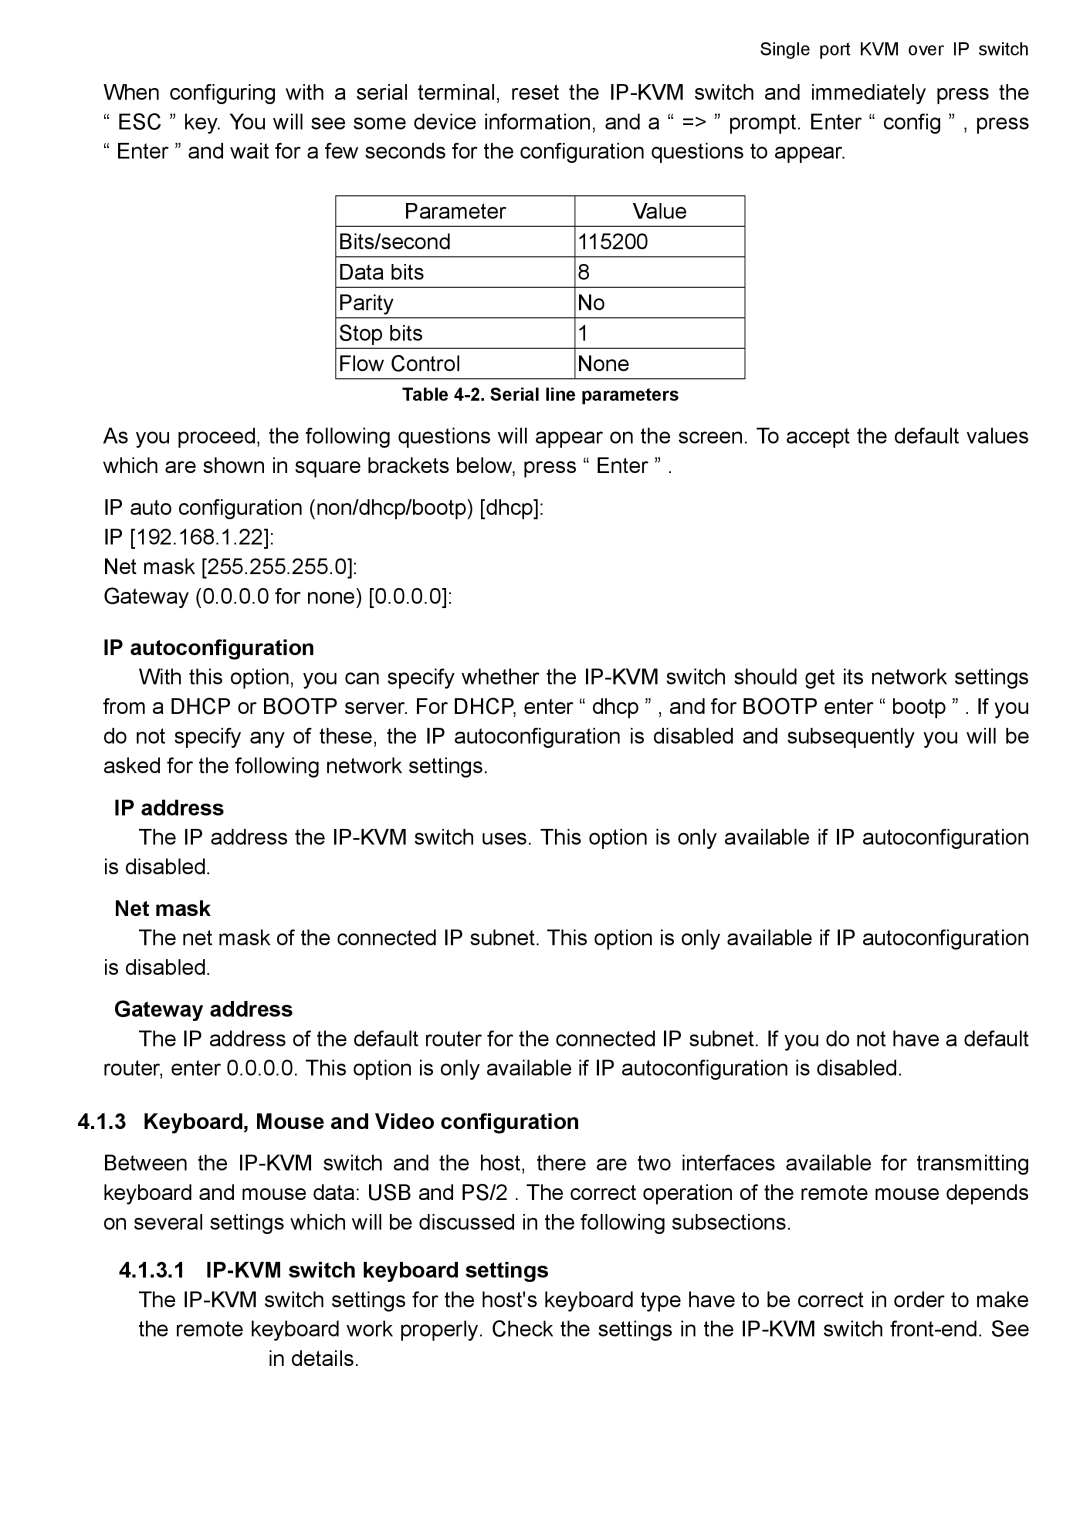
Parameter | Value |
Bits/second | 115200 |
Data bits | 8 |
Parity | No |
Stop bits | 1 |
Flow Control | None |
Table
As you proceed, the following questions will appear on the screen. To accept the default values which are shown in square brackets below, press “ Enter ” .
IP auto configuration (non/dhcp/bootp) [dhcp]:
IP [192.168.1.22]:
Net mask [255.255.255.0]:
Gateway (0.0.0.0 for none) [0.0.0.0]:
IP autoconfiguration
With this option, you can specify whether the
IP address
The IP address the
Net mask
The net mask of the connected IP subnet. This option is only available if IP autoconfiguration is disabled.
Gateway address
The IP address of the default router for the connected IP subnet. If you do not have a default router, enter 0.0.0.0. This option is only available if IP autoconfiguration is disabled.
4.1.3 Keyboard, Mouse and Video configuration
Between the
4.1.3.1 IP-KVM switch keyboard settings
The