After marking each end, mark the true center with a punch awl or dividers (Fig. 29). If the stock is hardwood, the centers should be drilled to a depth of about 1/8”. The spur or live center is then placed against one end of the work and seated by striking with a mallet (Fig. 30). In hardwood, make a starting seat for the spur center by sawing on the diagonal lines, and drilling a small hole at
the intersection. After driving the center, hold the center Fig. 29 and the work together and fit both immediately to head-
stock spindle. If you are not using a ball bearing center, the end of work at tailstock center should be oiled. Place the lubricant on the wood either before or after it is put on the lathe. Many turners use beeswax, tallow, or a
MOUNTING THE WORK
Mount the work by moving the tailstock to a position about 1” or
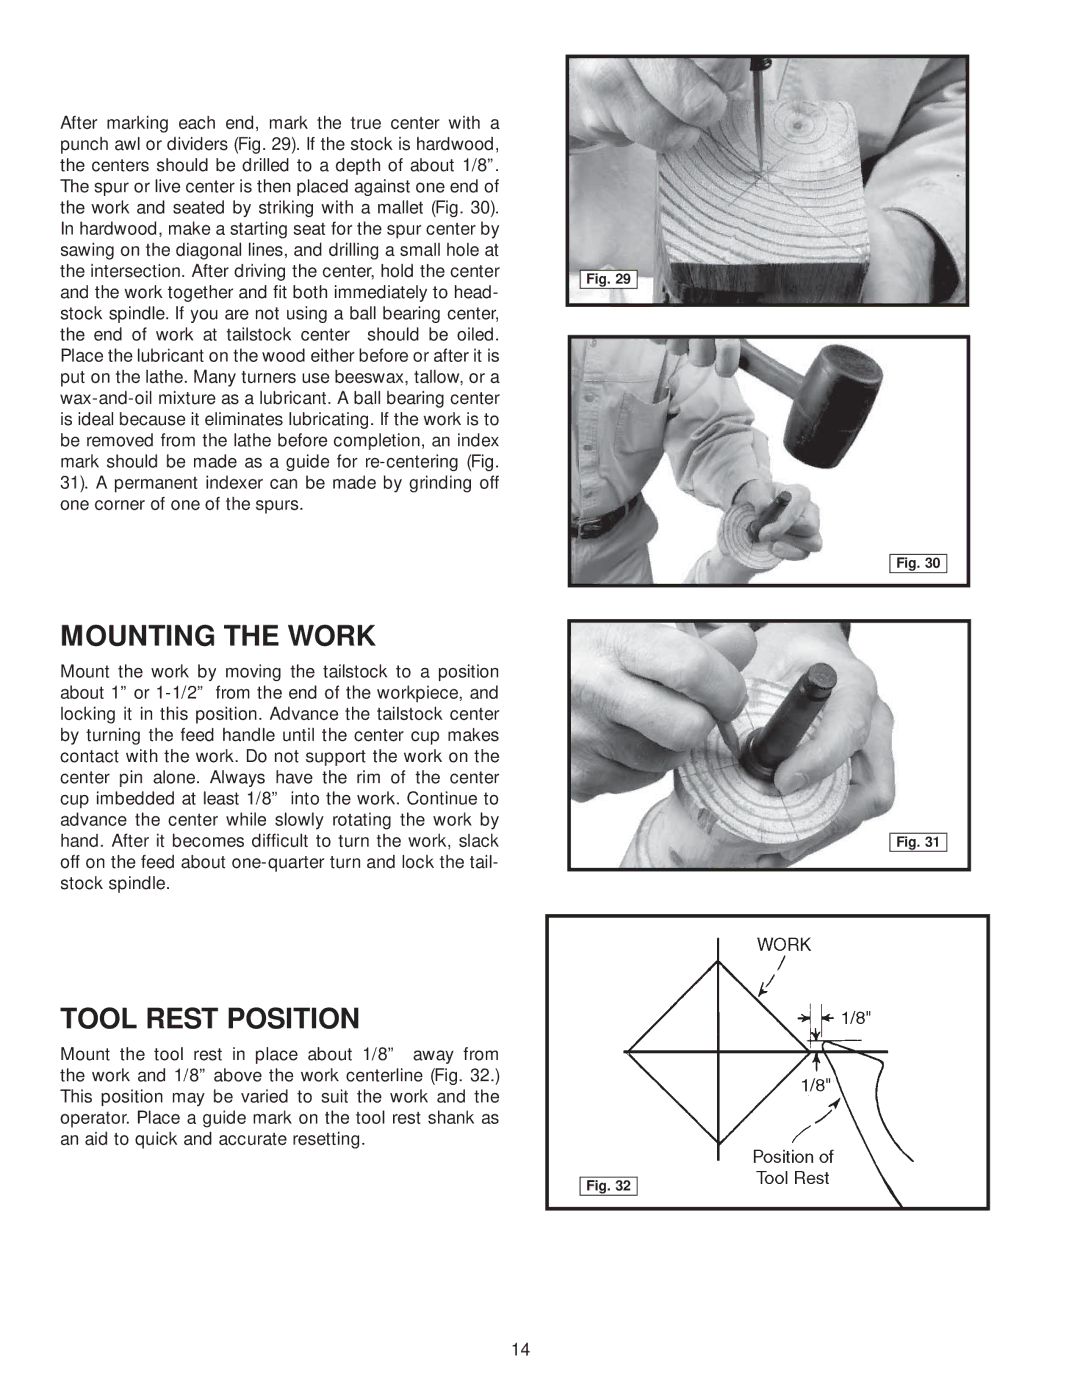
TOOL REST POSITION
Mount the tool rest in place about 1/8” away from the work and 1/8” above the work centerline (Fig. 32.) This position may be varied to suit the work and the operator. Place a guide mark on the tool rest shank as an aid to quick and accurate resetting.
Fig. 32
Fig. 30
Fig. 31
14