Digi TransPort® WR21 Installation Guide
4Configuration
Once the unit has been installed and powered up, it needs to be configured to communicate with the LAN and WAN. Configuration is performed either using the Command Line Interface (CLI) or the Web Interface. The Web Interface (accessed via a web browser e.g. Firefox, IE, Chrome) is the recommended configuration option for most users.
Note: You will not be able to use the unit for remote communication until you have subscribed to a suitable mobile/cellular wireless network service.
4.1 Network Settings
The default IP address for the LAN port is 192.168.1.1 with a subnet mask of 255.255.255.0. The unit has a DHCP server enabled by default which can assign an appropriate IP address to your PC if the PC is configured to get an IP address automatically. Alternatively you can manually configure your PC to be on the 192.168.1.x network, for example, with an IP address of 192.168.1.2 and subnet mask of 255.255.255.0. Care should be taken to ensure that the unit does not conflict with other devices that may already be on the network.
4.2 Web Interface
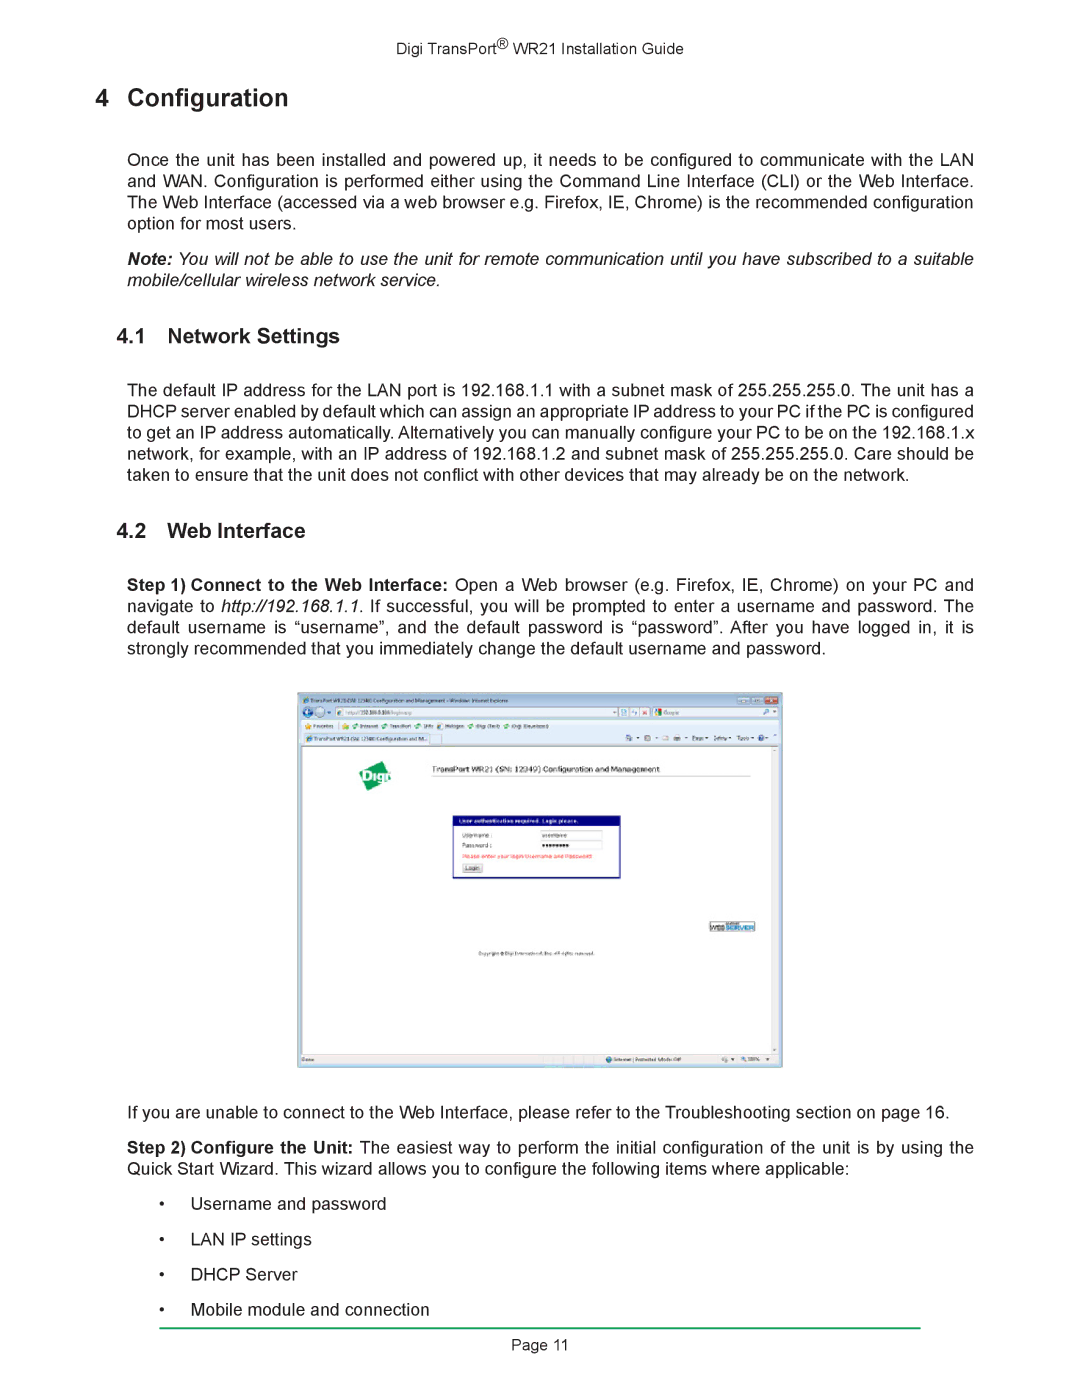
Step 1) Connect to the Web Interface: Open a Web browser (e.g. Firefox, IE, Chrome) on your PC and navigate to http://192.168.1.1. If successful, you will be prompted to enter a username and password. The default username is “username”, and the default password is “password”. After you have logged in, it is strongly recommended that you immediately change the default username and password.
If you are unable to connect to the Web Interface, please refer to the Troubleshooting section on page 16.
Step 2) Configure the Unit: The easiest way to perform the initial configuration of the unit is by using the Quick Start Wizard. This wizard allows you to configure the following items where applicable:
•Username and password
•LAN IP settings
•DHCP Server
•Mobile module and connection
Page 11
