7.Display - The Display provides information for different functions depending on the mode that is active. In Performance mode, the Display will show the currently selected Preset name and numeric location. In Edit mode, the Display will show the name and value of the selected parameter. In Tuner mode, the Display will show the note being played and whether the note is sharp, flat, or in tune.
8.Store - The Store button is used to save your custom edits to the user Presets.
9.Expression Pedal - The Expression Pedal adjusts the RP300A’s assigned Effect Parameter in real time. Almost every Parameter is available for Expression Pedal control.
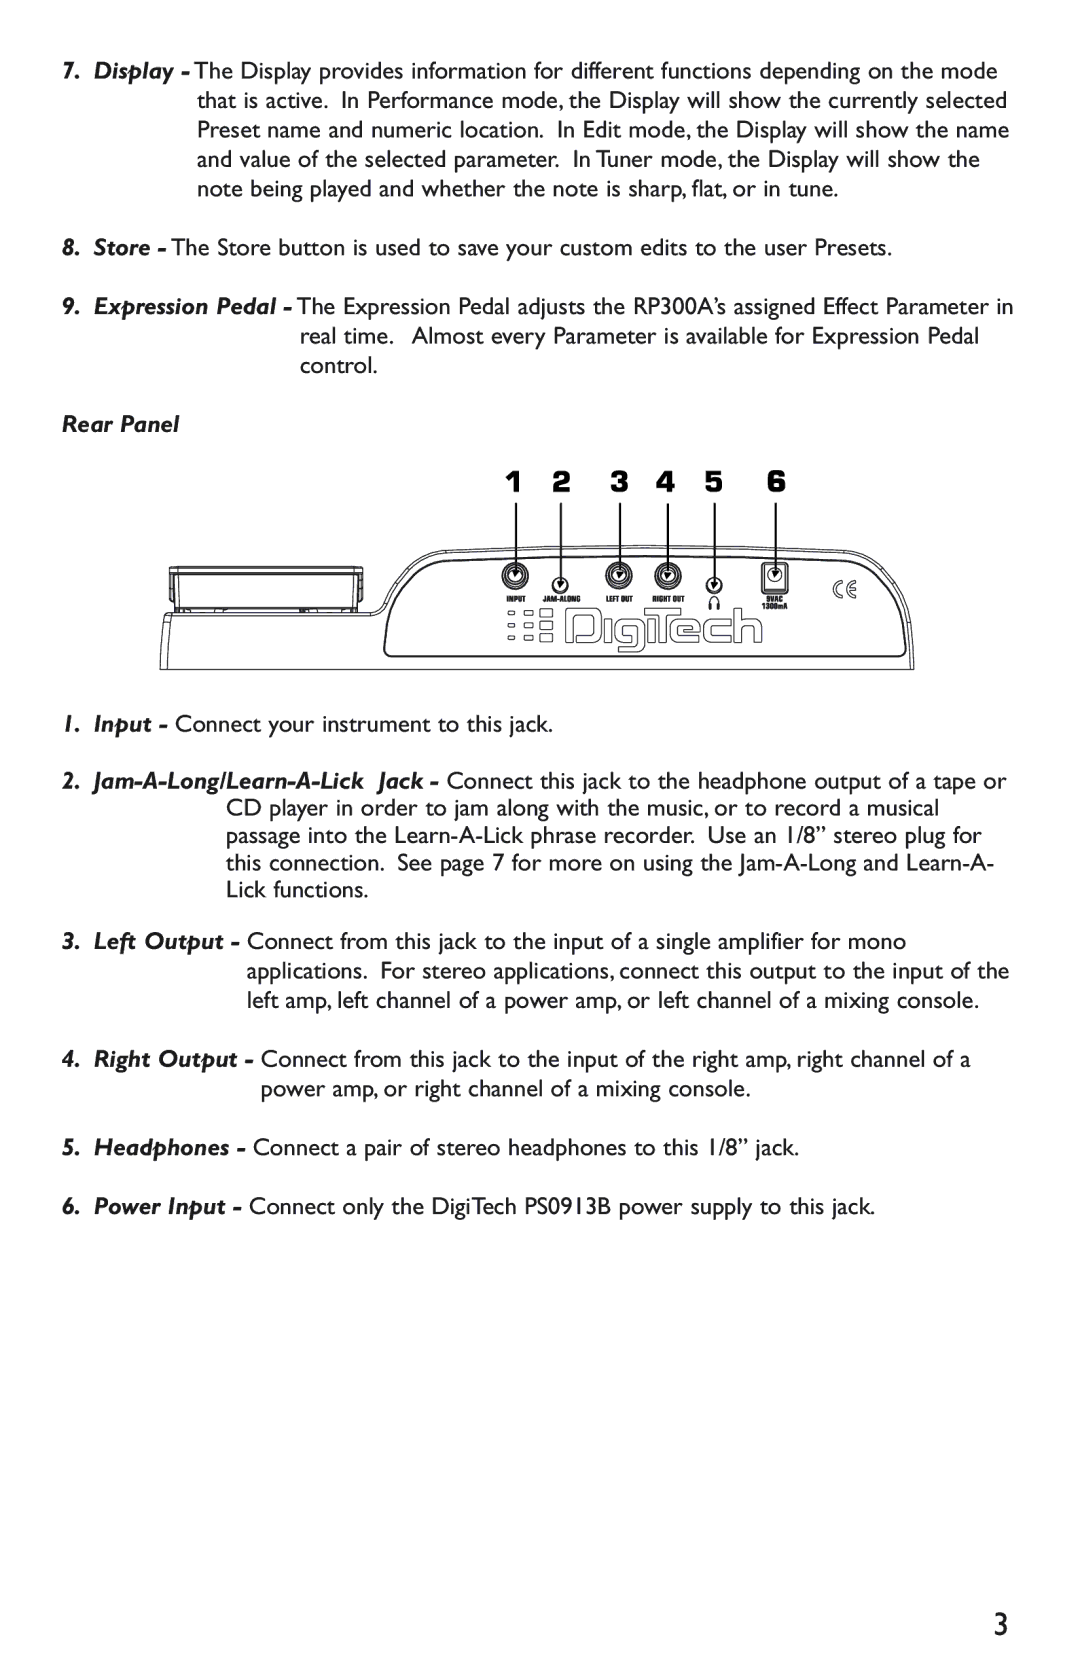
Rear Panel
1.Input - Connect your instrument to this jack.
2.
3.Left Output - Connect from this jack to the input of a single amplifier for mono applications. For stereo applications, connect this output to the input of the left amp, left channel of a power amp, or left channel of a mixing console.
4.Right Output - Connect from this jack to the input of the right amp, right channel of a power amp, or right channel of a mixing console.
5.Headphones - Connect a pair of stereo headphones to this 1/8” jack.
6.Power Input - Connect only the DigiTech PS0913B power supply to this jack.
3