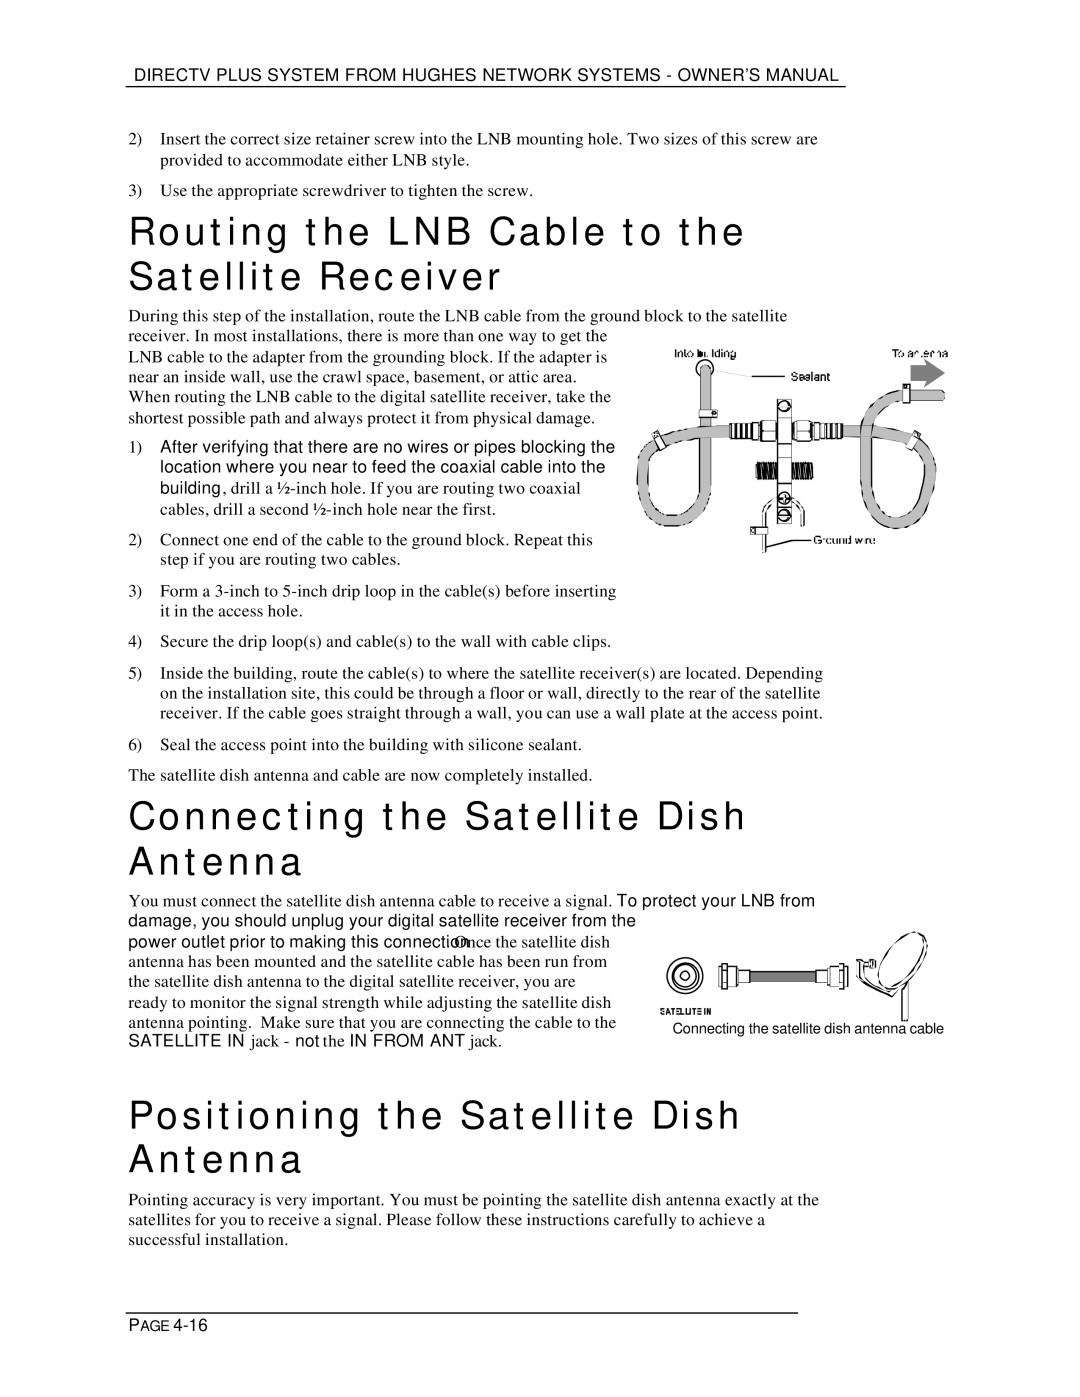
Connecting the satellite dish antenna cable

DIRECTV PLUS SYSTEM FROM HUGHES NETWORK SYSTEMS - OWNER’S MANUAL

2)Insert the correct size retainer screw into the LNB mounting hole. Two sizes of this screw are provided to accommodate either LNB style.

3)Use the appropriate screwdriver to tighten the screw.

Routing the LNB Cable to the Satellite Receiver

During this step of the installation, route the LNB cable from the ground block to the satellite receiver. In most installations, there is more than one way to get the

LNB cable to the adapter from the grounding block. If the adapter is

near an inside wall, use the crawl space, basement, or attic area. When routing the LNB cable to the digital satellite receiver, take the

shortest possible path and always protect it from physical damage.

1) After verifying that there are no wires or pipes blocking the location where you near to feed the coaxial cable into the building , drill a ½-inch hole. If you are routing two coaxial cables, drill a second ½-inch hole near the first.

2) Connect one end of the cable to the ground block. Repeat this step if you are routing two cables.

3)Form a 3-inch to 5-inch drip loop in the cable(s) before inserting it in the access hole.

4)Secure the drip loop(s) and cable(s) to the wall with cable clips.

5)Inside the building, route the cable(s) to where the satellite receiver(s) are located. Depending on the installation site, this could be through a floor or wall, directly to the rear of the satellite receiver. If the cable goes straight through a wall, you can use a wall plate at the access point.

6)Seal the access point into the building with silicone sealant.

The satellite dish antenna and cable are now completely installed.

Connecting the Satellite Dish Antenna

You must connect the satellite dish antenna cable to receive a signal. To protect your LNB from damage, you should unplug your digital satellite receiver from the

power outlet prior to making this connection. Once the satellite dish

antenna has been mounted and the satellite cable has been run from the satellite dish antenna to the digital satellite receiver, you are ready to monitor the signal strength while adjusting the satellite dish antenna pointing. Make sure that you are connecting the cable to the SATELLITE IN jack - not the IN FROM ANT jack.

Positioning the Satellite Dish

Antenna

Pointing accuracy is very important. You must be pointing the satellite dish antenna exactly at the satellites for you to receive a signal. Please follow these instructions carefully to achieve a successful installation.

PAGE 4-16

Page 36
Image 36
DirecTV HIRD-E25, HIRD-E11 Routing the LNB Cable to the Satellite Receiver, Connecting the Satellite Dish Antenna

HIRD-E11, HIRD-E25 specifications

The DirecTV HIRD-E11 and HIRD-E25 are cutting-edge satellite receivers designed to enhance the television viewing experience by delivering high-quality content and versatile functionalities. Both models cater to the evolving needs of consumers, integrating advanced technologies that enable seamless access to a wide range of channels and services.

One of the main features of both the HIRD-E11 and HIRD-E25 is their support for high-definition (HD) programming, which provides viewers with crystal-clear images and vibrant colors. These receivers are engineered to decode HD signals, allowing subscribers to enjoy premium content in stunning resolution. The HIRD-E25, in particular, offers enhanced capabilities, including 4K video output for an even more immersive viewing experience.

Another notable characteristic of these receivers is their multi-room capabilities. With the installation of additional units, users can watch different channels in various rooms simultaneously, making it an ideal solution for families or households with multiple television sets. This convenience is further enhanced by the use of DirecTV’s Whole-Home DVR system, which enables seamless recording and playback of shows across multiple devices.

The HIRD-E11 and HIRD-E25 are equipped with advanced digital tuners, ensuring better signal reception and reducing the likelihood of interruptions due to weather or other environmental factors. Additionally, the receivers come with built-in support for a wide range of audio formats, including Dolby Digital, ensuring that viewers receive high-quality sound to complement their visual experience.

In terms of usability, these models are designed with user-friendly interfaces that make channel navigation and program selection intuitive. The remote controls are also thoughtfully designed, featuring dedicated buttons for quick access to popular features and functionalities, including the guide, record options, and search capabilities.

Moreover, the HIRD-E25 includes enhanced connectivity options, such as HDMI, USB, and Ethernet ports. This allows users to connect their receivers to a variety of external devices, including gaming consoles and streaming devices, further expanding their entertainment options.

In summary, the DirecTV HIRD-E11 and HIRD-E25 satellite receivers stand out for their combination of high-definition video support, multi-room functionality, advanced tuners, and user-friendly features. With these models, DirecTV continues to provide robust solutions that meet the growing demands of modern television audiences.