Multifunctional settings
INPUT
 Menu
Menu
With the INPUT menu, the items shown in the table below can be performed.
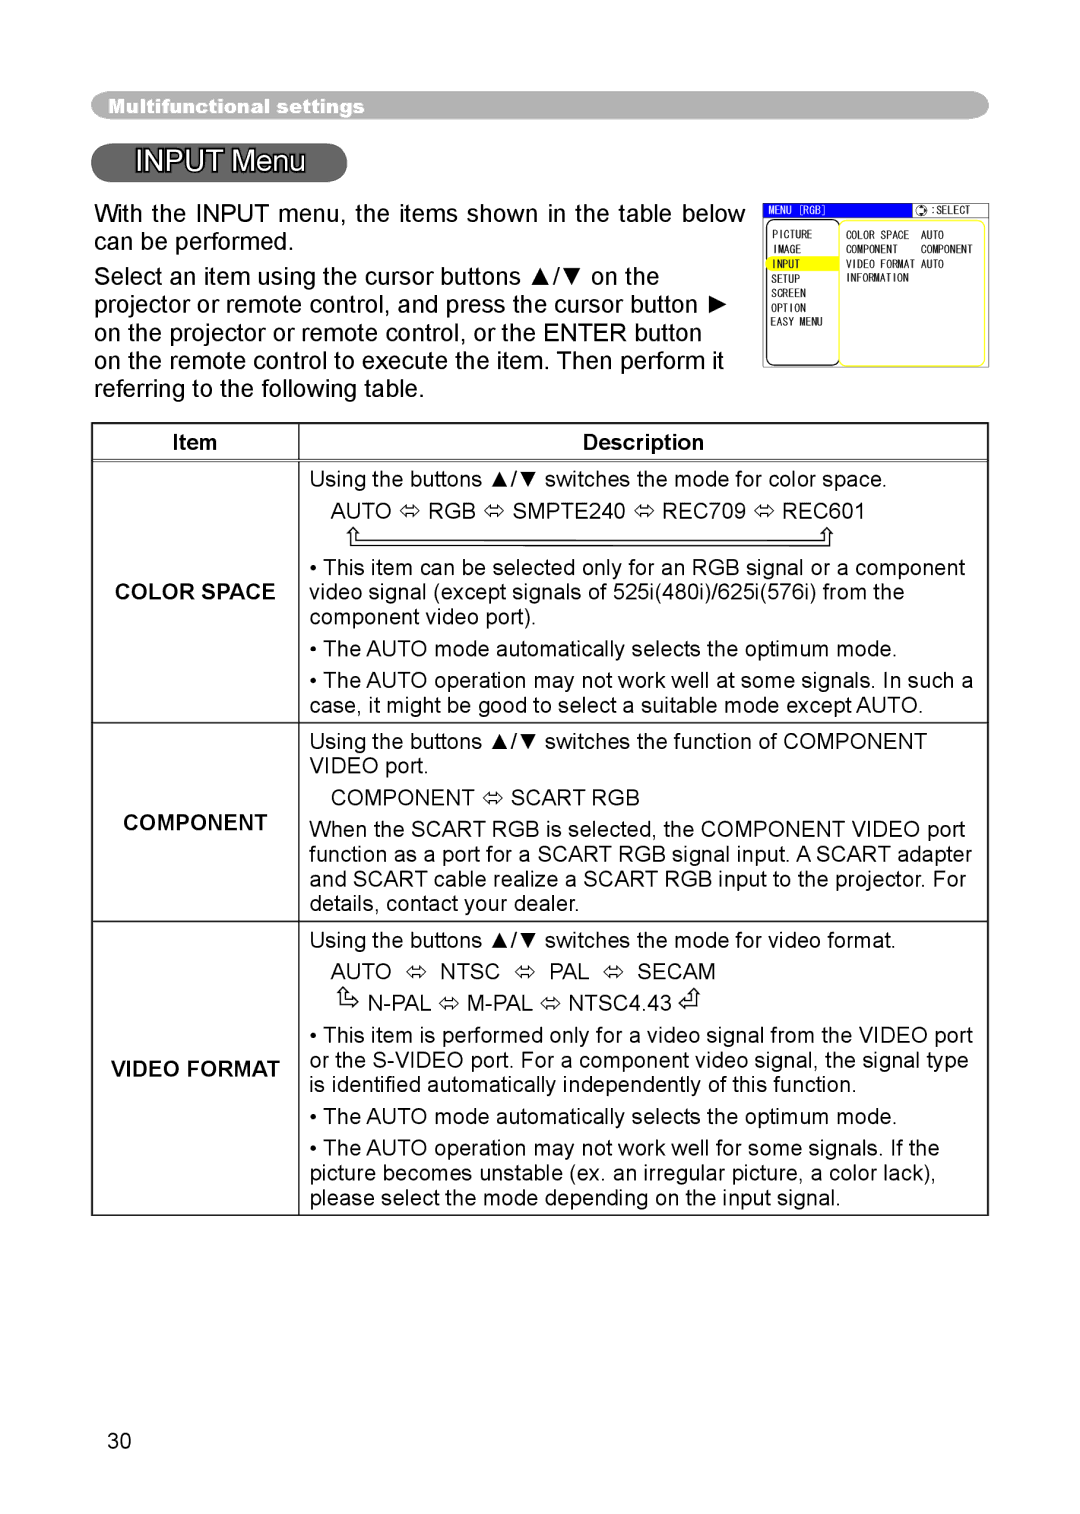
Select an item using the cursor buttons ▲/▼ on the projector or remote control, and press the cursor button ► on the projector or remote control, or the ENTER button on the remote control to execute the item. Then perform it referring to the following table.
MENU [RGB] | :SELECT |
PICTURE | COLOR SPACE AUTO |
IMAGE | COMPONENT COMPONENT |
INPUT | VIDEO FORMAT AUTO |
SETUP | INFORMATION |
SCREEN |
|
OPTION |
|
EASY MENU |
|
Item
COLOR SPACE
COMPONENT
VIDEO FORMAT
Description
Using the buttons ▲/▼ switches the mode for color space AUTO RGB SMPTE240 REC709 REC601
This item can be selected only for an RGB signal or a component video signal (except signals of 525i(480i)/625i(576i) from the component video port)
The AUTO mode automatically selects the optimum mode.
The AUTO operation may not work well at some signals. In such a case, it might be good to select a suitable mode except AUTO.
Using the buttons ▲/▼ switches the function of COMPONENT VIDEO port
COMPO NENT SCART RGB
When the SCART RGB is selected, the COMPONENT VIDEO port function as a port for a SCART RGB signal input. A SCART adapter and SCART cable realize a SCART RGB input to the projector. For details, contact your dealer.
Using the buttons ▲/▼ switches the mode for video format
AUTO NTSC PAL SECAM
![]()
![]()
This item is performed only for a video signal from the VIDEO port or the
The AUTO mode automatically selects the optimum mode
The AUTO operation may not work well for some signals. If the picture becomes unstable (ex. an irregular picture, a color lack), please select the mode depending on the input signal.
30