5. Connecting to Your Computer
You will need to connect the Digital Video Camera to your computer's USB port to transfer photos into your computer. This section shows how you can connect the Digital Video Camera to your computer.
First, you must install the Digital Video Camera Driver from the software
Using the Digital Video Camera as a Web camera or as a Mass Storage Drive
When you connect the Digital Video Camera to your computer, you can use it as a Web camera or as a Mass Storage drive. You can then join in video conferencing sessions on the Internet. You need to install the Digital Video Camera Driver and required application softwares from the software
Using the Digital Video Camera as a Web camera lets you capture video directly into your computer for later editing or enhancing your videos. See the section "Installing Software" for installation instructions.
●Step 1. Make sure the Digital Video Camera has two ”AA” batteries in the compartment.
●Step 2. Connect the smaller end of the USB
cable into the USB port of your Digital Digital Video Camera.
Note: Make sure to gently plug the USB cable in the right direction to avoid possible damage to USB connector.
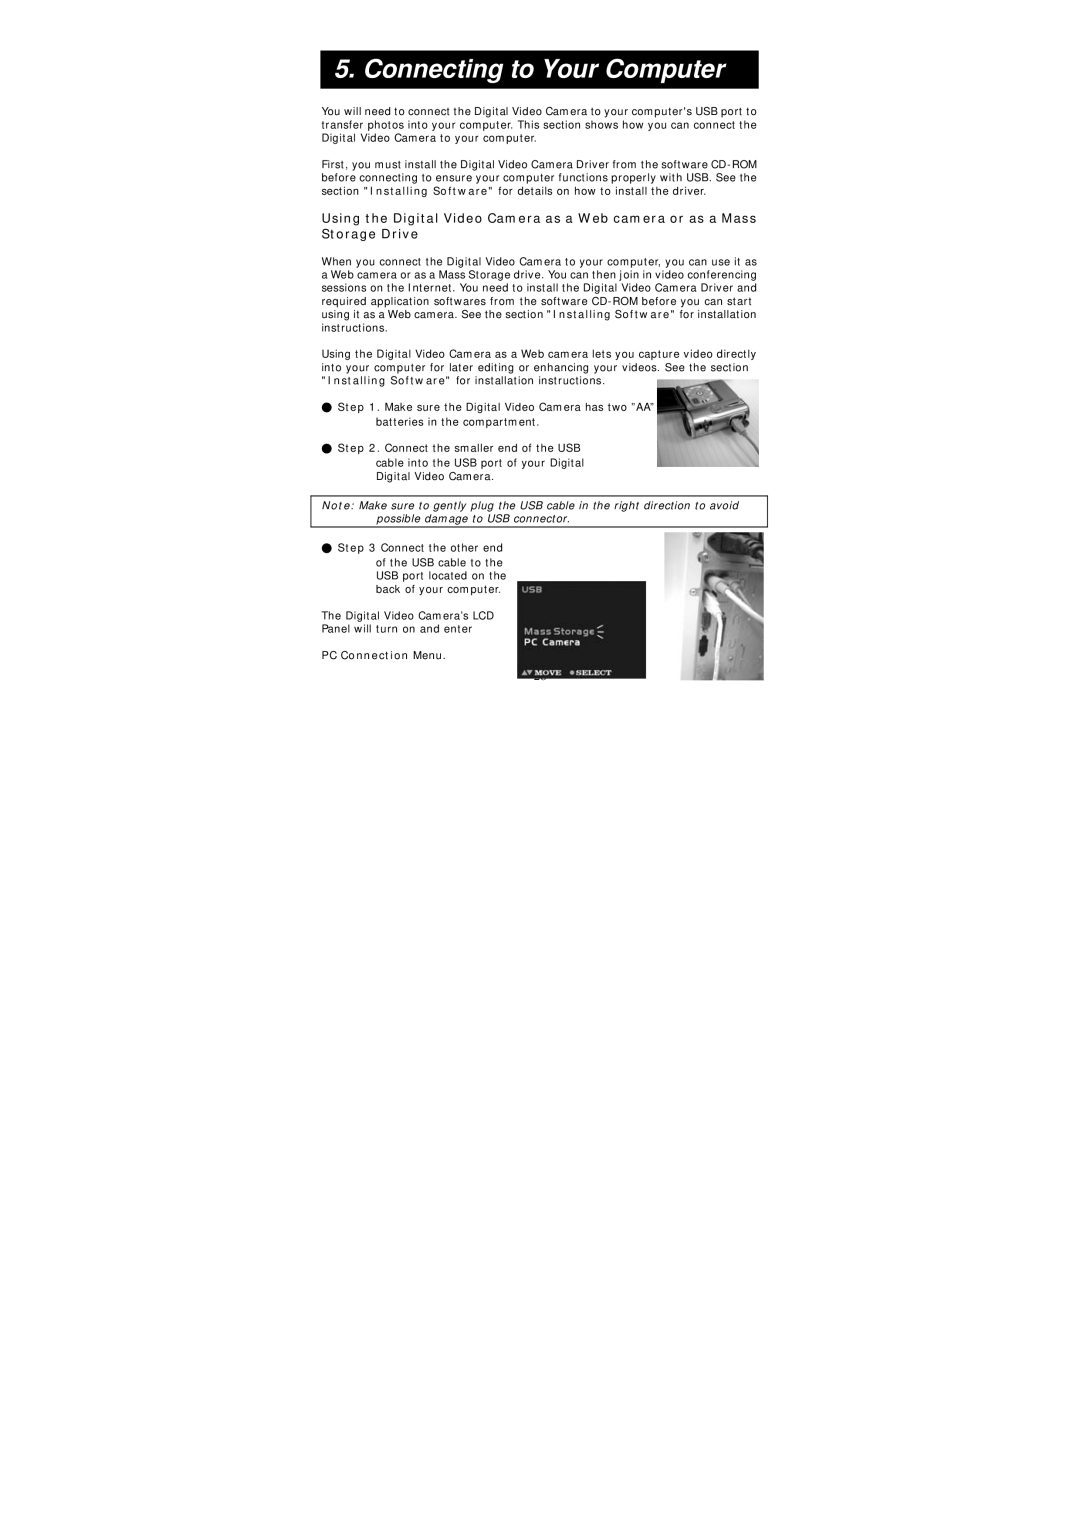
●Step 3 Connect the other end
of the USB cable to the USB port located on the back of your computer.
The Digital Video Camera’s LCD
Panel will turn on and enter
PC Connection Menu.
28