Creating your first label
You will no doubt be anxious to see what your new Labelmaker can do. Before we go on to explore the many advanced features of the DYMO 6000, follow these simple steps to create your first label.
1.Connect the AC adaptor, plug in and switch on at the wall socket.
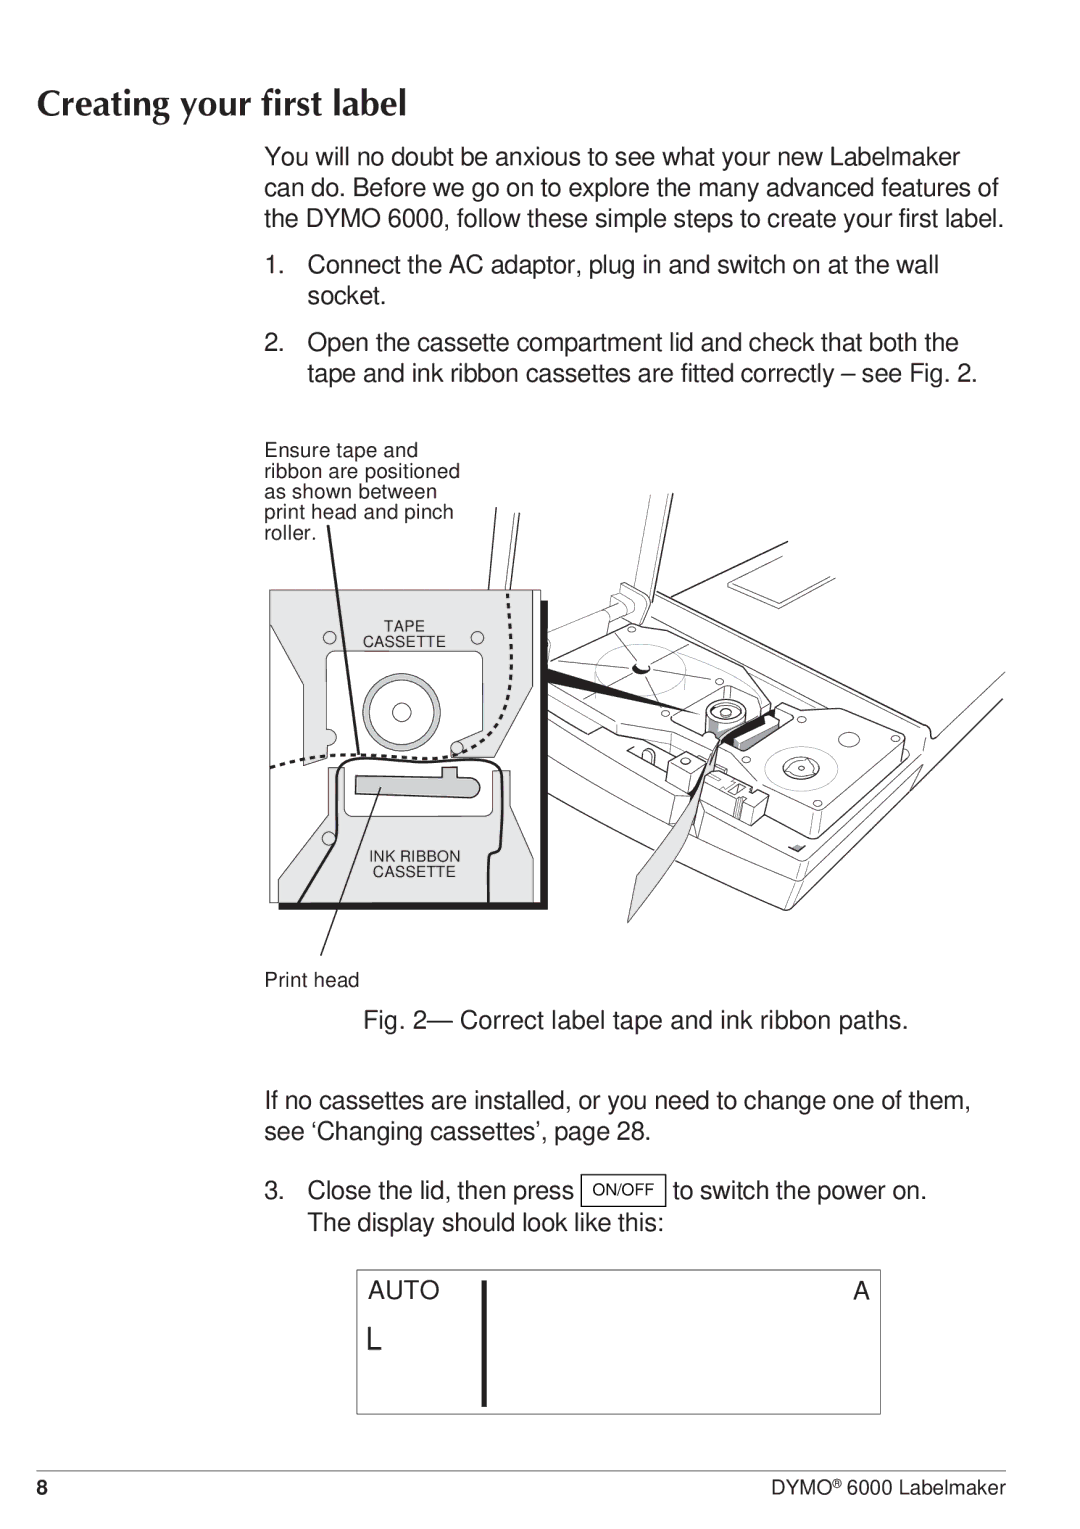
2.Open the cassette compartment lid and check that both the tape and ink ribbon cassettes are fitted correctly – see Fig. 2.
Ensure tape and ribbon are positioned as shown between print head and pinch roller.
TAPE |
CASSETTE |
INK RIBBON |
CASSETTE |
Print head
Fig. 2— Correct label tape and ink ribbon paths.
If no cassettes are installed, or you need to change one of them, see ‘Changing cassettes’, page 28.
3.Close the lid, then press ON/OFF The display should look like this:
to switch the power on.
AUTO
A
8 | DYMO® 6000 Labelmaker |