1000 specifications
The Dynacord 1000 series stands as a beacon of excellence in the realm of professional audio systems. Renowned for its reliability and superior sound quality, this series is crafted for a variety of applications, from live performances to installations in concert halls and auditoriums.One of the standout features of the Dynacord 1000 is its power amplification technology. The series incorporates Class-D amplifier technology, which allows for high efficiency and reduced weight compared to traditional amplifiers. This results in a compact design without compromising the audio output. Users can expect impressive power levels that are capable of driving large speaker systems with ease, providing clear sound even at high volumes.
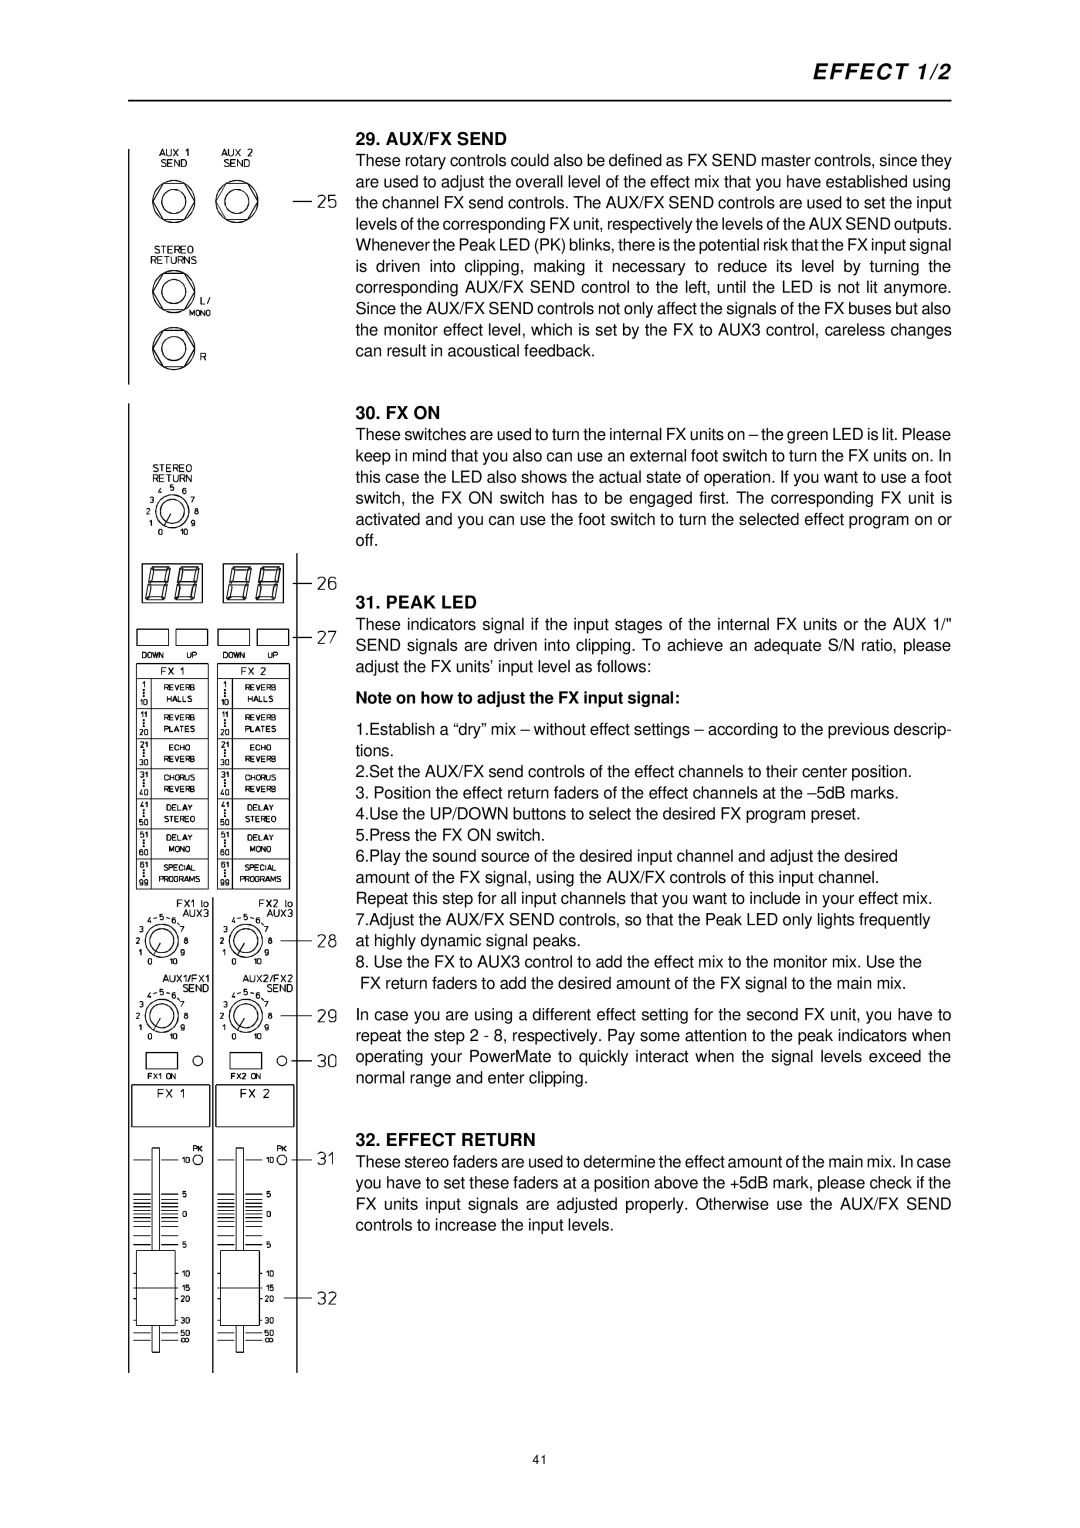
The Dynacord 1000 series also boasts an advanced digital signal processing (DSP) platform. This powerful DSP engine includes a variety of built-in effects and advanced equalization options, allowing sound engineers to finely tune their audio output. This versatility makes it suitable for diverse applications, from smooth music playback to complex multi-channel live mixing scenarios.
A key characteristic of the Dynacord 1000 is its user-friendly interface. The intuitive layout of controls allows for quick adjustments and easy navigation through various settings. This is particularly advantageous for live sound situations, where time is often limited and quick responses are critical.
Durability is another critical aspect of the Dynacord 1000 series. The rugged build quality ensures that the system can withstand the rigors of both touring and permanent installation environments. Additionally, the units are designed with thermal management features, which prevent overheating during long usage periods, ensuring longevity and reliability.
The Dynacord 1000 series is also highly compatible with various accessories and additional equipment. Its flexible connectivity options, including analog and digital inputs, ensure seamless integration with other sound systems and devices. This adaptability is essential for professionals seeking a comprehensive audio solution.
In summary, the Dynacord 1000 series stands out as a top-tier choice for audio professionals, boasting powerful amplification, advanced DSP capabilities, user-friendly controls, and robust construction. It meets the demanding needs of modern sound production, making it an essential component for any serious audio setup.

