3.Under the Disk Utilities,
a.Highlight the new hard drive
b.Click Partition
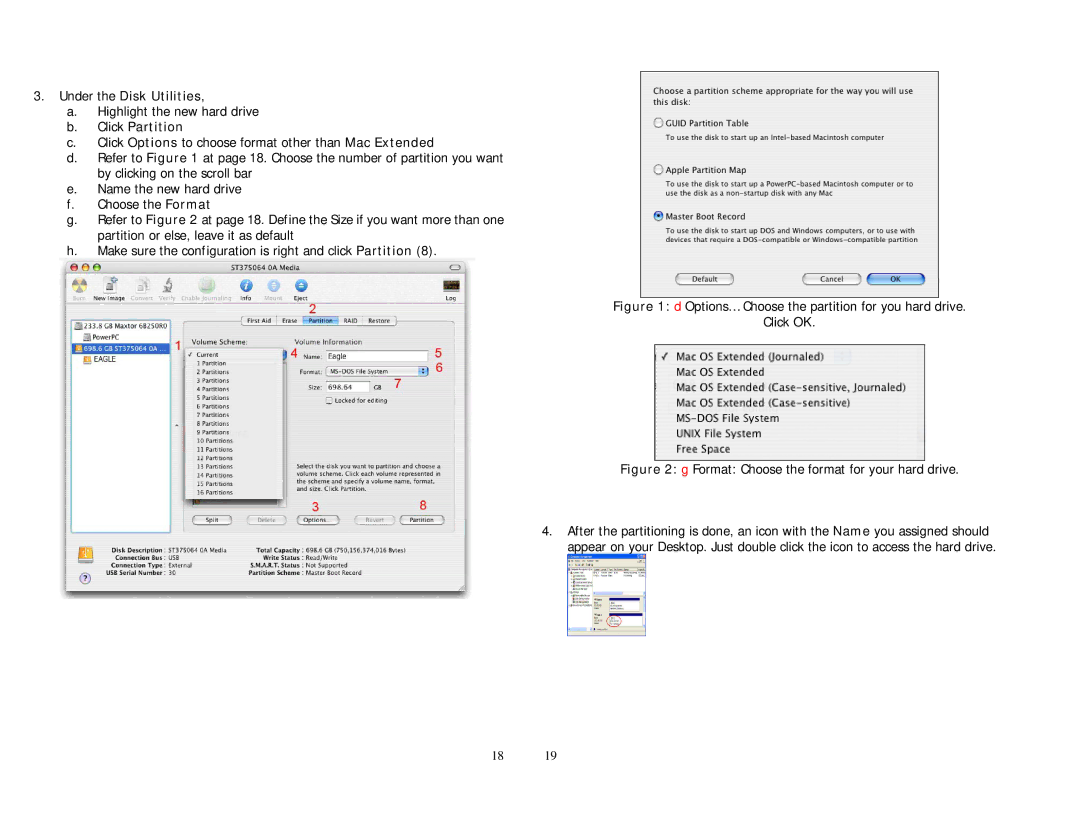
c.Click Options to choose format other than Mac Extended
d.Refer to Figure 1 at page 18. Choose the number of partition you want by clicking on the scroll bar
e.Name the new hard drive
f.Choose the Format
g.Refer to Figure 2 at page 18. Define the Size if you want more than one partition or else, leave it as default
h.Make sure the configuration is right and click Partition (8).
Figure 1: d Options… Choose the partition for you hard drive.
Click OK.
Figure 2: g Format: Choose the format for your hard drive.
4. After the partitioning is done, an icon with the Name you assigned should appear on your Desktop. Just double click the icon to access the hard drive.
18 19