BASIC OPERATION
ADJUSTING THE IMAGE
ZOOM ADJUSTMENT
Use Top control and Wireless/Wired remote control unit.
Press the ZOOM (▲) or (▼) button to obtain your desired picture size. For a larger picture, press (▲) and for a smaller picture, press (▼).
Use Wireless remote control unit.
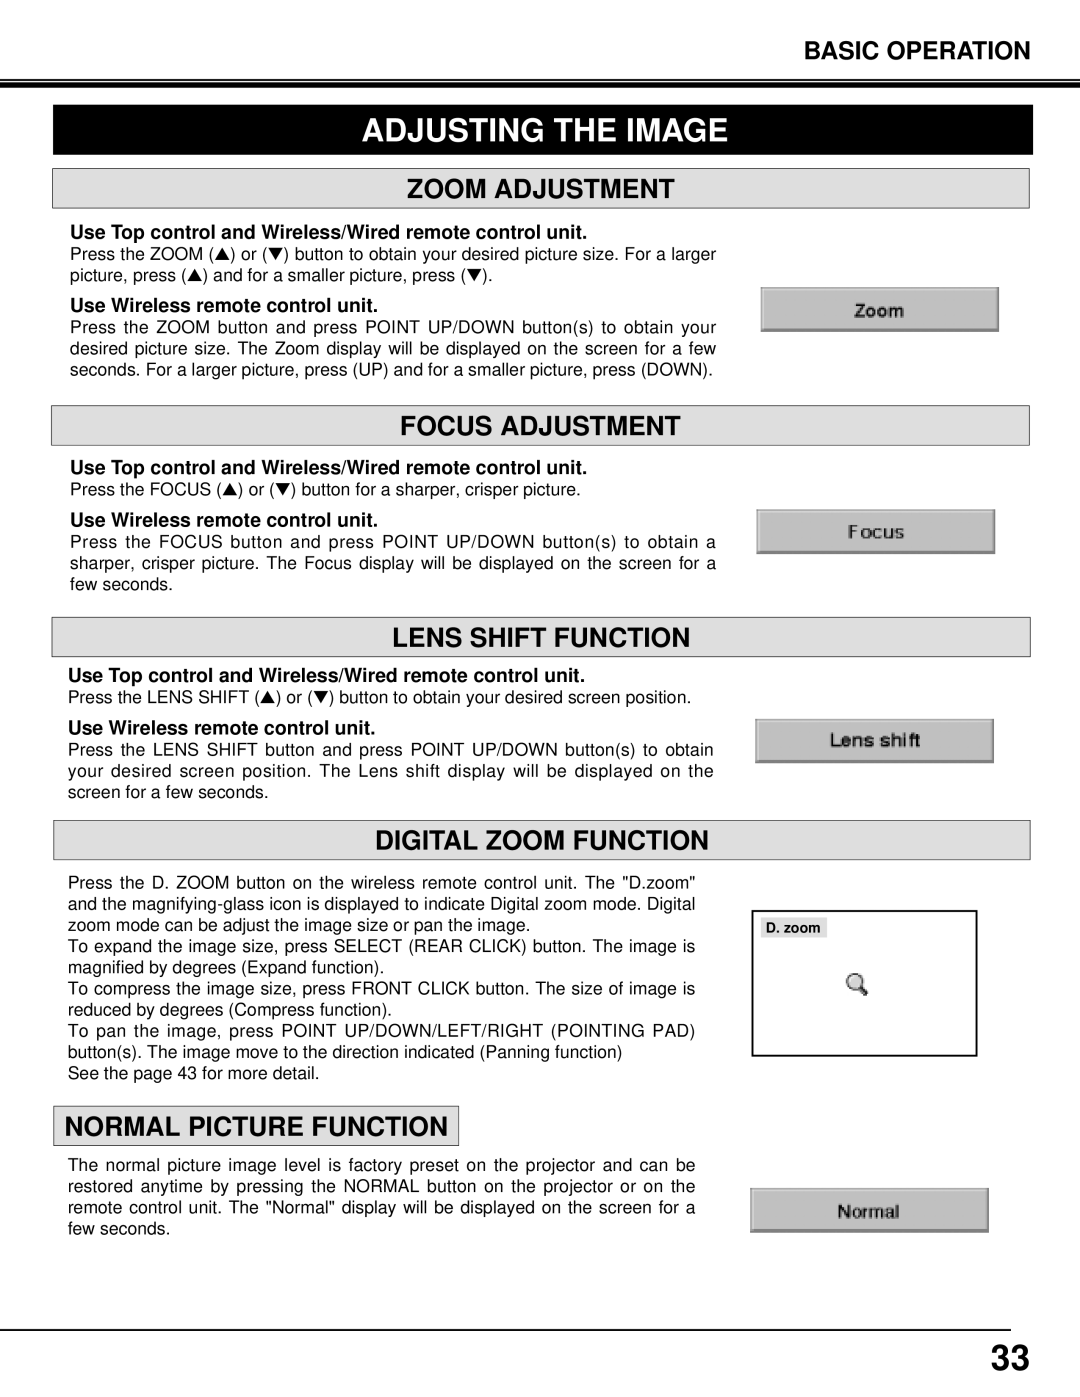
Press the ZOOM button and press POINT UP/DOWN button(s) to obtain your desired picture size. The Zoom display will be displayed on the screen for a few seconds. For a larger picture, press (UP) and for a smaller picture, press (DOWN).
FOCUS ADJUSTMENT
Use Top control and Wireless/Wired remote control unit.
Press the FOCUS (▲) or (▼) button for a sharper, crisper picture.
Use Wireless remote control unit.
Press the FOCUS button and press POINT UP/DOWN button(s) to obtain a sharper, crisper picture. The Focus display will be displayed on the screen for a few seconds.
LENS SHIFT FUNCTION
Use Top control and Wireless/Wired remote control unit.
Press the LENS SHIFT (▲) or (▼) button to obtain your desired screen position.
Use Wireless remote control unit.
Press the LENS SHIFT button and press POINT UP/DOWN button(s) to obtain your desired screen position. The Lens shift display will be displayed on the screen for a few seconds.
DIGITAL ZOOM FUNCTION
Press the D. ZOOM button on the wireless remote control unit. The "D.zoom" and the
To expand the image size, press SELECT (REAR CLICK) button. The image is magnified by degrees (Expand function).
To compress the image size, press FRONT CLICK button. The size of image is reduced by degrees (Compress function).
To pan the image, press POINT UP/DOWN/LEFT/RIGHT (POINTING PAD) button(s). The image move to the direction indicated (Panning function)
See the page 43 for more detail.
D. zoom
NORMAL PICTURE FUNCTION
The normal picture image level is factory preset on the projector and can be restored anytime by pressing the NORMAL button on the projector or on the remote control unit. The "Normal" display will be displayed on the screen for a few seconds.
33
