Basic Operation
Input Selection
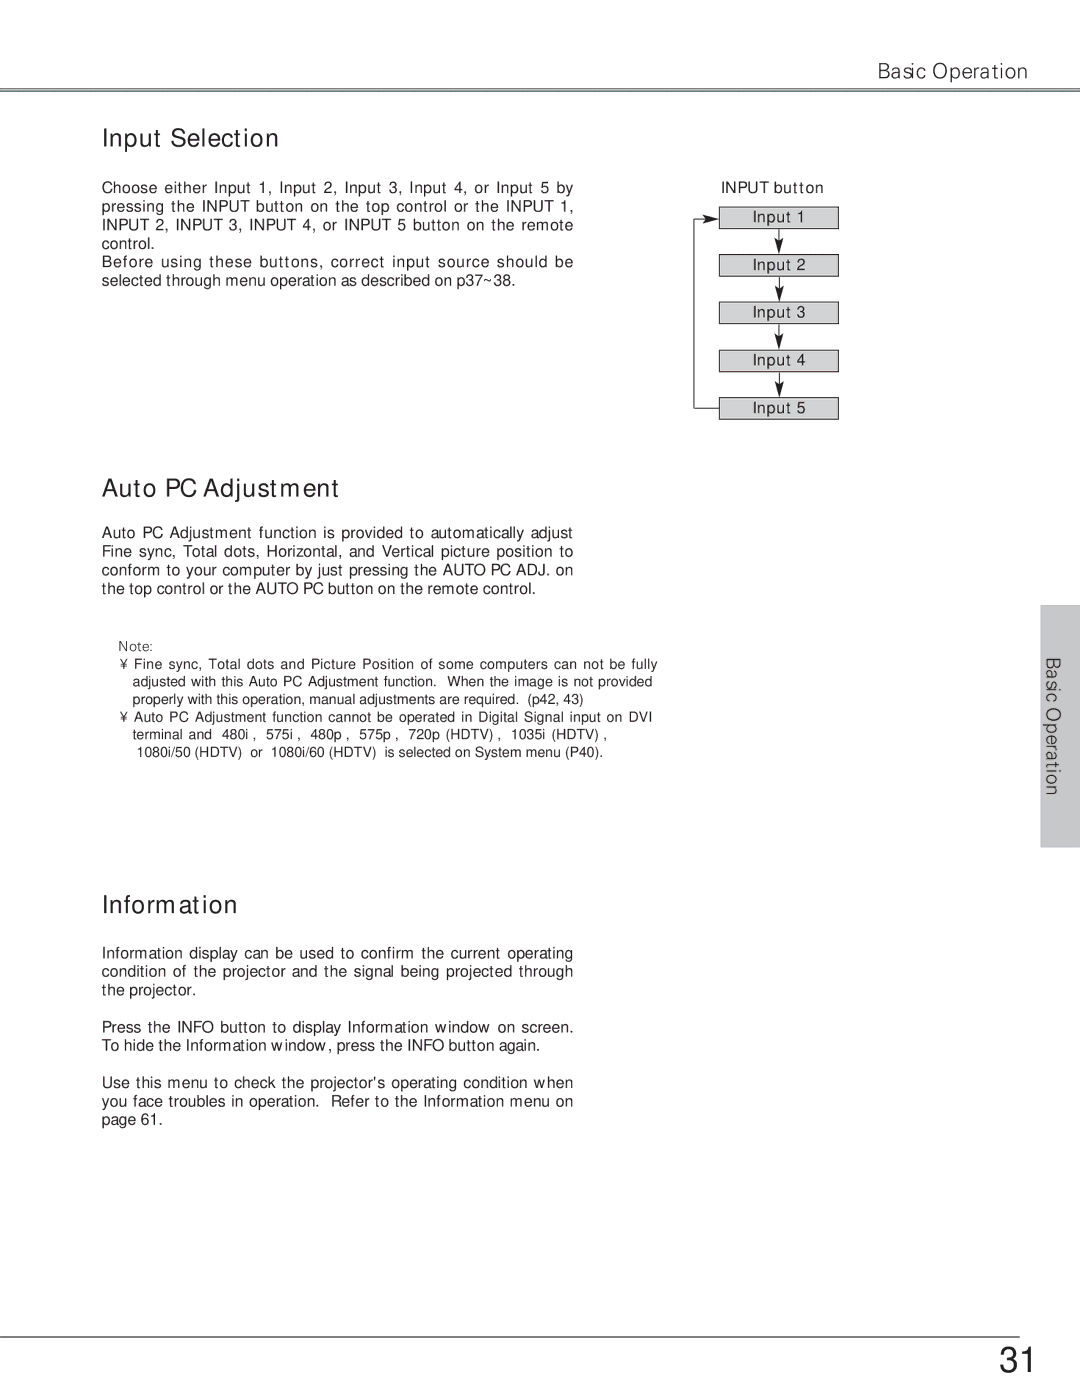
Choose either Input 1, Input 2, Input 3, Input 4, or Input 5 by pressing the INPUT button on the top control or the INPUT 1, INPUT 2, INPUT 3, INPUT 4, or INPUT 5 button on the remote control.
Before using these buttons, correct input source should be selected through menu operation as described on p37~38.
Auto PC Adjustment
Auto PC Adjustment function is provided to automatically adjust Fine sync, Total dots, Horizontal, and Vertical picture position to conform to your computer by just pressing the AUTO PC ADJ. on the top control or the AUTO PC button on the remote control.
✔Note:
•Fine sync, Total dots and Picture Position of some computers can not be fully adjusted with this Auto PC Adjustment function. When the image is not provided properly with this operation, manual adjustments are required. (p42, 43)
•Auto PC Adjustment function cannot be operated in Digital Signal input on DVI terminal and “480i”, “575i”, “480p”, “575p”, “720p (HDTV)”, “1035i (HDTV)”, “1080i/50 (HDTV)” or “1080i/60 (HDTV)” is selected on System menu (P40).
Information
Information display can be used to confirm the current operating condition of the projector and the signal being projected through the projector.
Press the INFO button to display Information window on screen. To hide the Information window, press the INFO button again.
Use this menu to check the projector's operating condition when you face troubles in operation. Refer to the Information menu on page 61.
INPUT button
Input 1
Input 2
Input 3
Input 4
Input 5
Basic Operation
31