Computer Input
Auto PC Adjustment
Auto PC Adjustment function is provided to automatically adjust Fine sync, Total dots, Horizontal and Vertical positions to conform to your computer.
Direct Operation | Remote Control |
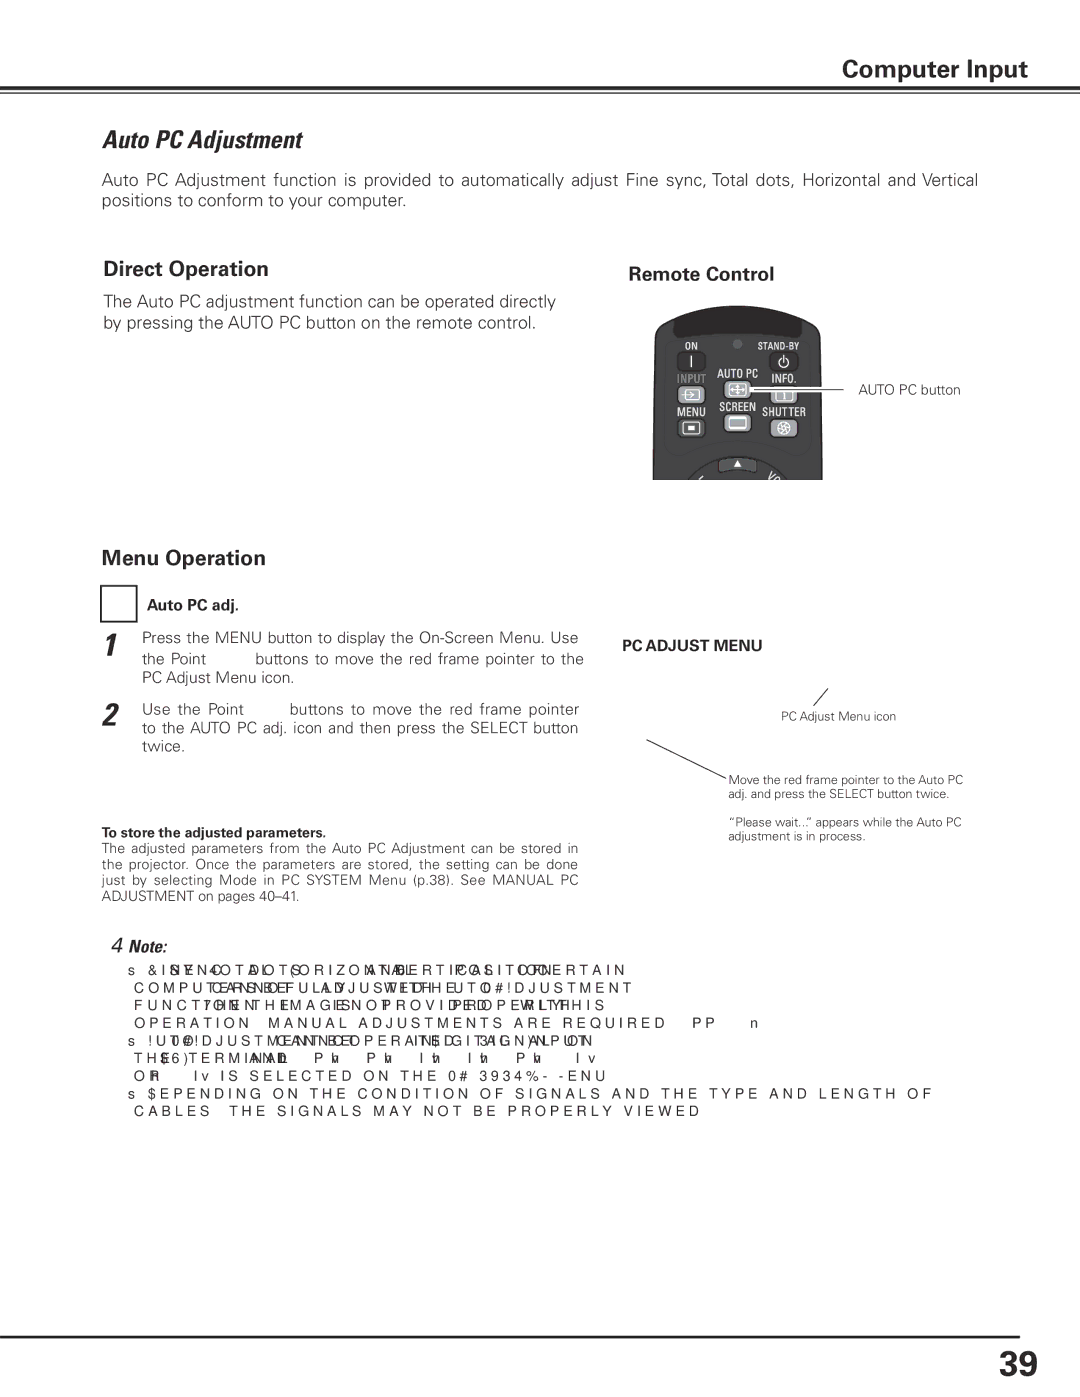
The Auto PC adjustment function can be operated directly by pressing the AUTO PC button on the remote control.
AUTO PC button
Menu Operation
| Auto PC adj.. |
|
|
1 | Press the MENU button to display the |
the Point 7 8 buttons to move the red frame pointer to the | |
| PC Adjust Menu icon. |
2 | Use the Point ed buttons to move the red frame pointer |
to the AUTO PC adj. icon and then press the SELECT button |
twice.
To store the adjusted parameters..
The adjusted parameters from the Auto PC Adjustment can be stored in the projector. Once the parameters are stored, the setting can be done just by selecting Mode in PC SYSTEM Menu (p.38). See MANUAL PC ADJUSTMENT on pages
✔Note:
•Fine sync, Total dots, Horizontal and Vertical position of certain computers cannot be fully adjusted with the Auto PC Adjustment function. When the image is not provided properly with this operation, manual adjustments are required. (pp.
•Auto PC Adjustment cannot be operated in Digital Signal Input on the DVI terminal and “480p,” “575p,” “480i,” “575i,” “720p,” “1035i,” or “1080i” is selected on the PC SYSTEM Menu.
•Depending on the condition of signals and the type and length of cables, the signals may not be properly viewed.
PC ADJUST MENU
PC Adjust Menu icon
Move the red frame pointer to the Auto PC adj. and press the SELECT button twice.
“Please wait...” appears while the Auto PC adjustment is in process.
39