Manuals
/
Eiki
/
TV and Video
/
CRT Television
Eiki
LC-XWP2000
manual
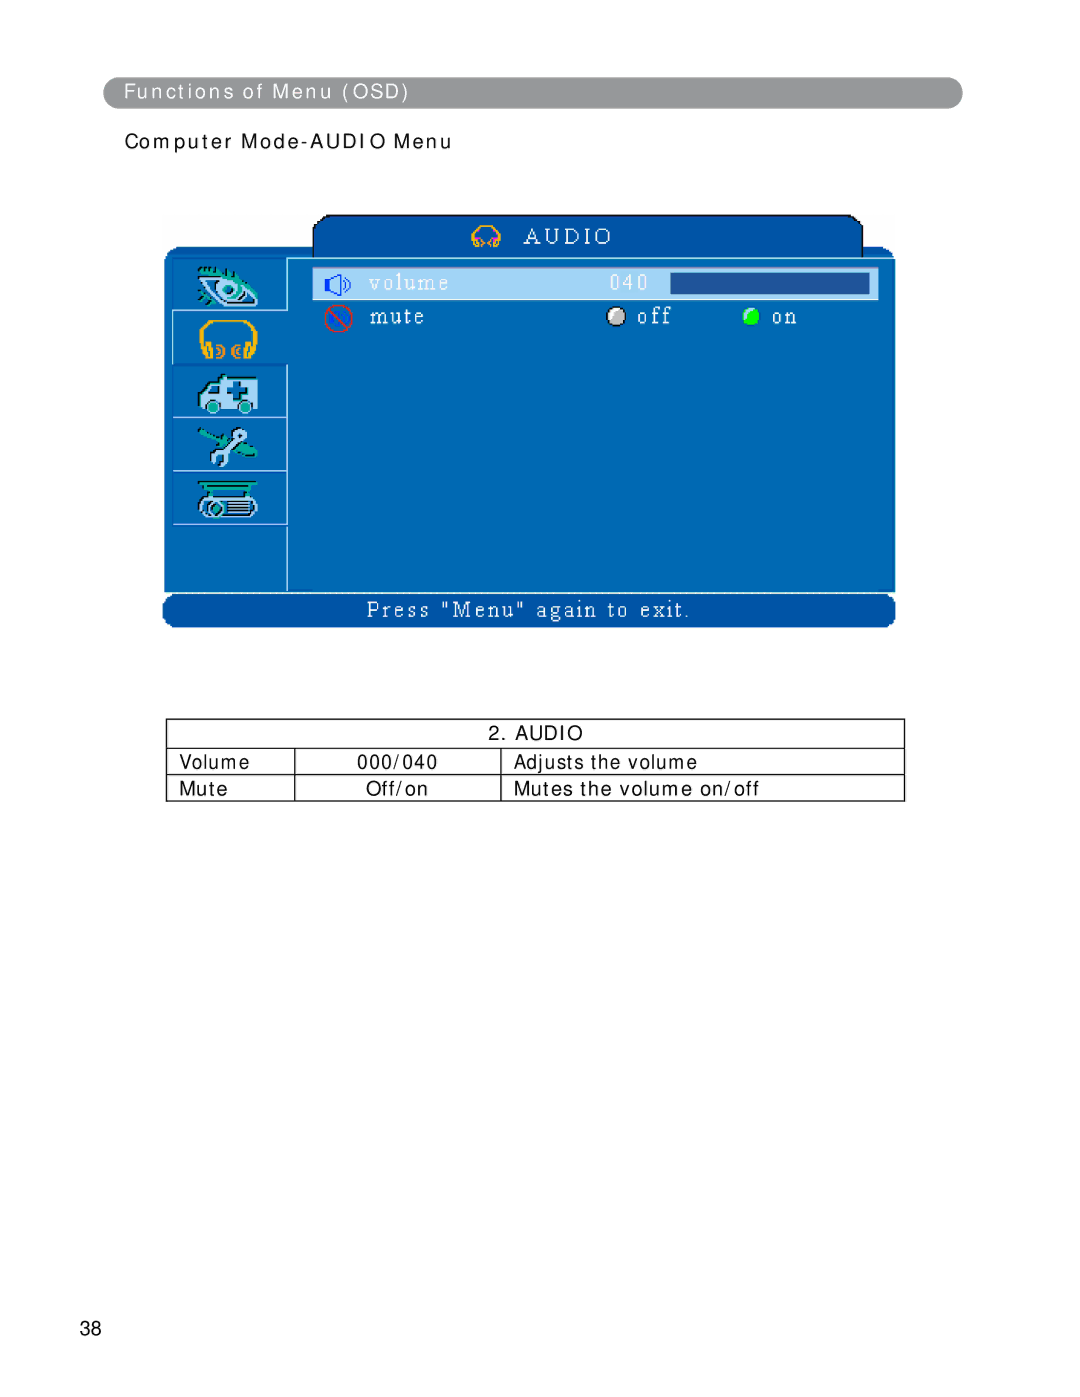
Functions of Menu OSD, Computer Mode-AUDIO Menu
Models:
LC-XWP2000
1
39
59
59
Download
59 pages
11.56 Kb
36
37
38
39
40
41
42
43
Specification
Power indicator
Connecting PC to the Projector
Warranty
Symptom Possible cause Remedy
Reset all
Setting Up the Projector
Monitor out connector
Front adjustable foot
Computer Mode-SETTING Menu
Page 39
Image 39
Functions of Menu (OSD)
Computer
Mode-AUDIO
Menu
2. AUDIO
Volume
000/040
Adjusts the volume
Mute
Off/on
Mutes the volume on/off
38
Page 38
Page 40
Page 39
Image 39
Page 38
Page 40
Contents
LC-XWP2000
Features
Contents
Fu n ct i o n s of Men u OSD
Safety Instructions
Do not modify
Do not look through the lens when the lamp is on
Ask your dealer for details about internal cleaning
Safety Instructions
Lens Warranty Label EMI Label
Projector Remote Control
IR sensor
Main Unit
Zoom ring
Focus ring
Control panel keypad
Front adjustable foot
Foot adjust button
Lens cover
Power indicator Power button Auto button Lam p indicator
Menu button
Power indicator
Lamp indicator
Control panelkeypad
Computer
Monitor out connector
Video connector
Rear View / IO Board
Audio out
USB mouse connector
Power socket
Power switch
Bottom View
Par t N am e s an d Fu n ct i o n s
Remote Control Batteries Installation
Front projection Rear
Setting Up the Projector
Installation
Ratio= 6.5
Adjusting the Image Position
Carry bag
Moving the Projector
St al l a t i o n
Turning on the Projector
Connecting PC to the Projector
Desktop PC
Connect the computer cable
Connect the audio cable if necessary
Laptop PC
Laptop PC
How to Connect
How to Connect
Turning on the Projector Procedure
Power Lamp
Turning off the Projector Procedure
Adjusting the Screen Image 1. Adjusting the image size
Adjusting the image height
Correcting Keystone Distortion
Power button Menu button Auto button Nput button
Picture
Computer Mode-AUDIO Menu
Functions of Menu OSD
Setting
Computer Mode-SETTING Menu
Computer Mode-ADVANCED Menu
Blank on
Reset all
Computer Mode-PRESENTATION Menu
Presentation
Reset Lamp Timer
Picture
Video Mode-PICTURE Menu
Video Mode-AUDIO Menu
Video Mode-SETTING Mode
Video Mode-ADVANCED Menu
Computer Mode-ADVANCED Menu
Presentati on
Technical Specifications
Ceiling Mounted Installation Guide
Maintenance and Troubleshooting
Arni NG
Lamp Replacement
Indicators
Symptom Possible cause Remedy
List of Supported Monitor Displays
GND
Deutschland & Österreich
Top
Page
Image
Contents