
318205134 specifications
Electrolux 318205134 is a high-quality appliance that stands out in the realm of kitchen equipment, particularly designed for those who value efficiency and performance in their cooking and baking processes. As a part of Electrolux’s extensive range of household products, this refrigerator component emphasizes durability and the incorporation of advanced technologies for an optimal user experience.One of the main features of the Electrolux 318205134 is its impressive energy efficiency. This model is designed to minimize energy consumption while maximizing performance. With the increasing importance of energy-saving appliances, Electrolux has integrated state-of-the-art technology that aims to reduce environmental impact without compromising on functionality. This makes it a responsible choice for eco-conscious consumers.
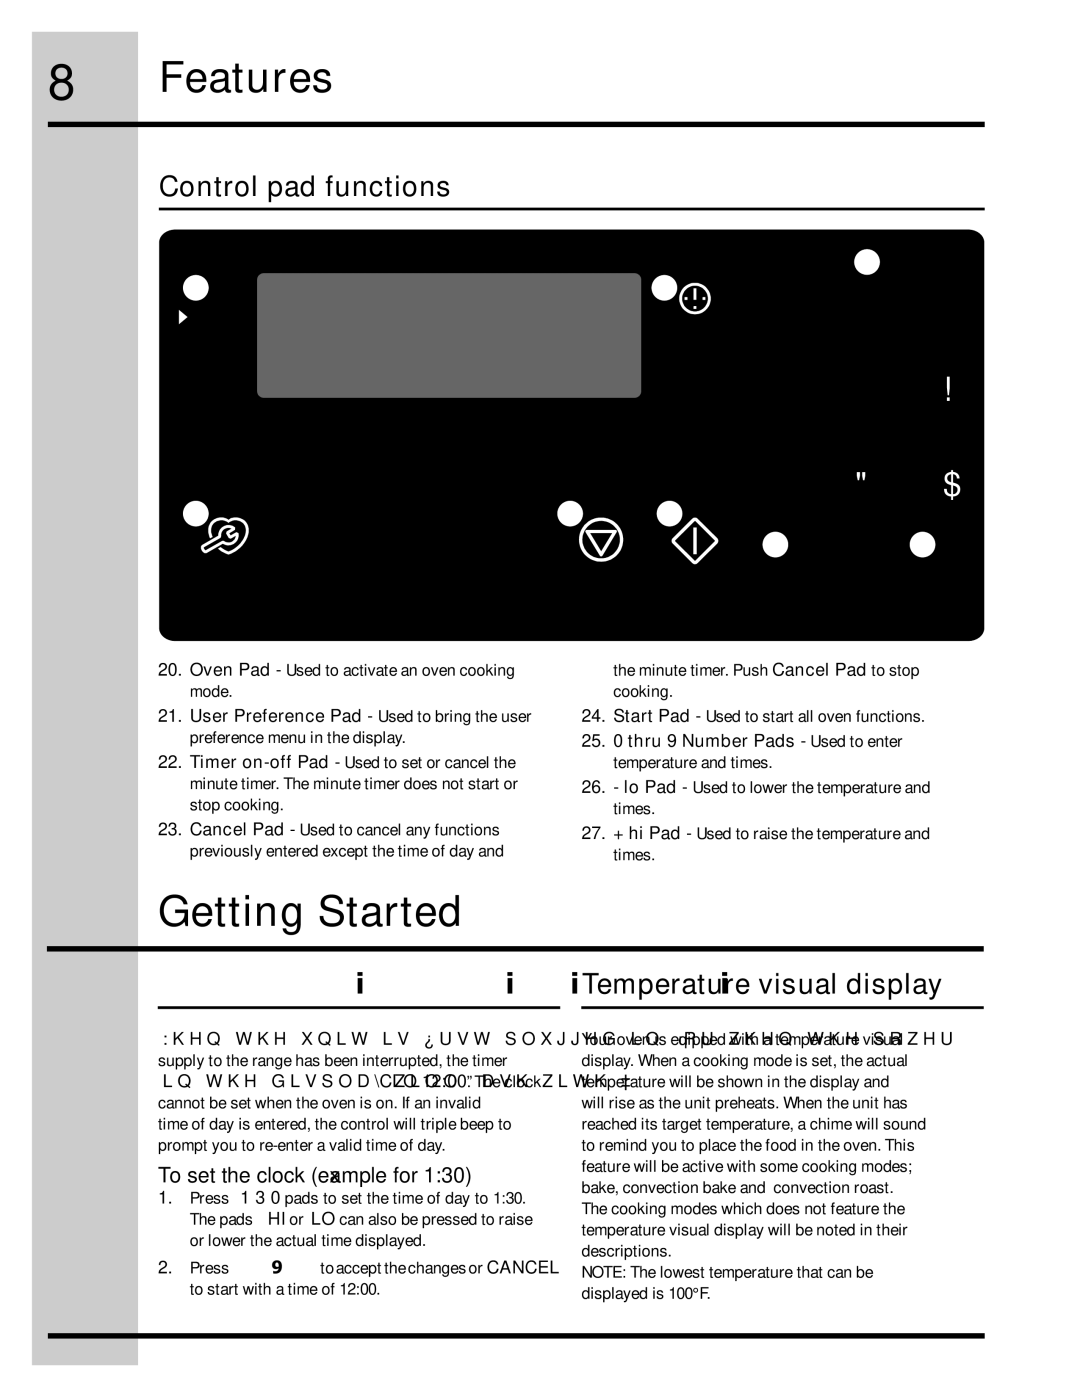
Another key characteristic of the Electrolux 318205134 is its user-friendly interface. Designed with the modern user in mind, the component boasts intuitive controls that allow for seamless operation, ensuring even novice users can confidently utilize its functions. This represents Electrolux’s commitment to enhancing user experience through thoughtful design.
In addition to efficiency and ease of use, the Electrolux 318205134 is equipped with innovative cooling technology. This feature helps maintain an ideal temperature within the refrigerator, ensuring that food items remain fresh for longer periods. With precise temperature controls, users can store a variety of perishables without worry, enhancing the overall reliability of the appliance.
Moreover, the Electrolux 318205134 is built with high-quality materials that promote longevity. The robust construction means it can withstand regular use, making it a practical addition to any kitchen. The design also incorporates stylish aesthetics that complement modern kitchen interiors, reinforcing Electrolux’s core philosophy of blending form with function.
Safety is another significant aspect of the Electrolux 318205134. The appliance is designed with safety features that protect against overheating and ensure secure operation, providing peace of mind to users.
In summary, the Electrolux 318205134 is a pinnacle of modern kitchen technology, combining energy efficiency, user-friendly controls, advanced cooling methods, durability, and safety features. This makes it a standout choice for those seeking reliability and performance in their kitchen appliances. Whether you are a home cook or a culinary enthusiast, Electrolux 318205134 promises to meet and exceed your expectations.