ENGLISH 11
POWER MANAGEMENT
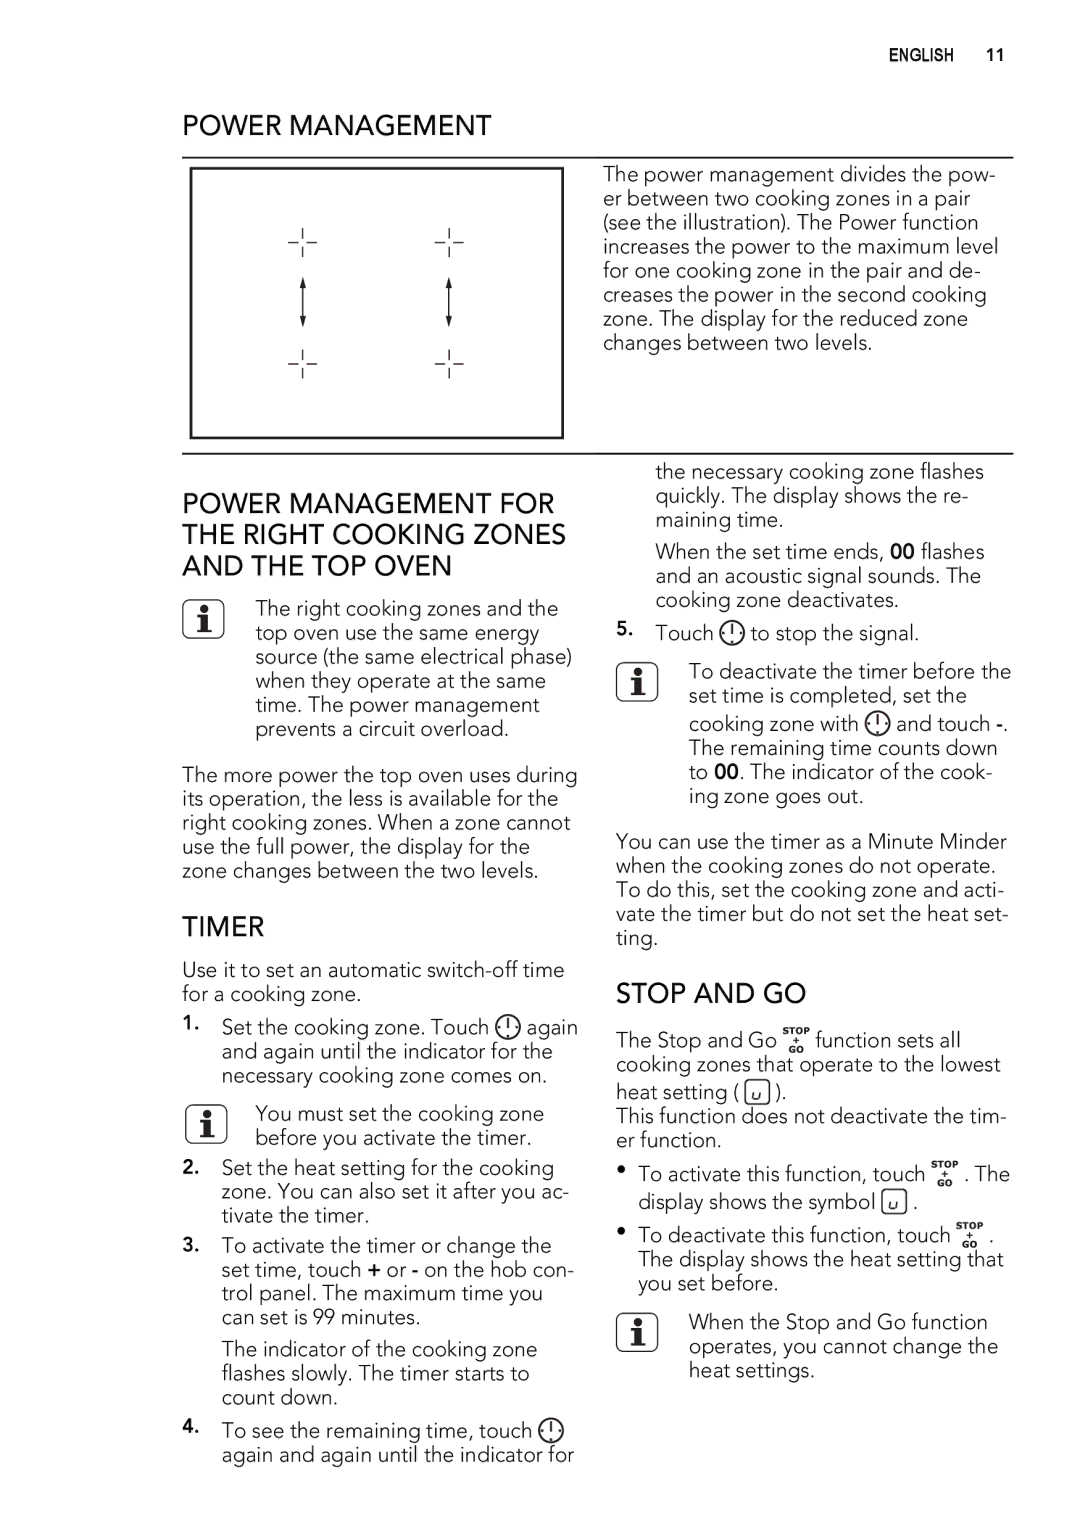
The power management divides the pow- er between two cooking zones in a pair (see the illustration). The Power function increases the power to the maximum level for one cooking zone in the pair and de- creases the power in the second cooking zone. The display for the reduced zone changes between two levels.
POWER MANAGEMENT FOR THE RIGHT COOKING ZONES AND THE TOP OVEN
The right cooking zones and the top oven use the same energy source (the same electrical phase) when they operate at the same time. The power management prevents a circuit overload.
The more power the top oven uses during its operation, the less is available for the right cooking zones. When a zone cannot use the full power, the display for the zone changes between the two levels.
TIMER
Use it to set an automatic
1.Set the cooking zone. Touch ![]() again and again until the indicator for the necessary cooking zone comes on.
again and again until the indicator for the necessary cooking zone comes on.
You must set the cooking zone before you activate the timer.
2.Set the heat setting for the cooking zone. You can also set it after you ac- tivate the timer.
3.To activate the timer or change the set time, touch + or - on the hob con- trol panel. The maximum time you can set is 99 minutes.
The indicator of the cooking zone flashes slowly. The timer starts to count down.
4.To see the remaining time, touch ![]() again and again until the indicator for
again and again until the indicator for
the necessary cooking zone flashes quickly. The display shows the re- maining time.
When the set time ends, 00 flashes and an acoustic signal sounds. The cooking zone deactivates.
5.Touch ![]() to stop the signal.
to stop the signal.
To deactivate the timer before the set time is completed, set the
cooking zone with ![]() and touch
and touch
You can use the timer as a Minute Minder when the cooking zones do not operate. To do this, set the cooking zone and acti- vate the timer but do not set the heat set- ting.
STOP AND GO
The Stop and Go ![]() function sets all cooking zones that operate to the lowest
function sets all cooking zones that operate to the lowest
heat setting ( ![]() ).
).
This function does not deactivate the tim- er function.
•To activate this function, touch ![]() . The display shows the symbol
. The display shows the symbol ![]() .
.
•To deactivate this function, touch ![]() . The display shows the heat setting that you set before.
. The display shows the heat setting that you set before.
When the Stop and Go function operates, you cannot change the heat settings.