v)To set the 'End Time'. Press the Selector
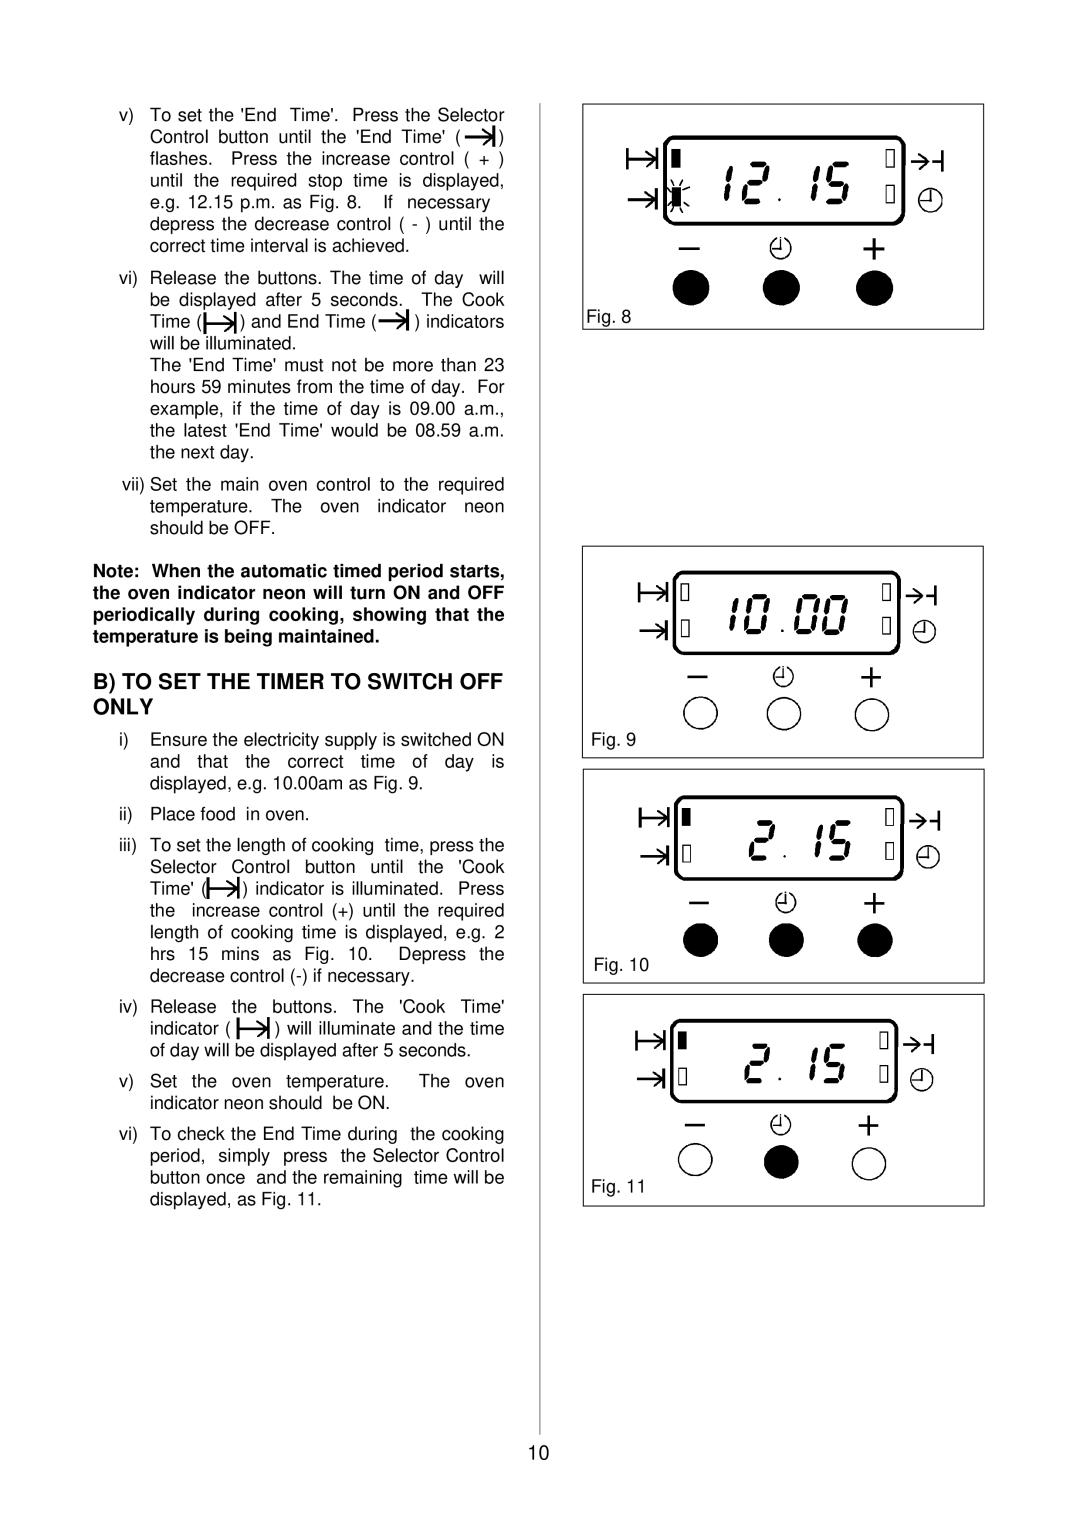
Control button until the 'End Time' ( ![]() ) flashes. Press the increase control ( + ) until the required stop time is displayed, e.g. 12.15 p.m. as Fig. 8. If necessary depress the decrease control ( - ) until the correct time interval is achieved.
) flashes. Press the increase control ( + ) until the required stop time is displayed, e.g. 12.15 p.m. as Fig. 8. If necessary depress the decrease control ( - ) until the correct time interval is achieved.
vi)Release the buttons. The time of day will
be displayed after 5 seconds. The Cook
Time (![]() ) and End Time (
) and End Time (![]() ) indicators will be illuminated.
) indicators will be illuminated.
The 'End Time' must not be more than 23 hours 59 minutes from the time of day. For example, if the time of day is 09.00 a.m., the latest 'End Time' would be 08.59 a.m. the next day.
vii)Set the main oven control to the required temperature. The oven indicator neon should be OFF.
Note: When the automatic timed period starts, the oven indicator neon will turn ON and OFF periodically during cooking, showing that the temperature is being maintained.
B)TO SET THE TIMER TO SWITCH OFF ONLY
i)Ensure the electricity supply is switched ON and that the correct time of day is displayed, e.g. 10.00am as Fig. 9.
ii)Place food in oven.
iii)To set the length of cooking time, press the
Selector Control button until the 'Cook
Time' (![]() ) indicator is illuminated. Press the increase control (+) until the required length of cooking time is displayed, e.g. 2 hrs 15 mins as Fig. 10. Depress the decrease control
) indicator is illuminated. Press the increase control (+) until the required length of cooking time is displayed, e.g. 2 hrs 15 mins as Fig. 10. Depress the decrease control
iv)Release the buttons. The 'Cook Time'
indicator ( ![]() ) will illuminate and the time of day will be displayed after 5 seconds.
) will illuminate and the time of day will be displayed after 5 seconds.
v)Set the oven temperature. The oven indicator neon should be ON.
vi)To check the End Time during the cooking period, simply press the Selector Control button once and the remaining time will be displayed, as Fig. 11.
Fig. 8
Fig. 9
Fig. 10
Fig. 11
10