10. CHECKING THE MAIN OVEN CONTROLS

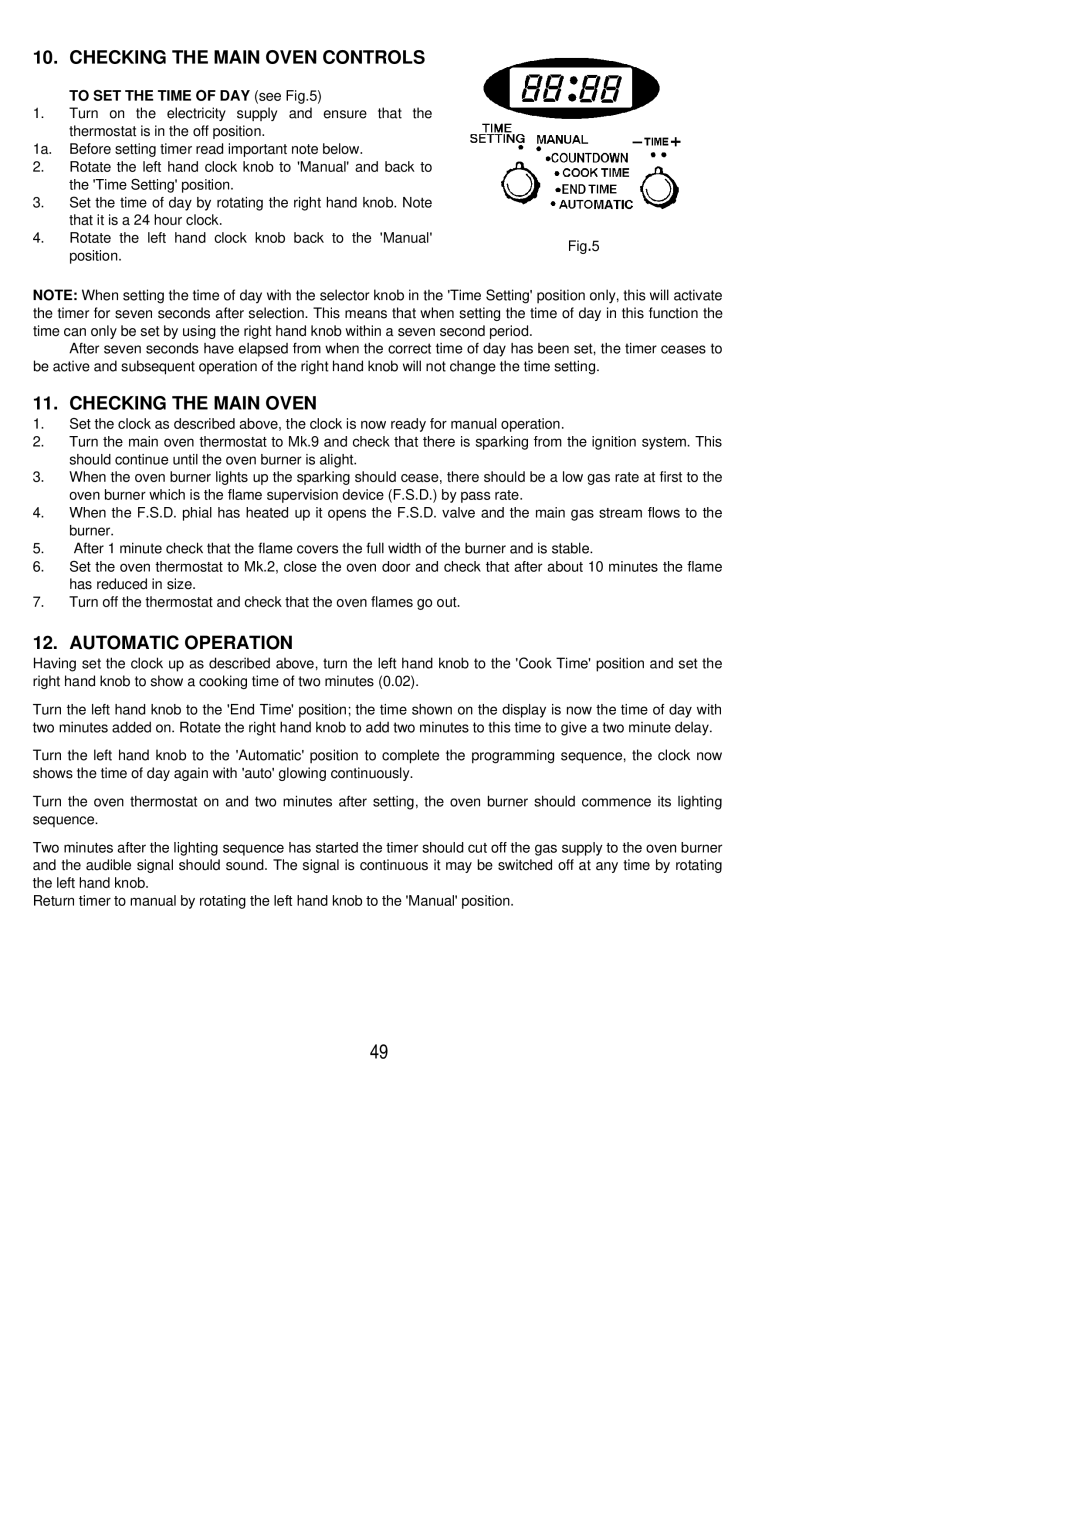
TO SET THE TIME OF DAY (see Fig.5)

1.Turn on the electricity supply and ensure that the thermostat is in the off position.

1a. Before setting timer read important note below.

2.Rotate the left hand clock knob to 'Manual' and back to the 'Time Setting' position.

3.Set the time of day by rotating the right hand knob. Note that it is a 24 hour clock.

4.

Rotate the left hand clock knob back to the 'Manual'

Fig.5


position.


NOTE: When setting the time of day with the selector knob in the 'Time Setting' position only, this will activate the timer for seven seconds after selection. This means that when setting the time of day in this function the time can only be set by using the right hand knob within a seven second period.

After seven seconds have elapsed from when the correct time of day has been set, the timer ceases to be active and subsequent operation of the right hand knob will not change the time setting.

11. CHECKING THE MAIN OVEN

1.Set the clock as described above, the clock is now ready for manual operation.

2.Turn the main oven thermostat to Mk.9 and check that there is sparking from the ignition system. This should continue until the oven burner is alight.

3.When the oven burner lights up the sparking should cease, there should be a low gas rate at first to the oven burner which is the flame supervision device (F.S.D.) by pass rate.

4.When the F.S.D. phial has heated up it opens the F.S.D. valve and the main gas stream flows to the burner.

5.After 1 minute check that the flame covers the full width of the burner and is stable.

6.Set the oven thermostat to Mk.2, close the oven door and check that after about 10 minutes the flame has reduced in size.

7.Turn off the thermostat and check that the oven flames go out.

12. AUTOMATIC OPERATION

Having set the clock up as described above, turn the left hand knob to the 'Cook Time' position and set the right hand knob to show a cooking time of two minutes (0.02).

Turn the left hand knob to the 'End Time' position; the time shown on the display is now the time of day with two minutes added on. Rotate the right hand knob to add two minutes to this time to give a two minute delay.

Turn the left hand knob to the 'Automatic' position to complete the programming sequence, the clock now shows the time of day again with 'auto' glowing continuously.

Turn the oven thermostat on and two minutes after setting, the oven burner should commence its lighting sequence.

Two minutes after the lighting sequence has started the timer should cut off the gas supply to the oven burner and the audible signal should sound. The signal is continuous it may be switched off at any time by rotating the left hand knob.

Return timer to manual by rotating the left hand knob to the 'Manual' position.

49

Page 49
Image 49
Electrolux SIG 505 X installation instructions Checking the Main Oven Controls, Automatic Operation

SIG 505 X specifications

The Electrolux SIG 505 X is a modern, high-performance built-in oven designed to enhance your cooking experience. Combining elegance with cutting-edge technology, this oven stands out for its sleek stainless-steel finish, ensuring it complements any contemporary kitchen decor.

One of the main features of the Electrolux SIG 505 X is its multifunction cooking system. This oven offers a wide range of cooking options, including conventional cooking, fan cooking, grilling, and baking, allowing users to experiment with various recipes effortlessly. The fan cooking feature ensures even heat distribution, which results in perfectly cooked dishes every time, whether you're roasting a chicken or baking a batch of cookies.

The SIG 505 X is equipped with intuitive controls, featuring a digital display that makes setting temperatures and cooking modes straightforward. The user-friendly interface includes touch controls, simplifying navigation through the different cooking settings. Additionally, the oven includes a programmable timer to ensure meals are cooked to perfection, while the delay start function allows you to set cooking times in advance.

Another noteworthy characteristic is the oven's pyrolytic self-cleaning function. This innovative technology burns off food residues at high temperatures, leaving the oven clean without the use of chemical cleaners. This not only saves time on cleaning but also ensures a hygienic cooking environment.

The Electrolux SIG 505 X also prioritizes energy efficiency. It is designed to consume less energy while maintaining high cooking performance, adhering to strict energy-saving regulations. This feature not only helps the environment but also reduces energy bills for the homeowner.

In terms of capacity, the SIG 505 X offers a generous interior space, allowing for the preparation of large meals. The oven's shelves can be adjusted to accommodate various cookware sizes, enhancing its versatility for different cooking needs.

Safety features are an essential aspect of the Electrolux SIG 505 X. It includes a child lock function to prevent accidental operation and heat-resistant doors that keep outer surfaces safe to touch, protecting younger family members.

In summary, the Electrolux SIG 505 X is a standout built-in oven that merges sophisticated design with advanced cooking technology, making it an ideal choice for home cooks of all skill levels. Its versatile cooking options, energy efficiency, and self-cleaning capabilities truly make it a valuable addition to any kitchen.