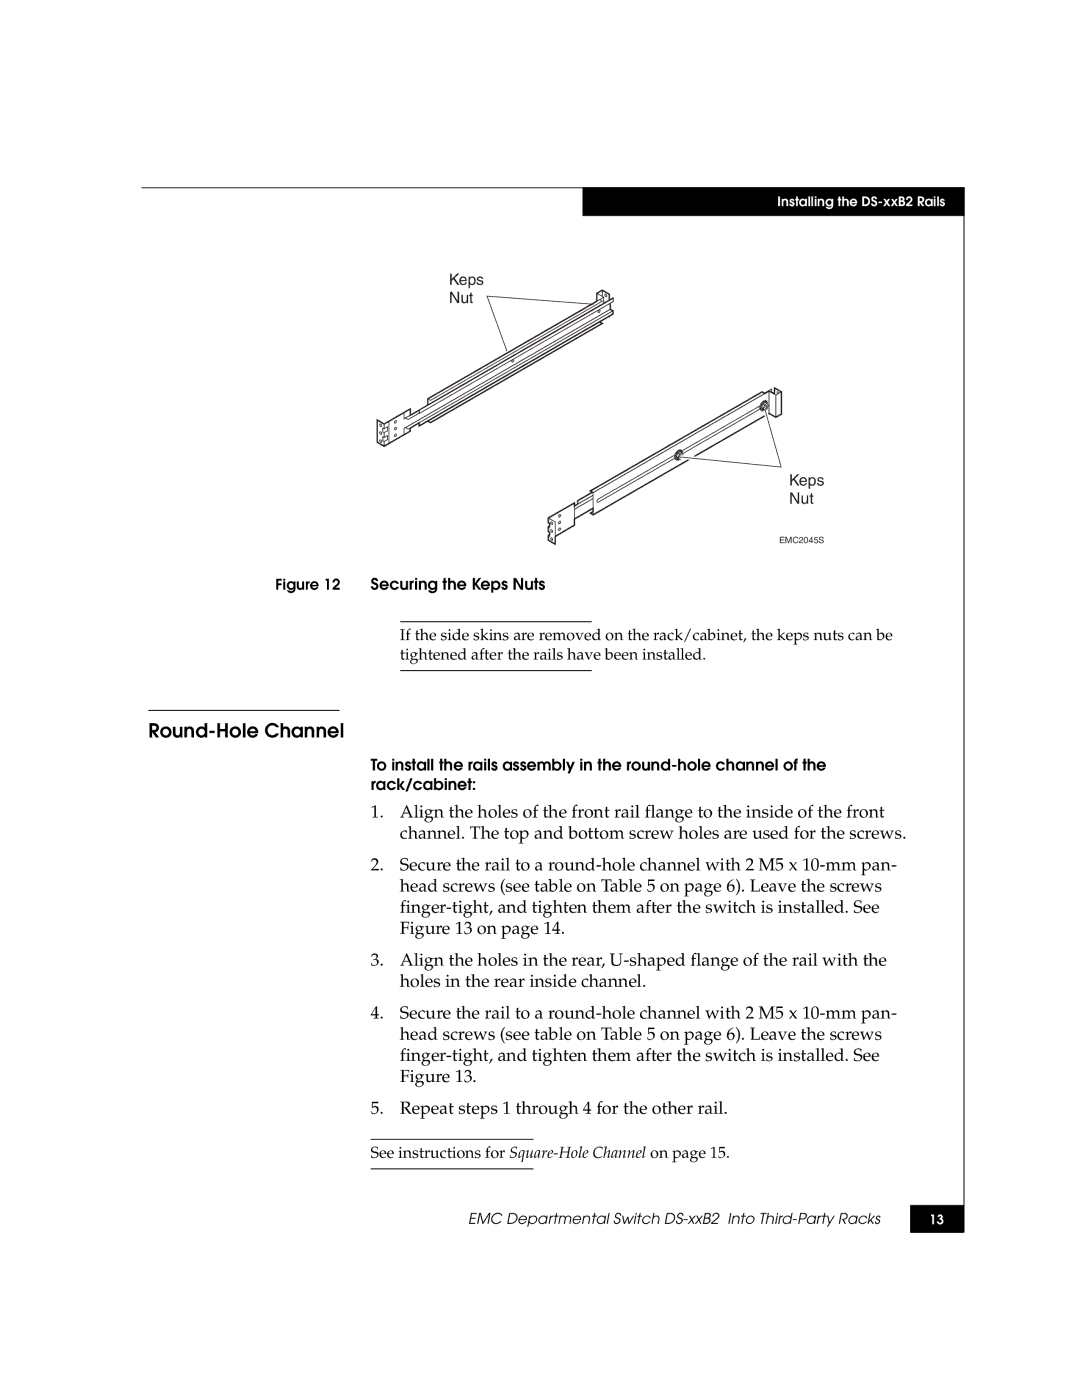
EMC DS-xxB2 dimensions Round-Hole Channel, Securing the Keps Nuts

Models: DS-xxB2

1 22
Download 22 pages 6.4 Kb
Page 13
Image 13

Installing the DS-xxB2 Rails

Keps

Nut

Keps

Nut

EMC2045S

Figure 12 Securing the Keps Nuts

If the side skins are removed on the rack/cabinet, the keps nuts can be tightened after the rails have been installed.

Round-Hole Channel

To install the rails assembly in the round-hole channel of the rack/cabinet:

1.Align the holes of the front rail flange to the inside of the front channel. The top and bottom screw holes are used for the screws.

2.Secure the rail to a round-hole channel with 2 M5 x 10-mm pan- head screws (see table on Table 5 on page 6). Leave the screws finger-tight, and tighten them after the switch is installed. See Figure 13 on page 14.

3.Align the holes in the rear, U-shaped flange of the rail with the holes in the rear inside channel.

4.Secure the rail to a round-hole channel with 2 M5 x 10-mm pan- head screws (see table on Table 5 on page 6). Leave the screws finger-tight, and tighten them after the switch is installed. See Figure 13.

5.Repeat steps 1 through 4 for the other rail.

See instructions for Square-Hole Channel on page 15.

EMC Departmental Switch DS-xxB2 Into Third-Party Racks

13

Page 13
Image 13
EMC DS-xxB2 dimensions Round-Hole Channel, Securing the Keps Nuts