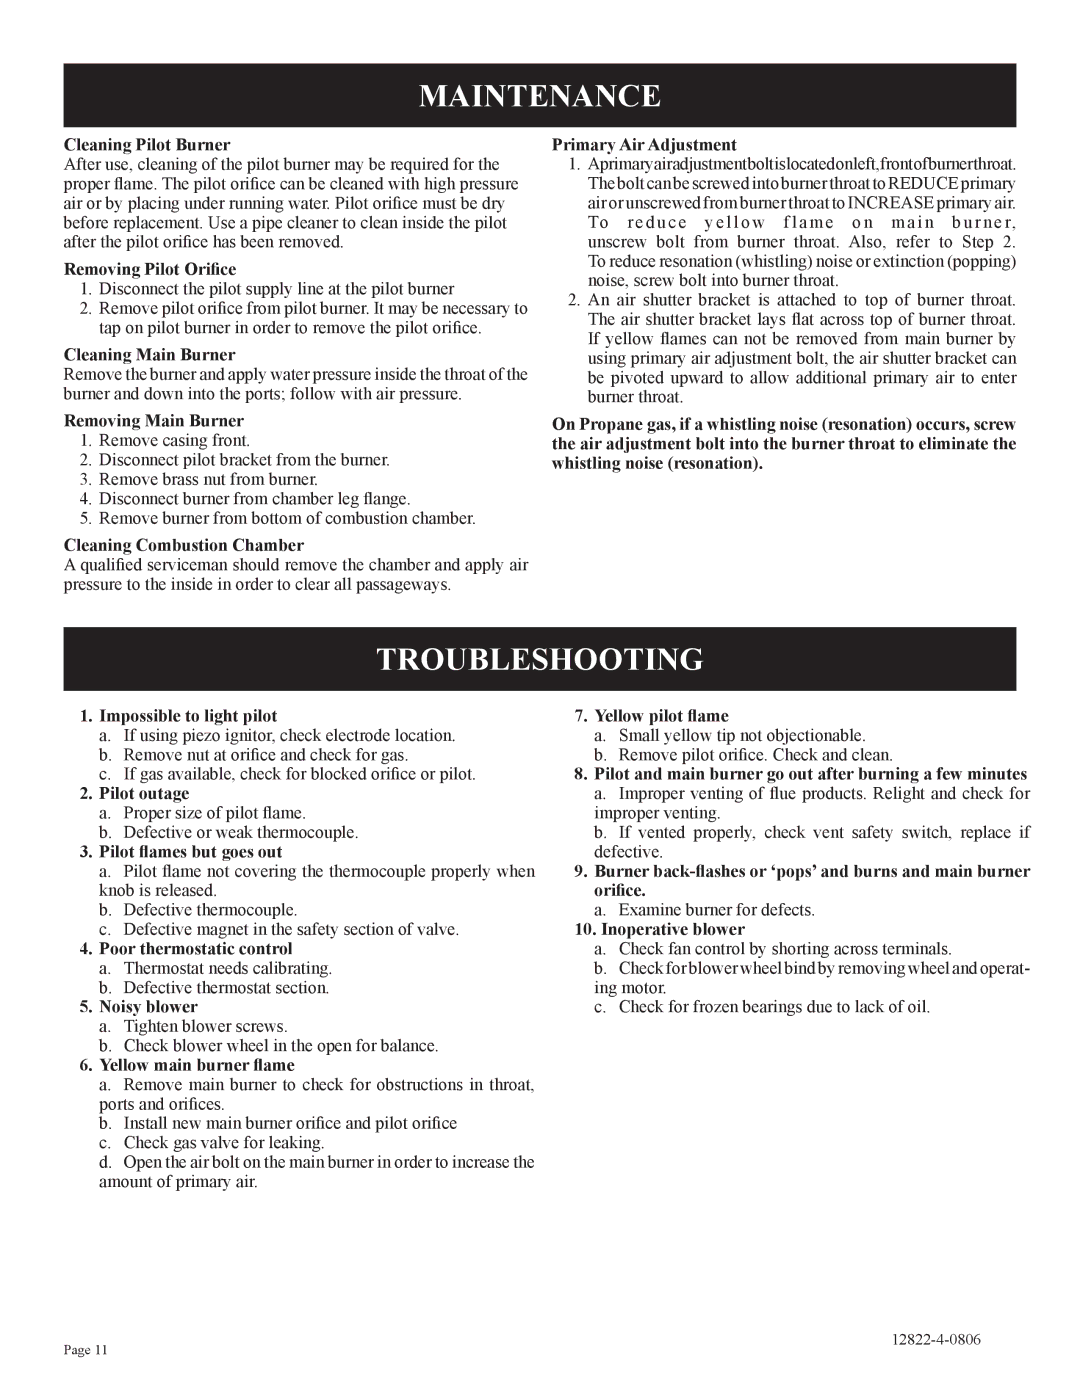
MAINTENANCE

Cleaning Pilot Burner

After use, cleaning of the pilot burner may be required for the proper flame. The pilot orifice can be cleaned with high pressure air or by placing under running water. Pilot orifice must be dry before replacement. Use a pipe cleaner to clean inside the pilot after the pilot orifice has been removed.

Removing Pilot Orifice

1.Disconnect the pilot supply line at the pilot burner

2.Remove pilot orifice from pilot burner. It may be necessary to tap on pilot burner in order to remove the pilot orifice.

Cleaning Main Burner

Remove the burner and apply water pressure inside the throat of the burner and down into the ports; follow with air pressure.

Removing Main Burner

1.Remove casing front.

2.Disconnect pilot bracket from the burner.

3.Remove brass nut from burner.

4.Disconnect burner from chamber leg flange.

5.Remove burner from bottom of combustion chamber.

Cleaning Combustion Chamber

A qualified serviceman should remove the chamber and apply air pressure to the inside in order to clear all passageways.

Primary Air Adjustment

1.Aprimaryairadjustmentboltislocatedonleft,frontofburnerthroat. The bolt can be screwed into burner throat to REDUCE primary

air or unscrewed from burner throat to INCREASE primary air. To r e d u c e y e l l o w f l a m e o n m a i n b u r n e r, unscrew bolt from burner throat. Also, refer to Step 2. To reduce resonation (whistling) noise or extinction (popping) noise, screw bolt into burner throat.

2.An air shutter bracket is attached to top of burner throat. The air shutter bracket lays flat across top of burner throat. If yellow flames can not be removed from main burner by using primary air adjustment bolt, the air shutter bracket can be pivoted upward to allow additional primary air to enter burner throat.

On Propane gas, if a whistling noise (resonation) occurs, screw the air adjustment bolt into the burner throat to eliminate the whistling noise (resonation).

TROUBLESHOOTING

1.Impossible to light pilot

a.If using piezo ignitor, check electrode location.

b.Remove nut at orifice and check for gas.

c.If gas available, check for blocked orifice or pilot.

2.Pilot outage

a.Proper size of pilot flame.

b.Defective or weak thermocouple.

3.Pilot flames but goes out

a.Pilot flame not covering the thermocouple properly when knob is released.

b.Defective thermocouple.

c.Defective magnet in the safety section of valve.

4.Poor thermostatic control

a.Thermostat needs calibrating.

b.Defective thermostat section.

5.Noisy blower

a.Tighten blower screws.

b.Check blower wheel in the open for balance.

6.Yellow main burner flame

a.Remove main burner to check for obstructions in throat, ports and orifices.

b.Install new main burner orifice and pilot orifice

c.Check gas valve for leaking.

d.Open the air bolt on the main burner in order to increase the amount of primary air.

7.Yellow pilot flame

a.Small yellow tip not objectionable.

b.Remove pilot orifice. Check and clean.

8.Pilot and main burner go out after burning a few minutes

a.Improper venting of flue products. Relight and check for improper venting.

b.If vented properly, check vent safety switch, replace if defective.

9.Burner back-flashes or ‘pops’ and burns and main burner orifice.

a.Examine burner for defects.

10.Inoperative blower

a.Check fan control by shorting across terminals.

b.Check for blower wheel bind by removing wheel and operat- ing motor.

c.Check for frozen bearings due to lack of oil.

Page 11

12822-4-0806


Page 11
Image 11
Empire Comfort Systems RH-65C-1, RH-50-6, RH-65-6, RH50C-1 installation instructions Maintenance, Troubleshooting

RH-65-6, RH-65C-1, RH-50-6, RH50C-1 specifications

Empire Comfort Systems has long been a trusted name in the heating solutions market, and their RH series of direct-vent gas heaters exemplifies their commitment to quality and innovation. Among the models in this series, the RH-50-6, RH-65-6, RH-65C-1, and RH-50C-1 stand out for their exceptional performance and user-friendly features.

The RH-50-6 offers a heat output of 50,000 BTUs, making it ideal for smaller spaces needing effective, efficient heating. It features a sleek design and a variety of style options, ensuring it can fit seamlessly into any room. Its direct vent system allows for safe and efficient operation, drawing air from the outside while expelling exhaust gases, thus creating a comfortable indoor environment without compromising indoor air quality.

Similarly, the RH-65-6 model provides a higher output of 65,000 BTUs, suitable for medium to larger areas. This model emphasizes user control with an optional remote control feature, allowing homeowners to adjust the thermostat from the comfort of their couch. The easy-to-use control panel enhances operation simplicity, catering to users of all levels of technical know-how.

The RH-65C-1 and RH-50C-1 models bring additional benefits through their contemporary styling and advanced features. Both units include Empire's exclusive Comfort Control technology. This system optimizes heat distribution throughout the room, ensuring that users experience consistent warmth without hot or cold spots. Alongside aesthetic choices, such as ceramic glass fronts and versatile trim options, these models are designed to provide both functionality and style.

One significant feature across the RH series is the emphasis on energy efficiency. These models meet stringent energy standards, helping homeowners save on utility bills while minimizing environmental impact. The advanced burner technology ensures a clean burn with minimal emissions, aligning with sustainable heating practices.

In conclusion, the Empire Comfort Systems RH-50-6, RH-65-6, RH-65C-1, and RH-50C-1 represent a blend of traditional craftsmanship and modern technology. With various BTU outputs, user-friendly controls, and striking designs, they cater to diverse heating needs, making them outstanding choices for those seeking reliable and efficient home heating solutions.