Charger Features
1.DC In
Connects to Charger AC Adaptor.
2.Handset Charging Slot
a.Charge handset battery when handset is placed in cradle.
b.Refer to the handset LCD for charging status
(1)Charging: LCD screen showed “Charging”
(2)Fully Charged: battery status bar stands still and the LCD screen would display “Fully Charged”
(3)Charge Fail: Should there be any error occurred during charging mode, the LCD screen would display “Charge Fail”
3.Spare Battery Charging Slot
a.Charge spare battery when battery is placed in slot.
b.LED as the spare battery charging indicator
(1)Slot is empty and the power is on: LED is Green light
(2)Charging: LED is Orange light
(3)Fully Charged: LED returns to Green light
4.It is impossible to overcharge the battery using this charger.
Notes:
1.Fully charge battery packs before first use.
2.Both handset and spare batteries can be charged at the same time.
3.Handset will be “power on” automatically when placing on the charging slot.
4.However, if you run drain the battery, it would take around one minute for handset to auto power on.
5.The adaptor for charging station can be used as travel charger as well. However, you can’t turn off the power while you charge the handset via travel charger. A Warning message: “Unplug Travel Charger than OFF the power” will be shown on the LCD display.
Getting Started
Base Station Installation
There are three possible base station setups:
zBase station alone
zBase station plus telephone answering device
zBase station plus standard telephone
For best performance, maintain at least a distance of 1 meter (about 3 feet) between the base station and other electronic devices (e.g., TV, computer, stereo, fax machine, answer machine, cordless phone, etc.)
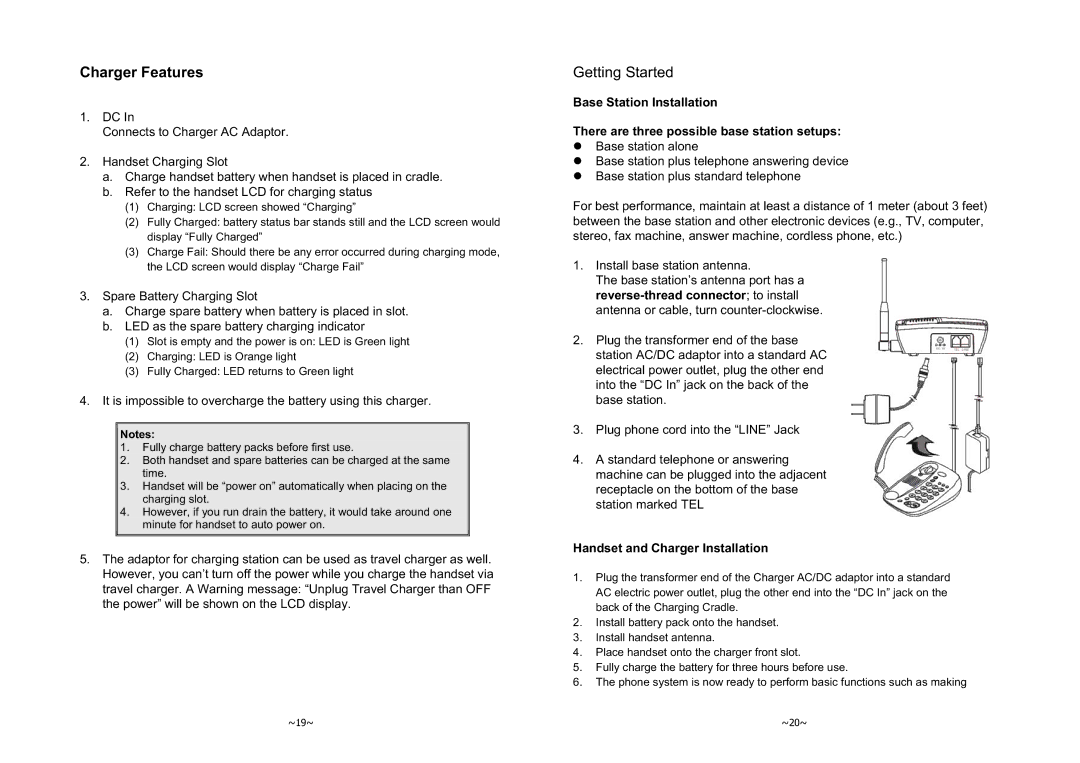
1.Install base station antenna.
The base station’s antenna port has a
2.Plug the transformer end of the base station AC/DC adaptor into a standard AC electrical power outlet, plug the other end into the “DC In” jack on the back of the base station.
3.Plug phone cord into the “LINE” Jack
4.A standard telephone or answering machine can be plugged into the adjacent receptacle on the bottom of the base station marked TEL
Handset and Charger Installation
1.Plug the transformer end of the Charger AC/DC adaptor into a standard AC electric power outlet, plug the other end into the “DC In” jack on the back of the Charging Cradle.
2.Install battery pack onto the handset.
3.Install handset antenna.
4.Place handset onto the charger front slot.
5.Fully charge the battery for three hours before use.
6.The phone system is now ready to perform basic functions such as making
~19~ | ~20~ |