Powering the Switch
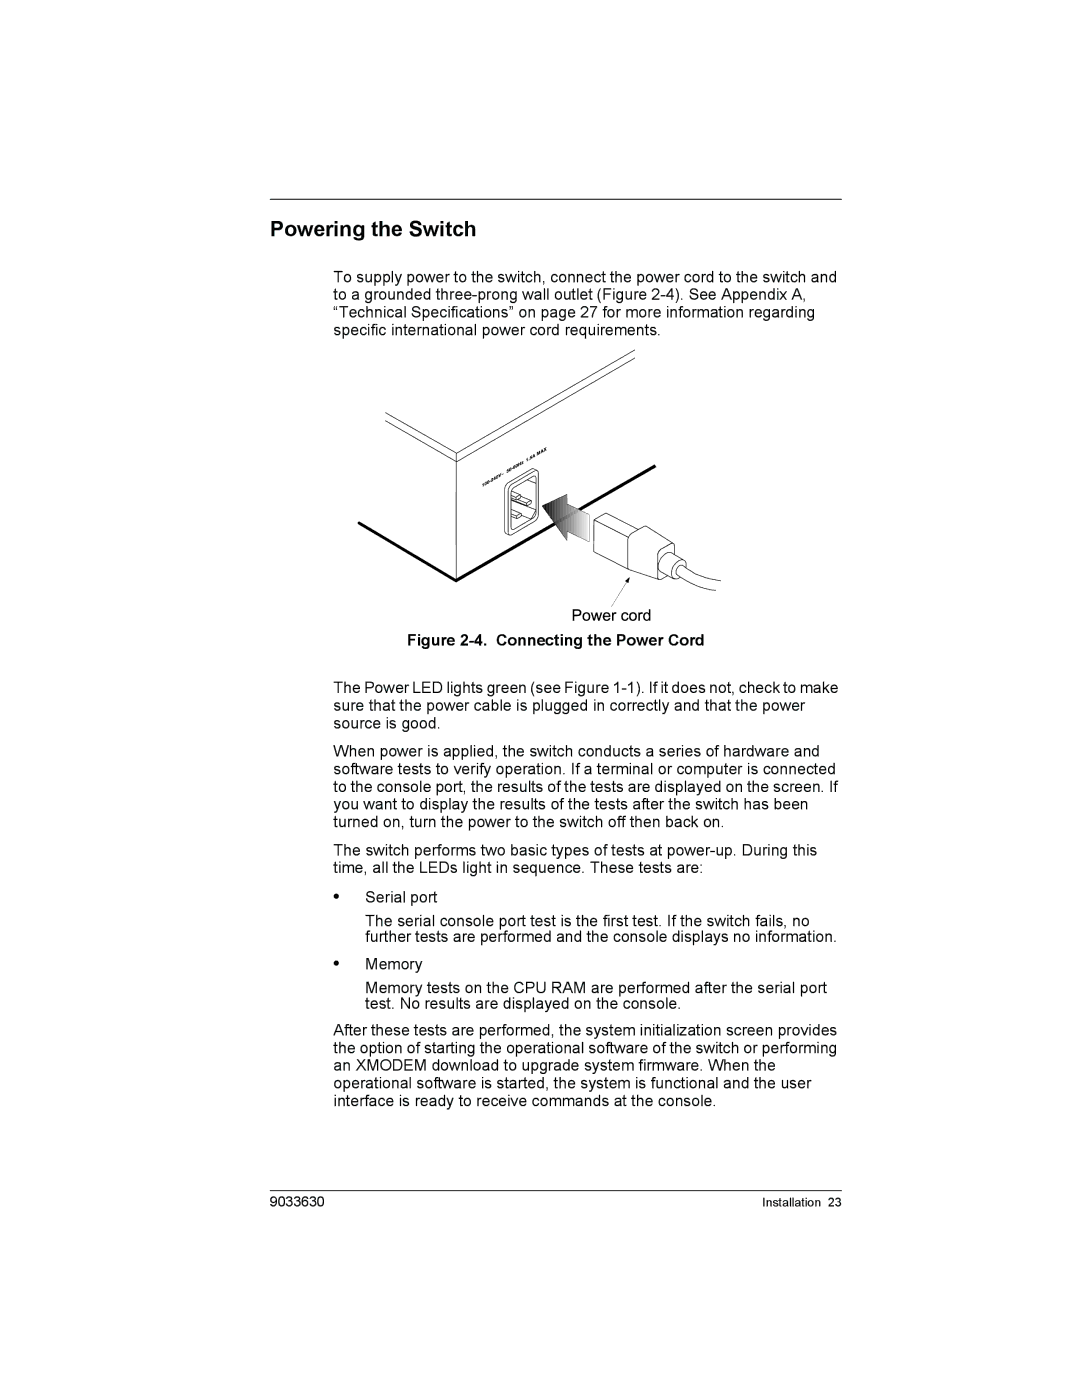
To supply power to the switch, connect the power cord to the switch and to a grounded
Figure 2-4. Connecting the Power Cord
The Power LED lights green (see Figure
When power is applied, the switch conducts a series of hardware and software tests to verify operation. If a terminal or computer is connected to the console port, the results of the tests are displayed on the screen. If you want to display the results of the tests after the switch has been turned on, turn the power to the switch off then back on.
The switch performs two basic types of tests at
•Serial port
The serial console port test is the first test. If the switch fails, no further tests are performed and the console displays no information.
•Memory
Memory tests on the CPU RAM are performed after the serial port test. No results are displayed on the console.
After these tests are performed, the system initialization screen provides the option of starting the operational software of the switch or performing an XMODEM download to upgrade system firmware. When the operational software is started, the system is functional and the user interface is ready to receive commands at the console.
9033630 | Installation 23 |