Untitled Document
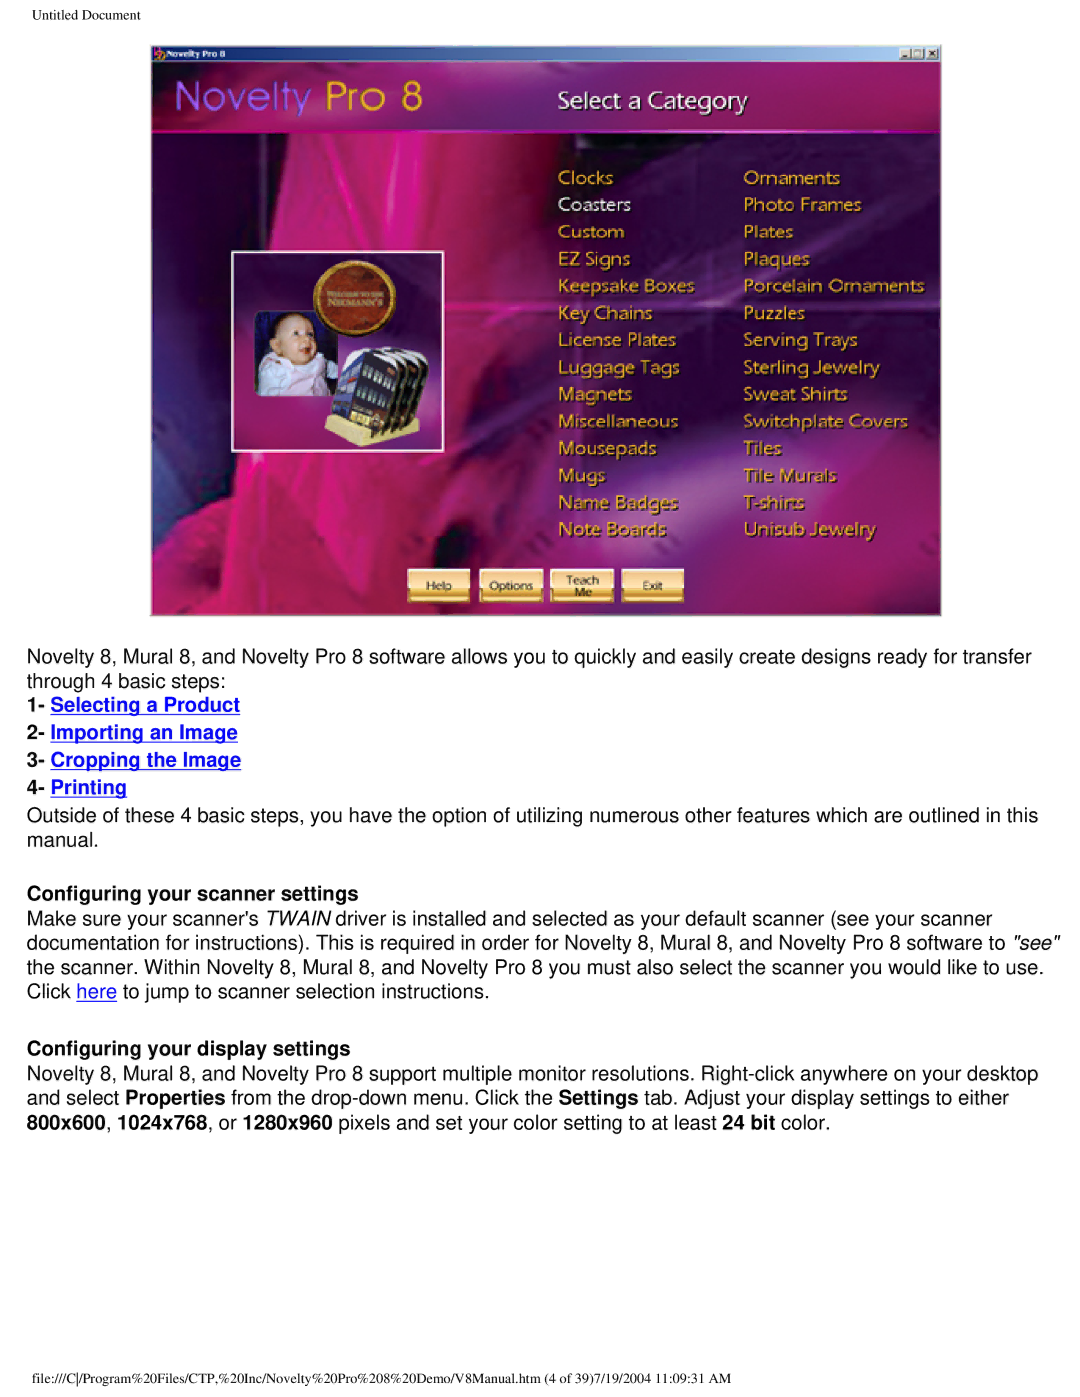
Novelty 8, Mural 8, and Novelty Pro 8 software allows you to quickly and easily create designs ready for transfer through 4 basic steps:
1- Selecting a Product
2- Importing an Image
3- Cropping the Image
4- Printing
Outside of these 4 basic steps, you have the option of utilizing numerous other features which are outlined in this manual.
Configuring your scanner settings
Make sure your scanner's TWAIN driver is installed and selected as your default scanner (see your scanner documentation for instructions). This is required in order for Novelty 8, Mural 8, and Novelty Pro 8 software to "see" the scanner. Within Novelty 8, Mural 8, and Novelty Pro 8 you must also select the scanner you would like to use. Click here to jump to scanner selection instructions.
Configuring your display settings
Novelty 8, Mural 8, and Novelty Pro 8 support multiple monitor resolutions.
file:///C/Program%20Files/CTP,%20Inc/Novelty%20Pro%208%20Demo/V8Manual.htm (4 of 39)7/19/2004 11:09:31 AM