Operation
5. Operation
(1) Insert a HDD (IDE) for Video Storage
Insert one or two HDD (3.5” IDE) for Video Storage.
The HDD should be set as Master. (Set Cable Select is also available) (Normally the default setting of HDD is Master)
Note: After hard disk case is inserted into the hard disk tray, be sure to turn the tray key in lock position.Otherwise, HDD will not be detected.
ATTENTION: Changing HDD s and switching on HDD s is not allowed during recording!
(2)Connect cable for video/audio input and video/audio out, The detail connection is described in SYSTEM CONNECTION.
(3)Switch Power On
The LCD panel in the front panel will light when you switch on the power.
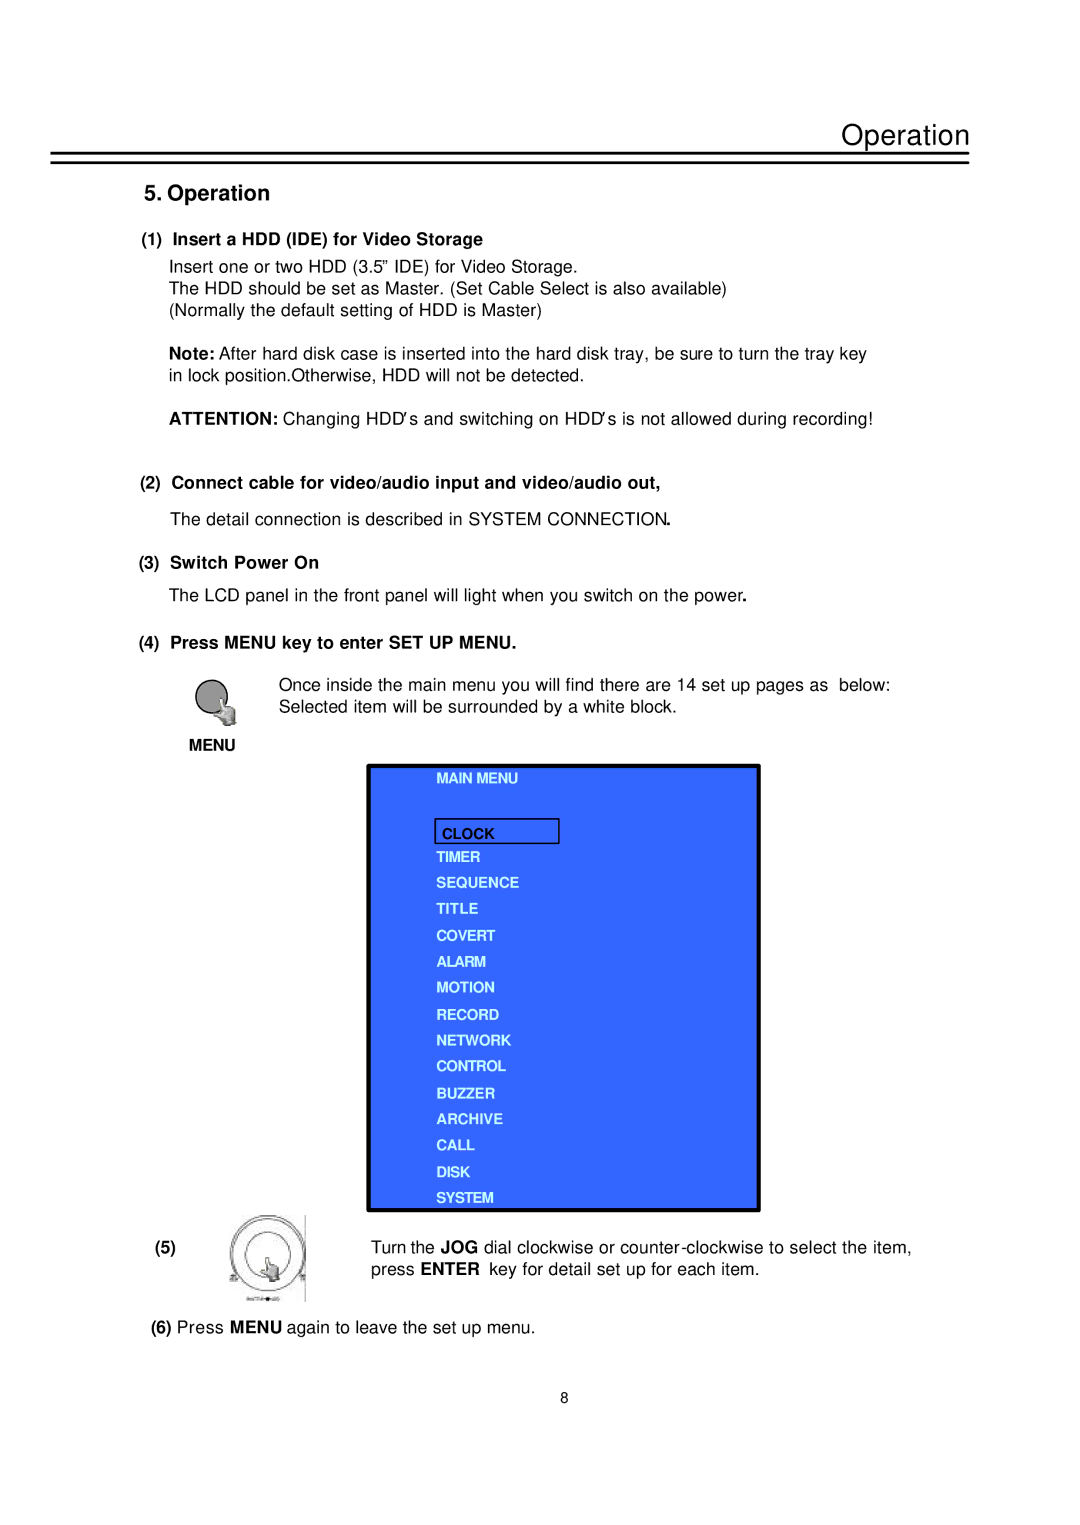
(4)Press MENU key to enter SET UP MENU.
Once inside the main menu you will find there are 14 set up pages as below:
Selected item will be surrounded by a white block.
MENU
MAIN MENU
CLOCK
TIMER
SEQUENCE
TITLE
COVERT
ALARM
MOTION
RECORD
NETWORK
CONTROL
BUZZER
ARCHIVE
CALL
DISK
SYSTEM
(5) | Turn the JOG dial clockwise or |
| press ENTER key for detail set up for each item. |
(6) Press MENU again to leave the set up menu.
8