E V E R F O C U S E L E C T R O N I C S C O R P O R A T I O N
Please Note: When the Hard Drive is full, the DVR will either stop recording automatically or overwrite from the beginning of the hard drive. This is all dependent on what was set in the normal record setting (see page 19).
Motion Recording Setup
¾Assuming you have completed the setup options in Chapter 1 and 2. Log into the DVR menu by pressing the Menu button.
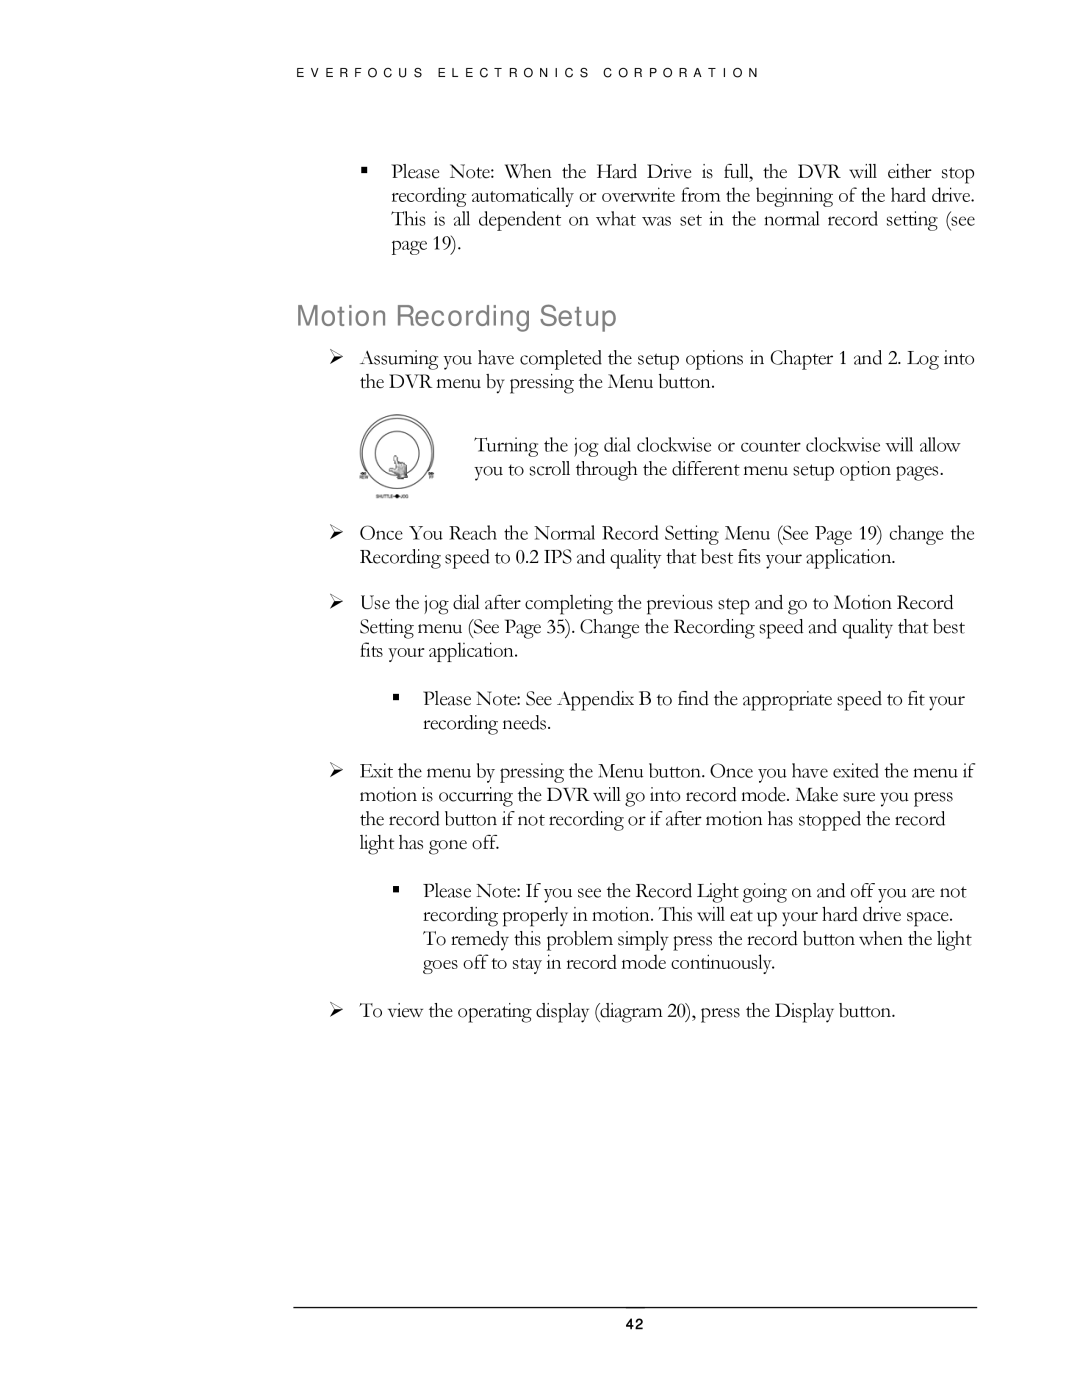
Turning the jog dial clockwise or counter clockwise will allow you to scroll through the different menu setup option pages.
¾Once You Reach the Normal Record Setting Menu (See Page 19) change the Recording speed to 0.2 IPS and quality that best fits your application.
¾Use the jog dial after completing the previous step and go to Motion Record Setting menu (See Page 35). Change the Recording speed and quality that best fits your application.
Please Note: See Appendix B to find the appropriate speed to fit your recording needs.
¾Exit the menu by pressing the Menu button. Once you have exited the menu if motion is occurring the DVR will go into record mode. Make sure you press the record button if not recording or if after motion has stopped the record light has gone off.
Please Note: If you see the Record Light going on and off you are not recording properly in motion. This will eat up your hard drive space. To remedy this problem simply press the record button when the light goes off to stay in record mode continuously.
¾To view the operating display (diagram 20), press the Display button.
42
