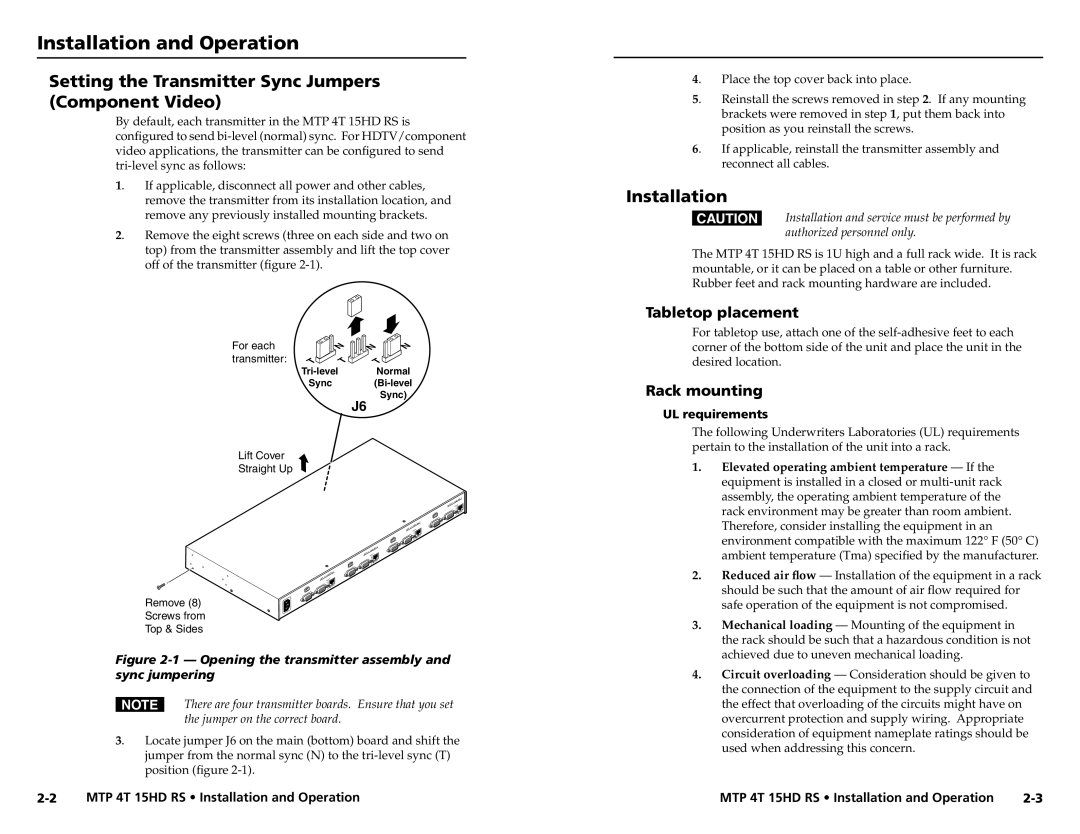
MTP 4T 15HD RS specifications
Extron Electronics, a renowned leader in the field of AV technology, has developed a range of innovative solutions for seamless audio and video distribution. One standout product in their lineup is the Extron MTP 4T 15HD RS, an advanced matrix switcher designed to address the growing demand for efficient signal routing in modern AV installations.The MTP 4T 15HD RS is specifically engineered to handle multiple high-definition video signals while ensuring reliable and robust performance. This matrix switcher supports a variety of input formats including VGA, composite video, SDI, and various HDMI formats, making it a versatile solution for diverse application needs. With up to 15 HD-SDI inputs, the device allows users to connect a wide range of sources, facilitating flexibility in system design and implementation.
One of the key features of the MTP 4T 15HD RS is its capability to support long-distance transmission of signals. Utilizing Extron’s proprietary MTP technology, the switcher can transmit high-definition video and embedded audio over twisted pair cables, allowing for distances of up to 300 feet without signal degradation. This ensures that installations can use affordable cabling solutions while maintaining excellent signal quality.
The MTP 4T 15HD RS is equipped with reliable EDID management capabilities, ensuring optimal communication between the source devices and displays. This feature automatically detects and manages the compatible display resolutions, simplifying setup and minimizing compatibility issues. Additionally, the switcher supports audio breakaway functionality, which enables users to route audio and video signals independently, enhancing the versatility of the installation.
Further enhancing its usability, the MTP 4T 15HD RS supports control via Extron’s PCS (Programmable Control System) and RS232 commands, allowing for seamless integration into custom control systems. For ease of configuration, the front panel features LED indicators for power and input status, providing real-time feedback on system operation.
In conclusion, the Extron MTP 4T 15HD RS stands out as a robust, flexible, and user-friendly solution for HD signal distribution in various AV environments. With its combination of advanced technologies, extensive compatibility, and user-centric features, it addresses the needs of modern AV professionals and fulfills the demands of sophisticated system integration. Whether for corporate meetings, educational settings, or live events, the MTP 4T 15HD RS delivers reliable and high-quality performance, making it an invaluable asset in any AV toolbox.

