APP, P/2 DA 2 WM/EC specifications
The Extron Electronics APP, P/2 DA 2 WM/EC is a high-performance, dual output distribution amplifier that is specifically designed for professional audio and video applications. Ideal for various environments such as classrooms, conference rooms, and control centers, this compact and robust device ensures optimal signal integrity and reliability.One of the main features of the APP, P/2 DA 2 WM/EC is its ability to take a single audio or video input and distribute it to two identical outputs. This feature makes it an essential tool for applications requiring multiple displays or audio systems utilizing the same source. The device supports high-resolution video signals, ensuring that the quality of the output remains pristine, regardless of the distance it must travel.
The APP, P/2 DA 2 WM/EC utilizes cutting-edge technology to maintain signal fidelity. It employs advanced circuitry designed to minimize distortion and signal loss, enabling consistent performance across varying signal conditions. The built-in features include signal amplification, which boosts input signals for powerful distribution, while the low-noise design ensures minimal interference.
Another highlight of this distribution amplifier is its versatility. It supports multiple video formats, including Composite, S-Video, and Component, making it suitable for a wide range of AV equipment. This compatibility ensures that users can integrate the APP, P/2 DA 2 WM/EC seamlessly into their existing systems, regardless of the source components being used.
The unit also comes with enhanced control options. It features a comprehensive set of integration tools that simplify installation and operation, such as remote control capabilities and diagnostic indicators. This user-friendly design helps operators easily monitor signal performance and troubleshoot any potential issues without disrupting the workflow.
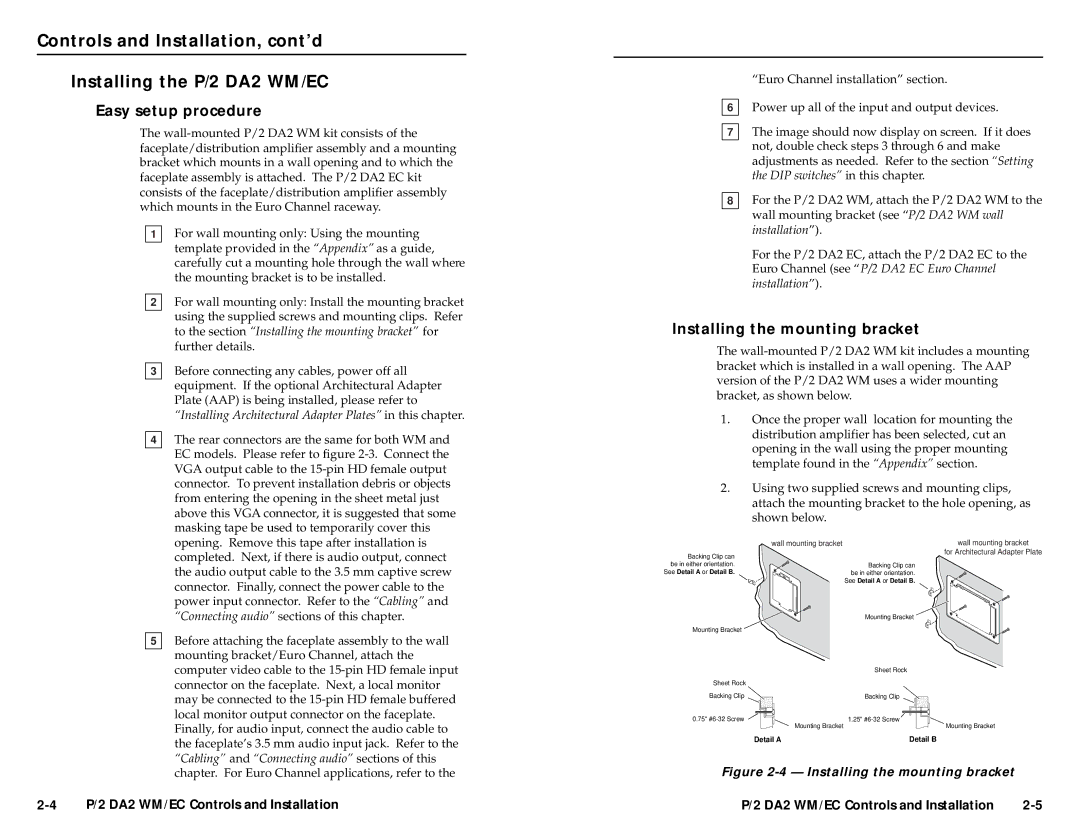
When it comes to installation, the APP, P/2 DA 2 WM/EC is engineered for flexibility. Its compact form factor allows for convenient mounting in varied environments, whether on a rack or wall-mounted, optimizing space usage.
In summary, the Extron APP, P/2 DA 2 WM/EC is an exceptionally reliable and versatile distribution amplifier that offers advanced features and technologies catering to professional audio-video environments. Its robust performance, signal preservation, and user-friendly design make it an essential component for any modern AV system.

