Setup
Setting Up a New Domino Joiner
Congratulations on your purchase of a new Festool Domino Tenon Joiner. The Domino joiner is the finest portable loose tenon joiner in the world. Before using your new Domino joiner, make sure you fully read and understand all of
the precautions and safety information presented in this manual.
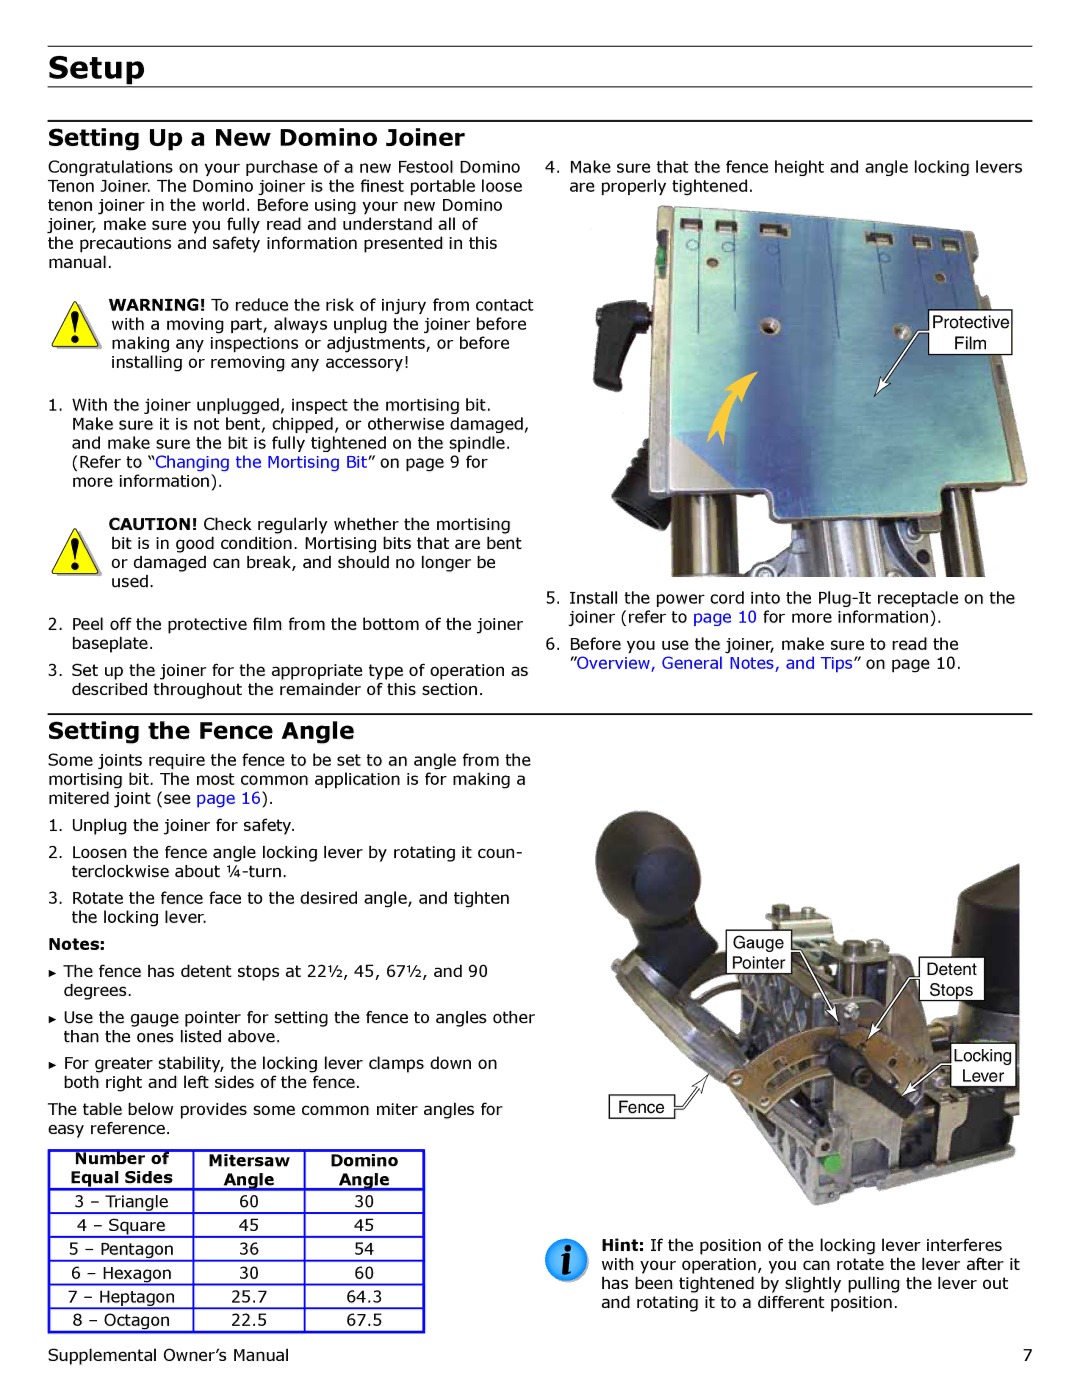
4.Make sure that the fence height and angle locking levers are properly tightened.
WARNING! To reduce the risk of injury from contact with a moving part, always unplug the joiner before making any inspections or adjustments, or before installing or removing any accessory!
1.With the joiner unplugged, inspect the mortising bit.
Make sure it is not bent, chipped, or otherwise damaged, and make sure the bit is fully tightened on the spindle.
(Refer to “Changing the Mortising Bit” on page 9 for more information).
CAUTION! Check regularly whether the mortising bit is in good condition. Mortising bits that are bent or damaged can break, and should no longer be used.
2.Peel off the protective film from the bottom of the joiner baseplate.
3.Set up the joiner for the appropriate type of operation as described throughout the remainder of this section.
Protective
Film
5.Install the power cord into the
6.Before you use the joiner, make sure to read the ”Overview, General Notes, and Tips” on page 10.
Setting the Fence Angle
Some joints require the fence to be set to an angle from the mortising bit. The most common application is for making a mitered joint (see page 16).
1.Unplug the joiner for safety.
2.Loosen the fence angle locking lever by rotating it coun- terclockwise about
3.Rotate the fence face to the desired angle, and tighten the locking lever.
Notes:
►► The fence has detent stops at 22½, 45, 67½, and 90 degrees.
►► Use the gauge pointer for setting the fence to angles other than the ones listed above.
►► For greater stability, the locking lever clamps down on both right and left sides of the fence.
The table below provides some common miter angles for easy reference.
Gauge
Pointer
Fence
Detent
Stops
Locking  Lever
Lever
|
|
|
Number of | Mitersaw | Domino |
Equal Sides | Angle | Angle |
3 – Triangle | 60 | 30 |
4 – Square | 45 | 45 |
5 – Pentagon | 36 | 54 |
6 – Hexagon | 30 | 60 |
7 – Heptagon | 25.7 | 64.3 |
8 – Octagon | 22.5 | 67.5 |
Supplemental Owner’s Manual
Hint: If the position of the locking lever interferes with your operation, you can rotate the lever after it has been tightened by slightly pulling the lever out and rotating it to a different position.
7