INSTALLATION
CART ASSEMBLY INSTRUCTIONS
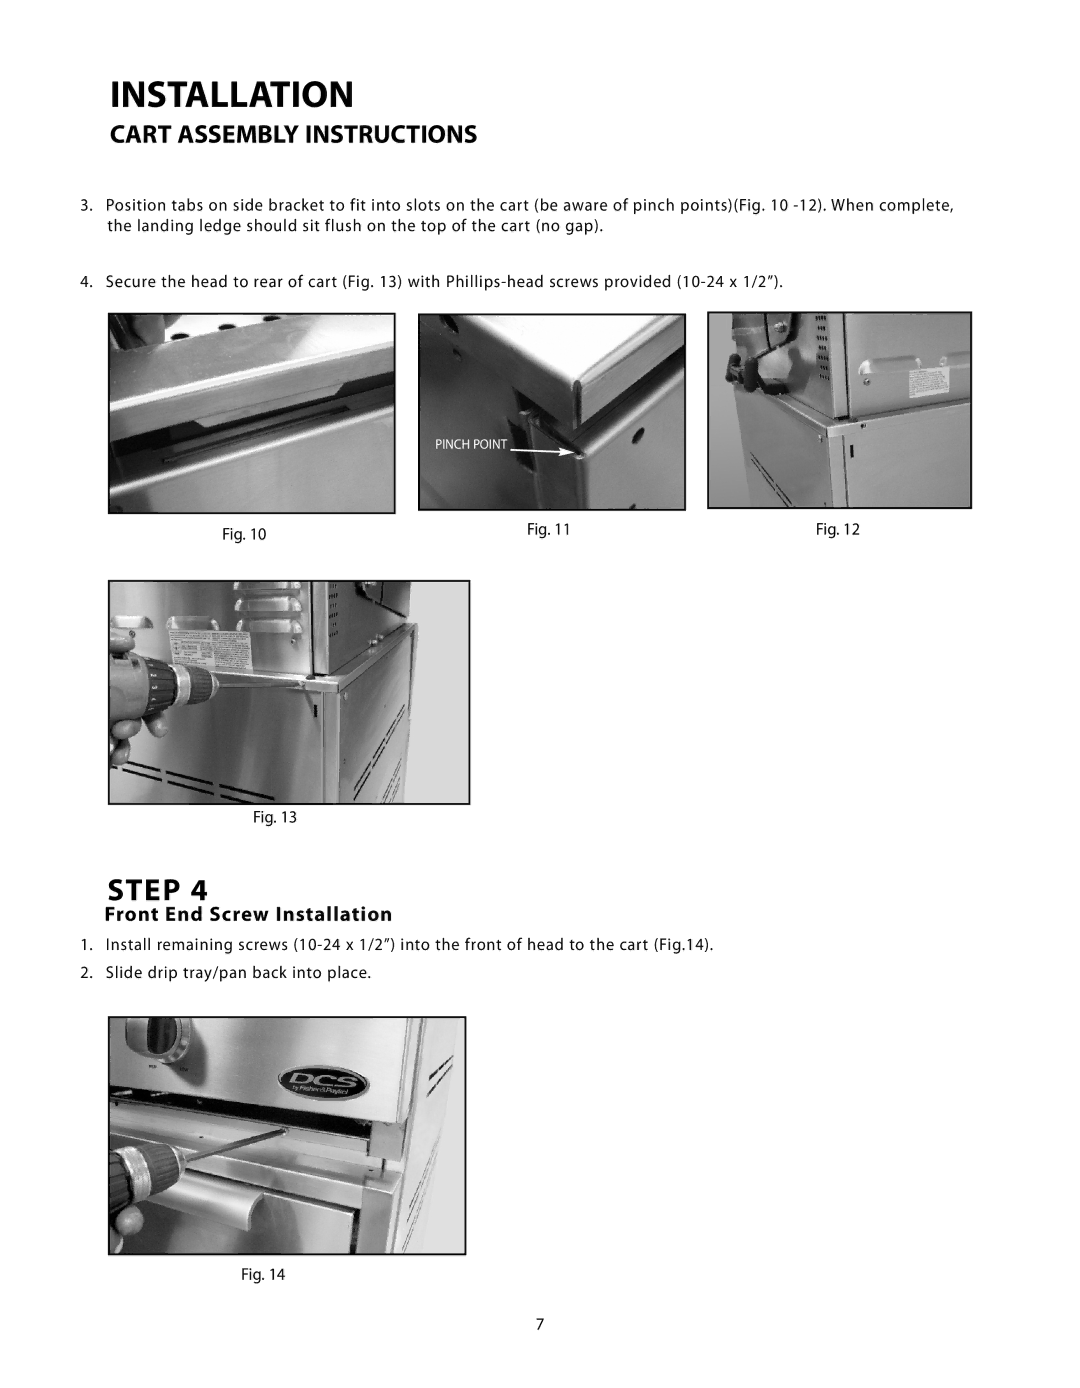
3.Position tabs on side bracket to fit into slots on the cart (be aware of pinch points)(Fig. 10
4.Secure the head to rear of cart (Fig. 13) with
PINCH POINT
Fig. 10 | Fig. 11 | Fig. 12 |
|
| |
|
|
|
|
|
|
Fig. 13
STEP 4
Front End Screw Installation
1.Install remaining screws
2.Slide drip tray/pan back into place.
Fig. 14
7