INTRODUCTION
3
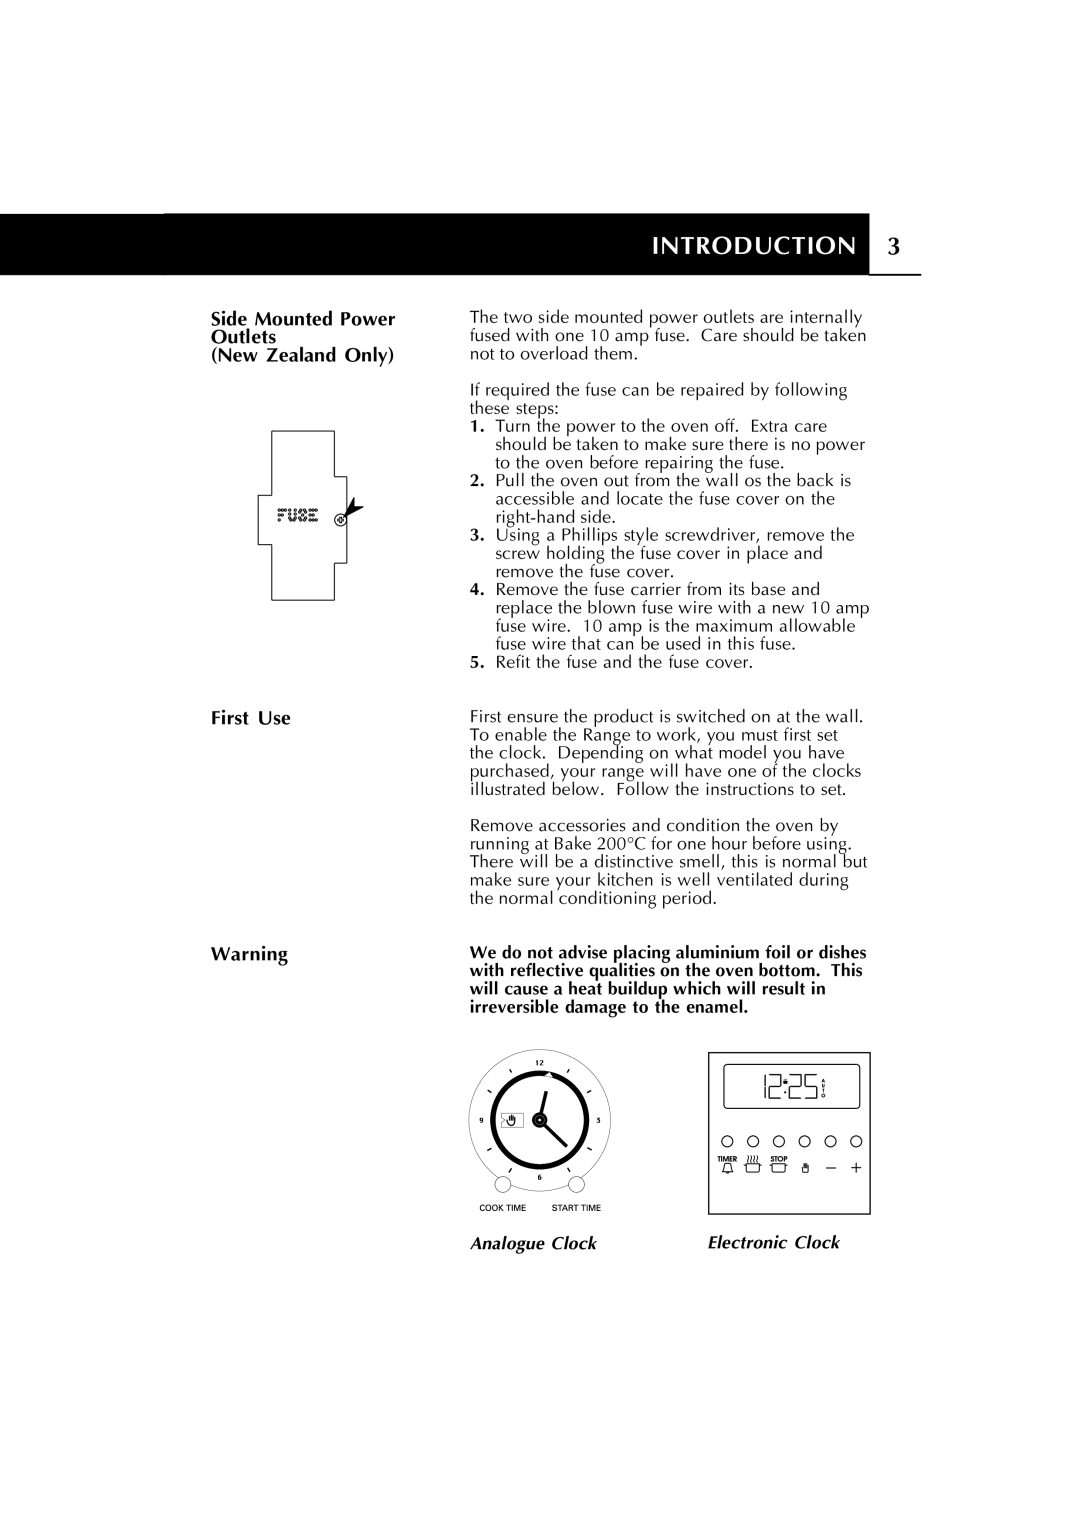
Side Mounted Power | The two side mounted power outlets are internally |
Outlets | fused with one 10 amp fuse. Care should be taken |
(New Zealand Only) | not to overload them. |
| If required the fuse can be repaired by following |
| these steps: |
| 1. Turn the power to the oven off. Extra care |
| should be taken to make sure there is no power |
| to the oven before repairing the fuse. |
| 2. Pull the oven out from the wall os the back is |
| accessible and locate the fuse cover on the |
3.Using a Phillips style screwdriver, remove the screw holding the fuse cover in place and remove the fuse cover.
4.Remove the fuse carrier from its base and replace the blown fuse wire with a new 10 amp fuse wire. 10 amp is the maximum allowable fuse wire that can be used in this fuse.
5.Refit the fuse and the fuse cover.
First Use | First ensure the product is switched on at the wall. | |||||||||
| To enable the Range to work, you must first set | |||||||||
| the clock. Depending on what model you have | |||||||||
| purchased, your range will have one of the clocks | |||||||||
| illustrated below. Follow the instructions to set. | |||||||||
| Remove accessories and condition the oven by | |||||||||
| running at Bake 200°C for one hour before using. | |||||||||
| There will be a distinctive smell, this is normal but | |||||||||
| make sure your kitchen is well ventilated during | |||||||||
| the normal conditioning period. | |||||||||
Warning | We do not advise placing aluminium foil or dishes | |||||||||
| with reflective qualities on the oven bottom. This | |||||||||
| will cause a heat buildup which will result in | |||||||||
| irreversible damage to the enamel. | |||||||||
|
|
|
|
|
|
|
|
|
|
|
|
|
|
|
|
|
|
|
|
|
|
|
|
|
|
|
|
|
|
|
|
|
|
|
|
|
|
|
|
|
|
|
|
|
|
|
|
|
|
|
|
|
|
|
Analogue Clock | Electronic Clock |